
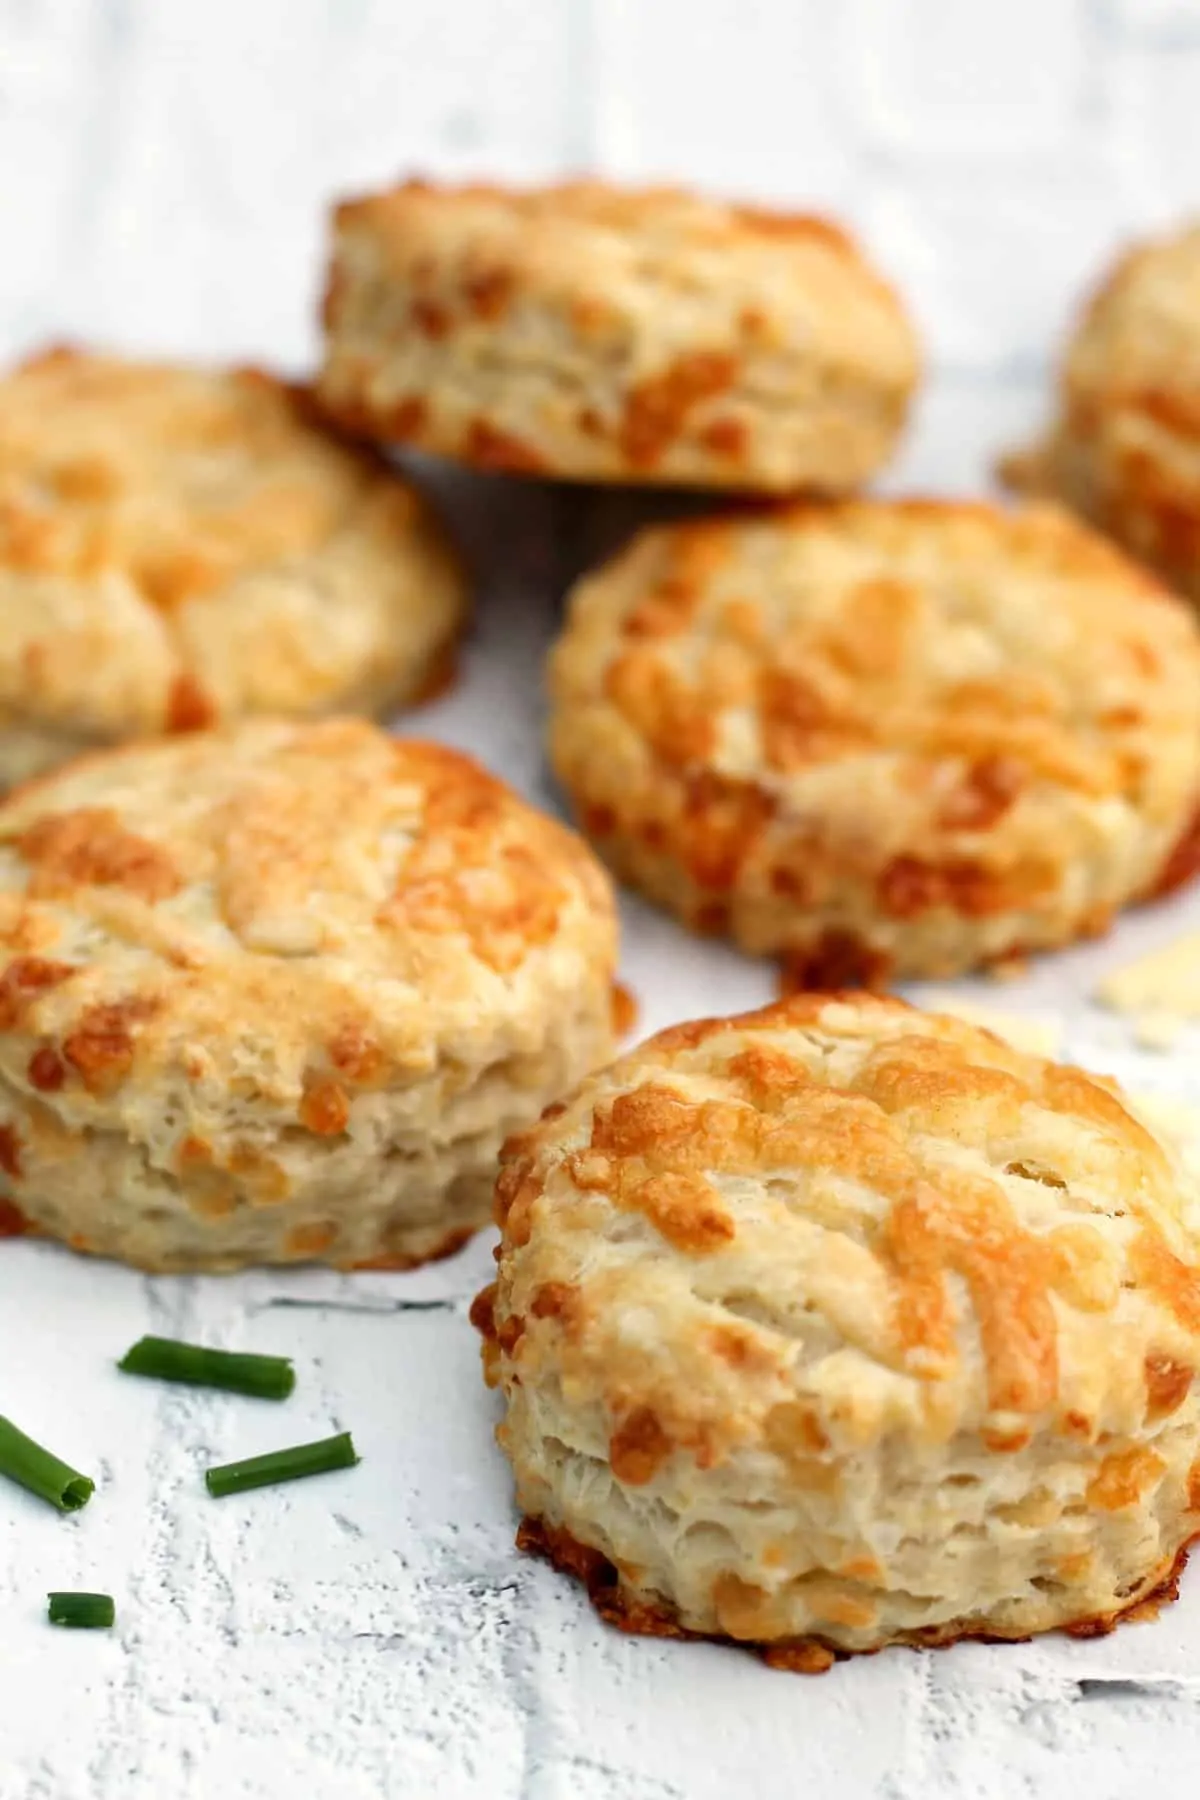
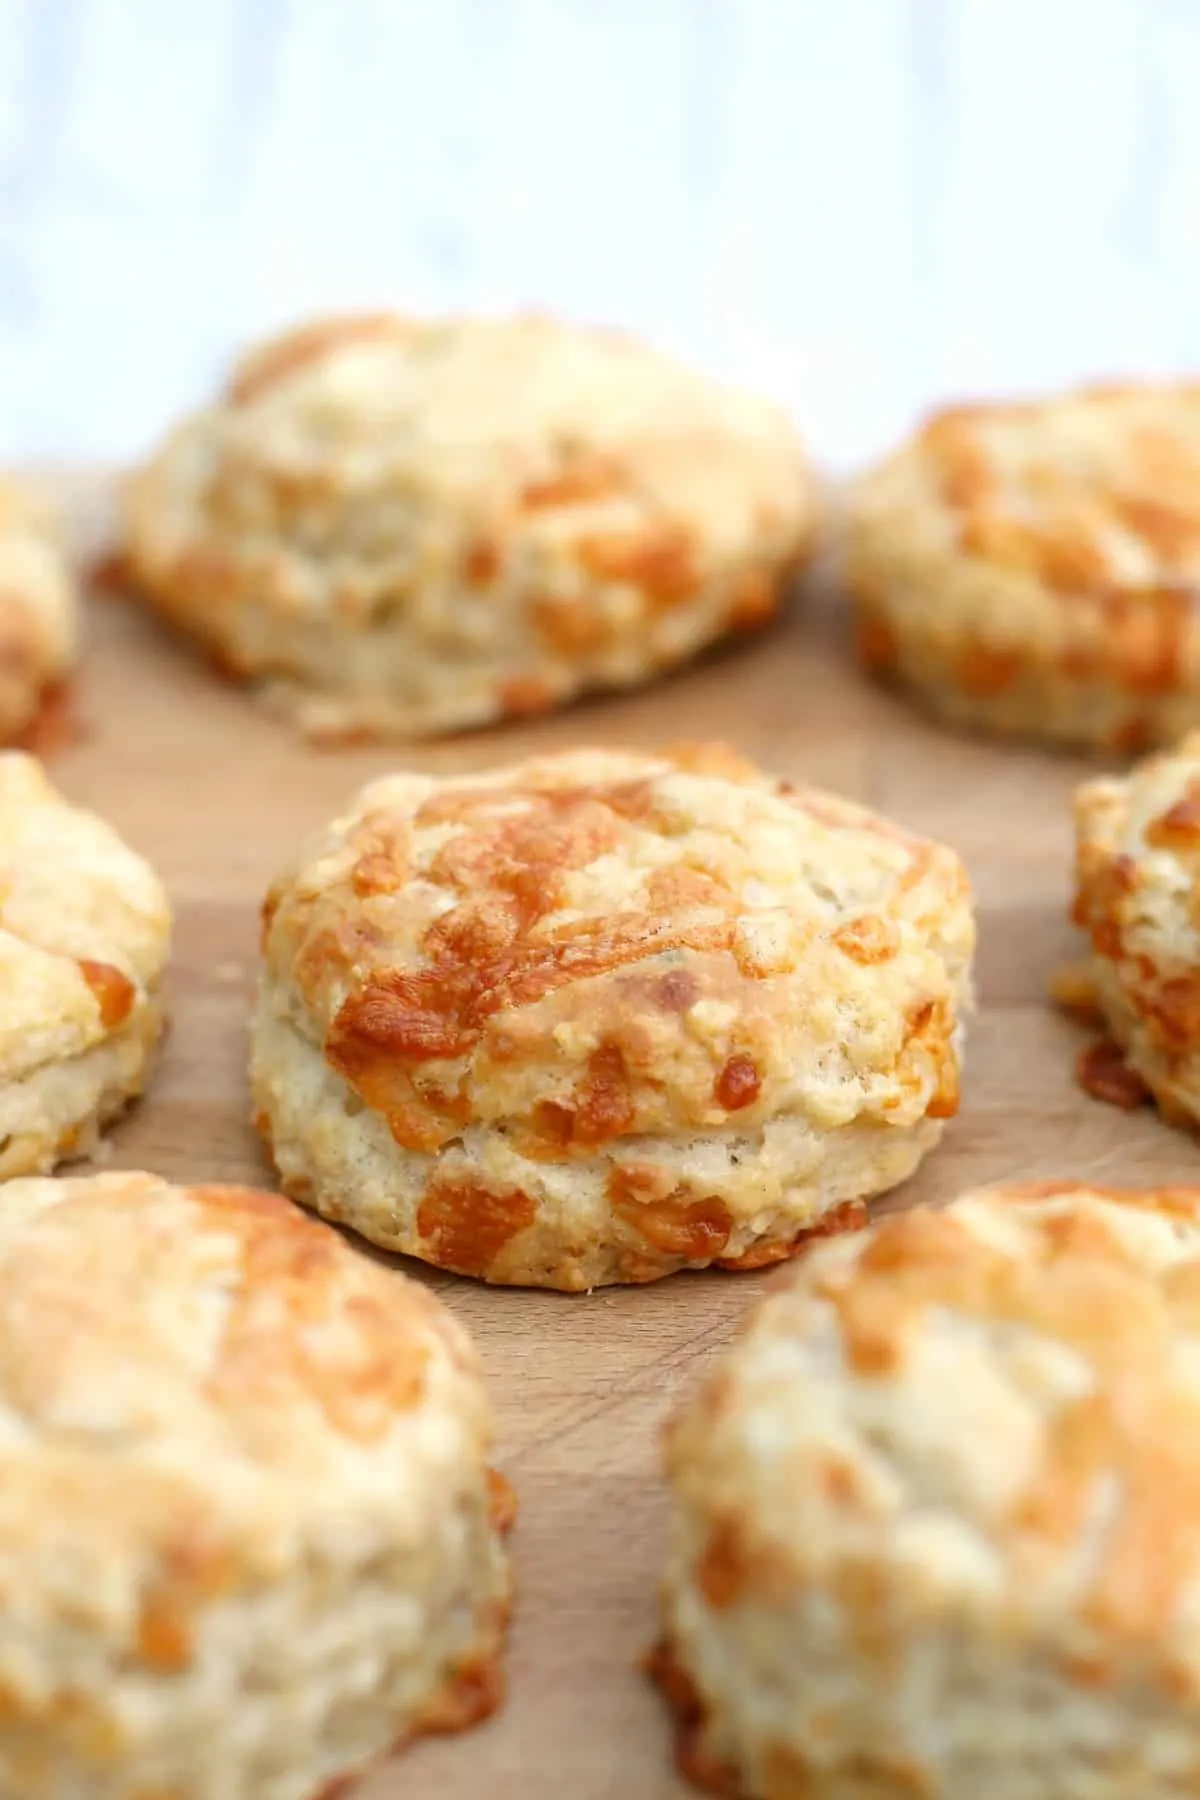
How to make delicious cheese scones, great for picnics or a snack, delicious spread with butter as part of afternoon tea!
Ingredients
Here are the ingredients you will need. Find the quantities in the recipe card at the bottom of the post.
self-raising flour – if you don’t have any, you can also make plain flour into self-raising by adding baking powder. For the amount of flour used in this recipe (230 g), you would need 2 and a half teaspoons of baking powder.
butter – I always use unsalted butter for baking, so that is what I normally have in the cupboard. But as these are savoury scones you could use salted butter instead. If you do, I would recommend not adding more salt when you add seasoning, just add pepper. Use cold butter for making scones, don’t bring it to room temperature or melt.
cheese – I use mature cheddar cheese, this is known as sharp cheddar cheese in the USA. You can either buy ready-grated cheese if you are short on time, or grate your own from a block. It usually works out cheaper to grate your own, also ready-grated cheese often has additives to keep it from clumping.
milk – I tend to have semi-skimmed in the fridge so that is what I use. You can also use whole milk. I would usually avoid using skimmed milk in baking as you need the fat to add flavour and texture.
salt and pepper to season. Though skip the added salt if you use salted butter.
Optional – a few snipped chives or parsley, a teaspoon of mustard, a teaspoon of marmite. Each of these options will add a different dimension to the flavour, you can experiment and see which you like the best.
Equipment
You don’t need much to make scones but a few simple pieces of baking equipment will come in handy:
- mixing bowl – very versatile in the kitchen. I use this type of bowl normally.
- scone cutters – to get good edges it is best to use scone cutters, I use a set with different sizes and handle like these.
- pastry brush – to brush milk over the scones. I like this silicone type.
- baking tray – a set of two large baking trays is really handy if you bake often.
Instructions
Here is my walk-through of the recipe with images to help you make these easy cheese scones right every time.
You’ll find the printable recipe card with all ingredient quantities and measurement conversions further down.
Preheat your oven to 180°C (350°F).
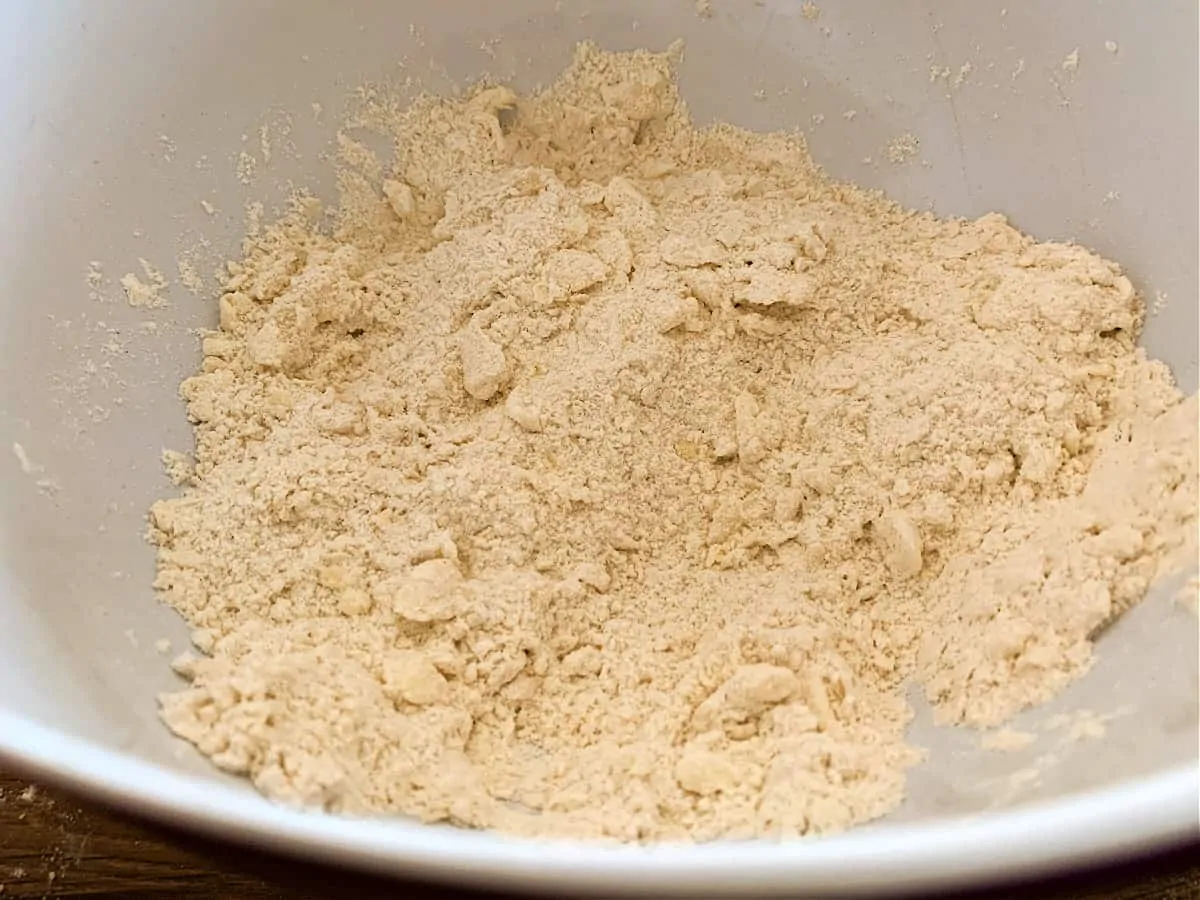
Step 1. In a large bowl, place the self-raising flour. Cut the cold butter into dice and rub the butter into the flour using the tips of your fingers until it has the appearance of large breadcrumbs.
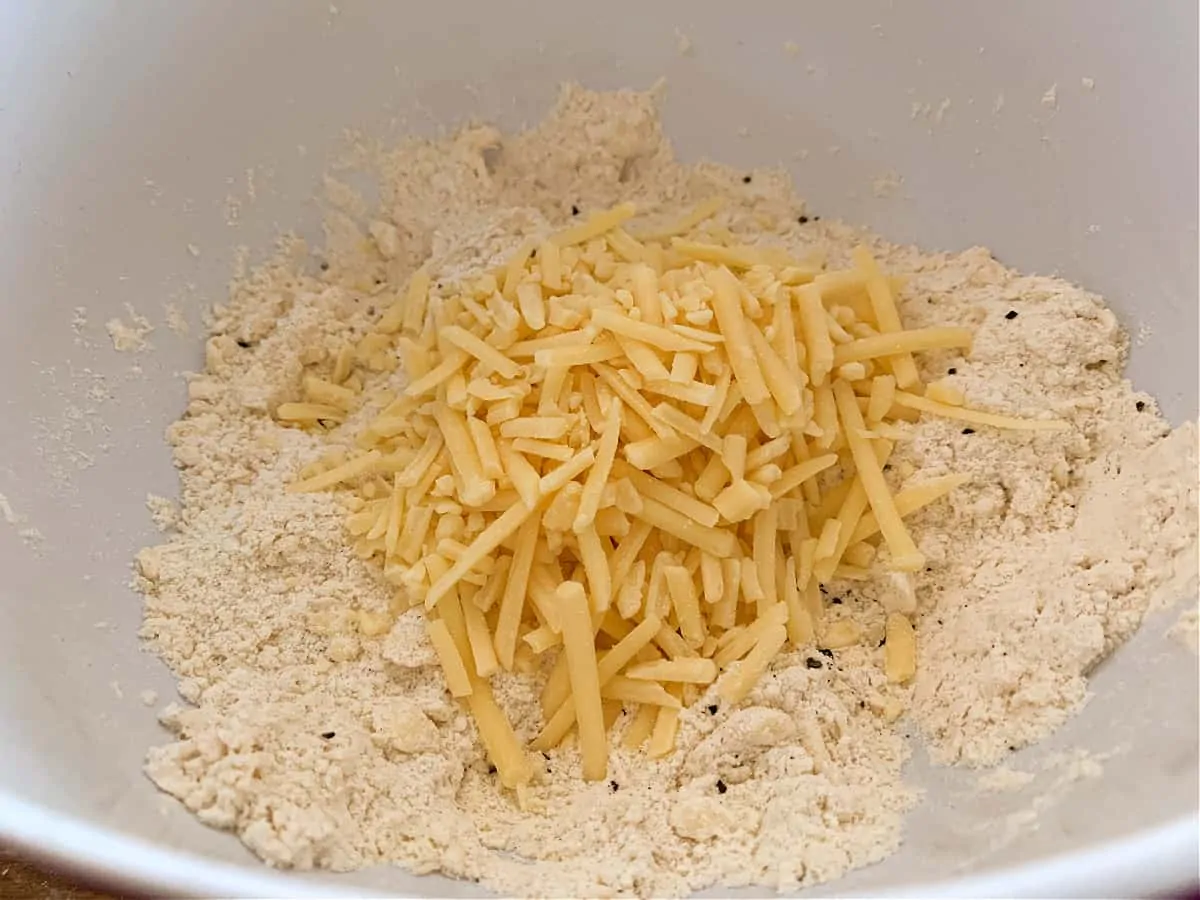
Step 2. Add one tsp salt and a good grinding of black pepper (omit salt if using salted butter). Add 75 g of the grated mature cheddar and stir through. Add the milk (175 ml) and stir well to combine. Bring together to a soft dough.
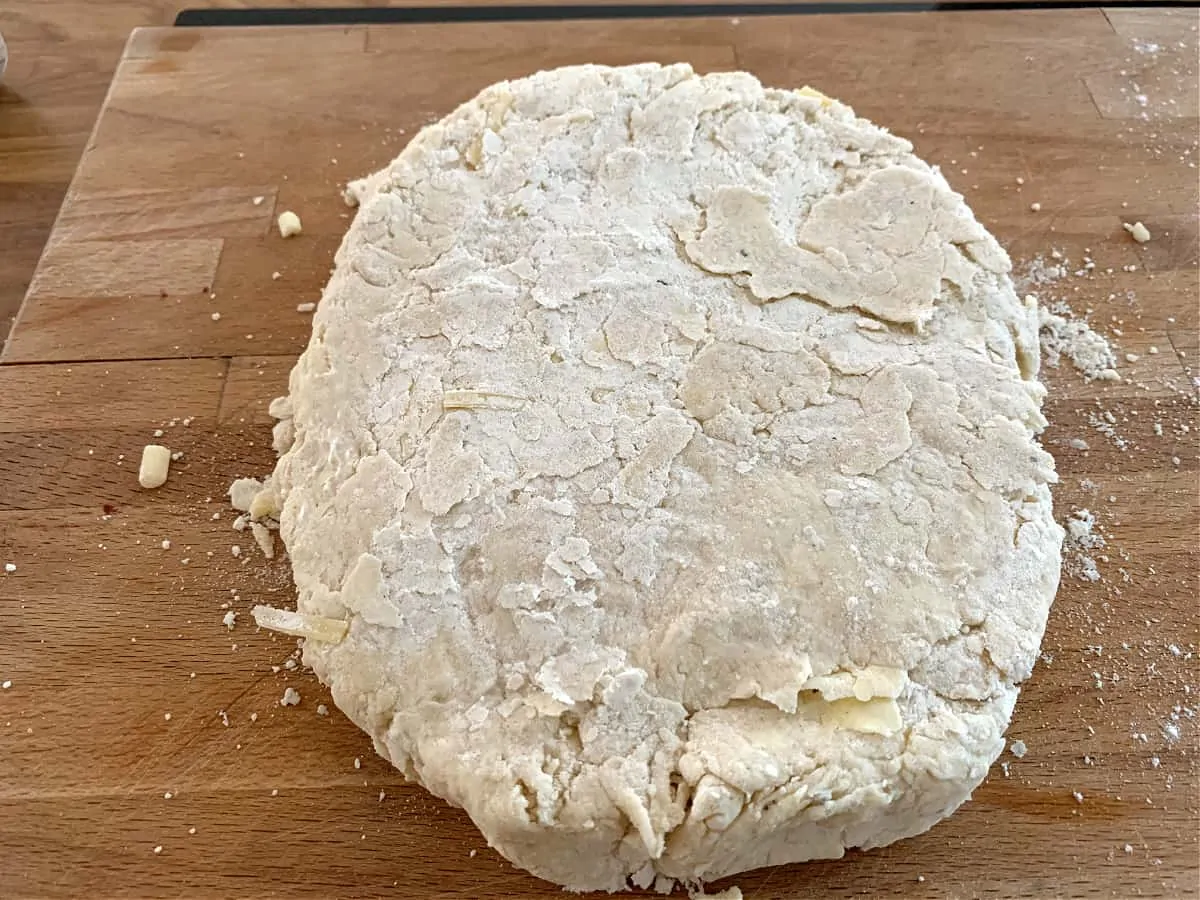
Step 3. Transfer the scone mixture to a floured work surface, form into a flat round shape, and roll out gently using a rolling pin.
Step 4. Fold the scone dough over onto itself and roll again gently to press together, so you have a thick dough of approx 1 inch (2.5 cm).
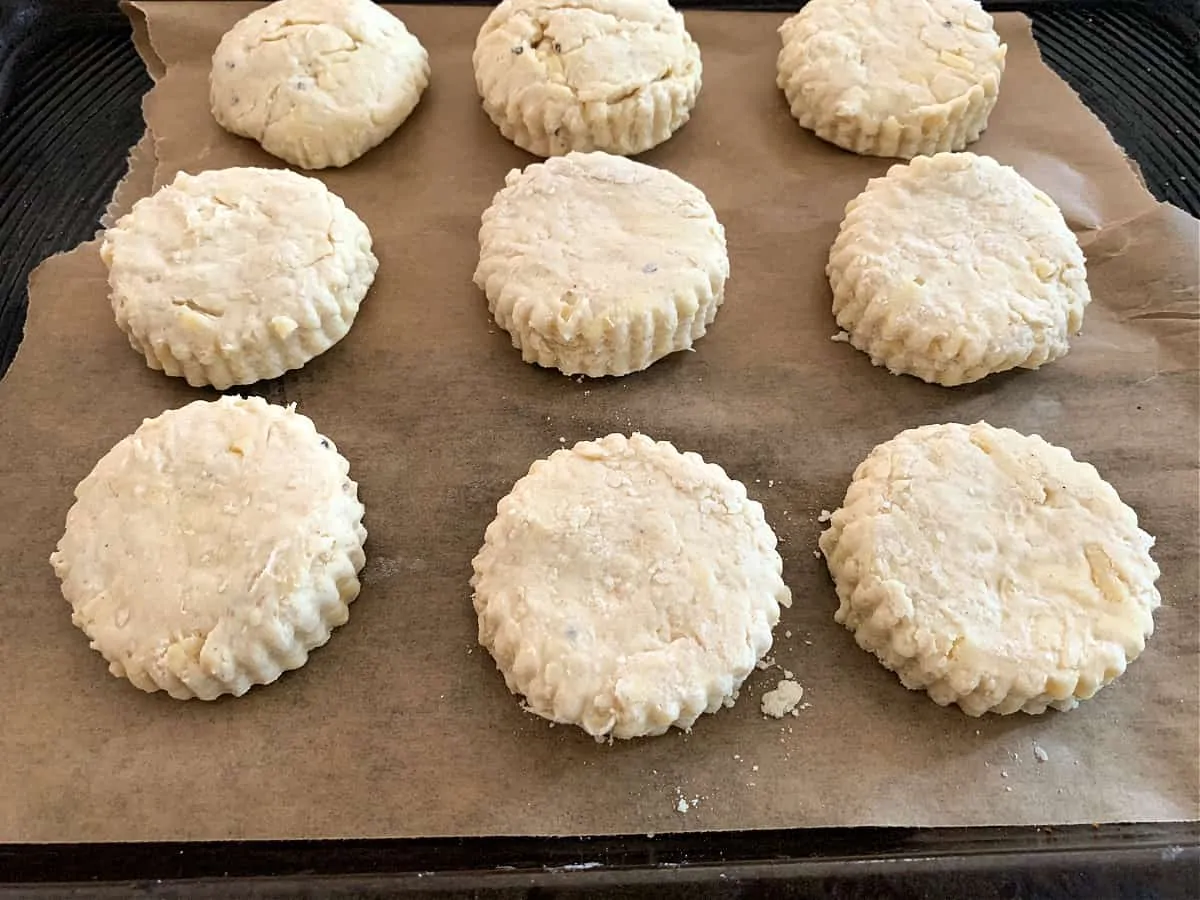
Cut out 8-10 rounds using a medium scone cutter – be careful not to turn the cutter, try to just press the cutter in and remove. Place the cut scones on a baking tray lined with baking paper.
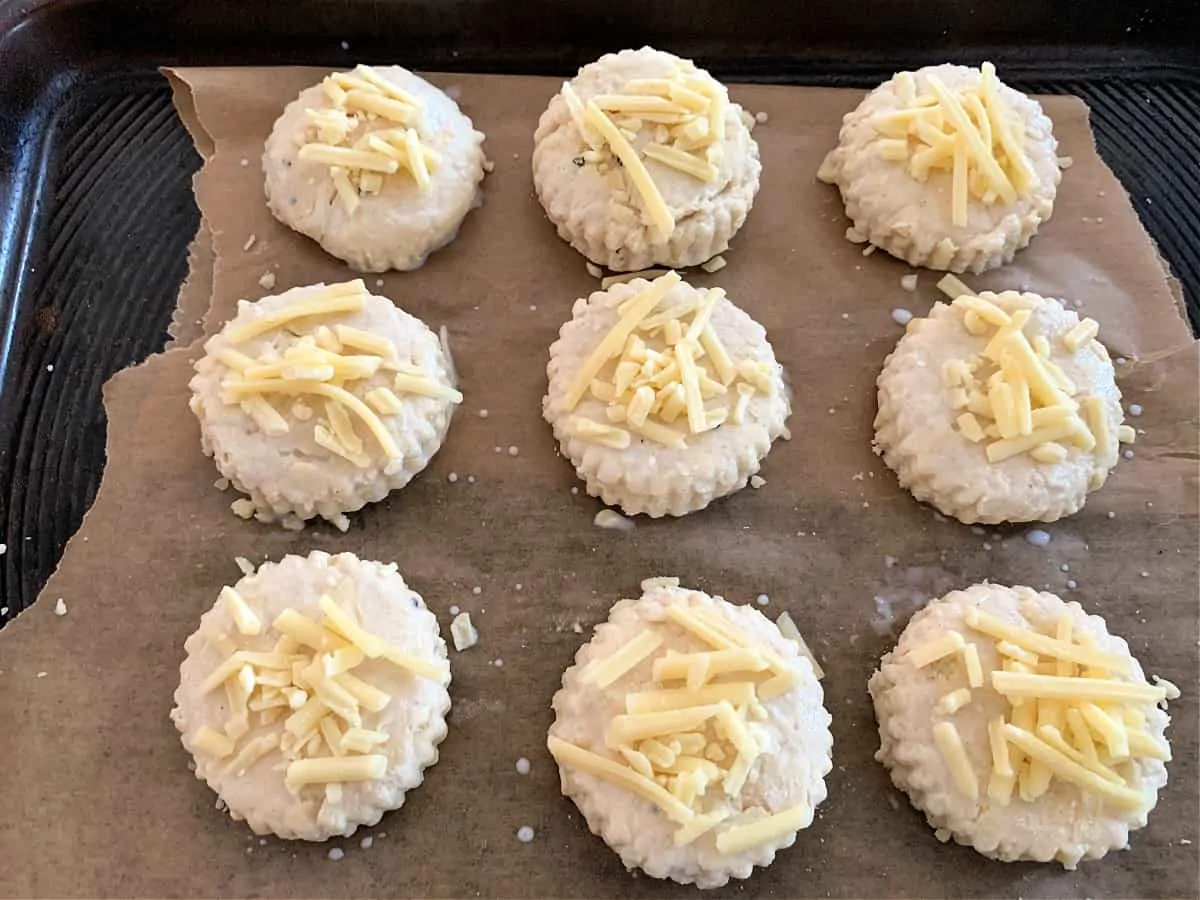
Step 5. Sprinkle the remaining 30 g of grated cheese onto the scones, making sure each one is well topped. Brush over the scones lightly with one to two tablespoons of milk using a pastry brush.
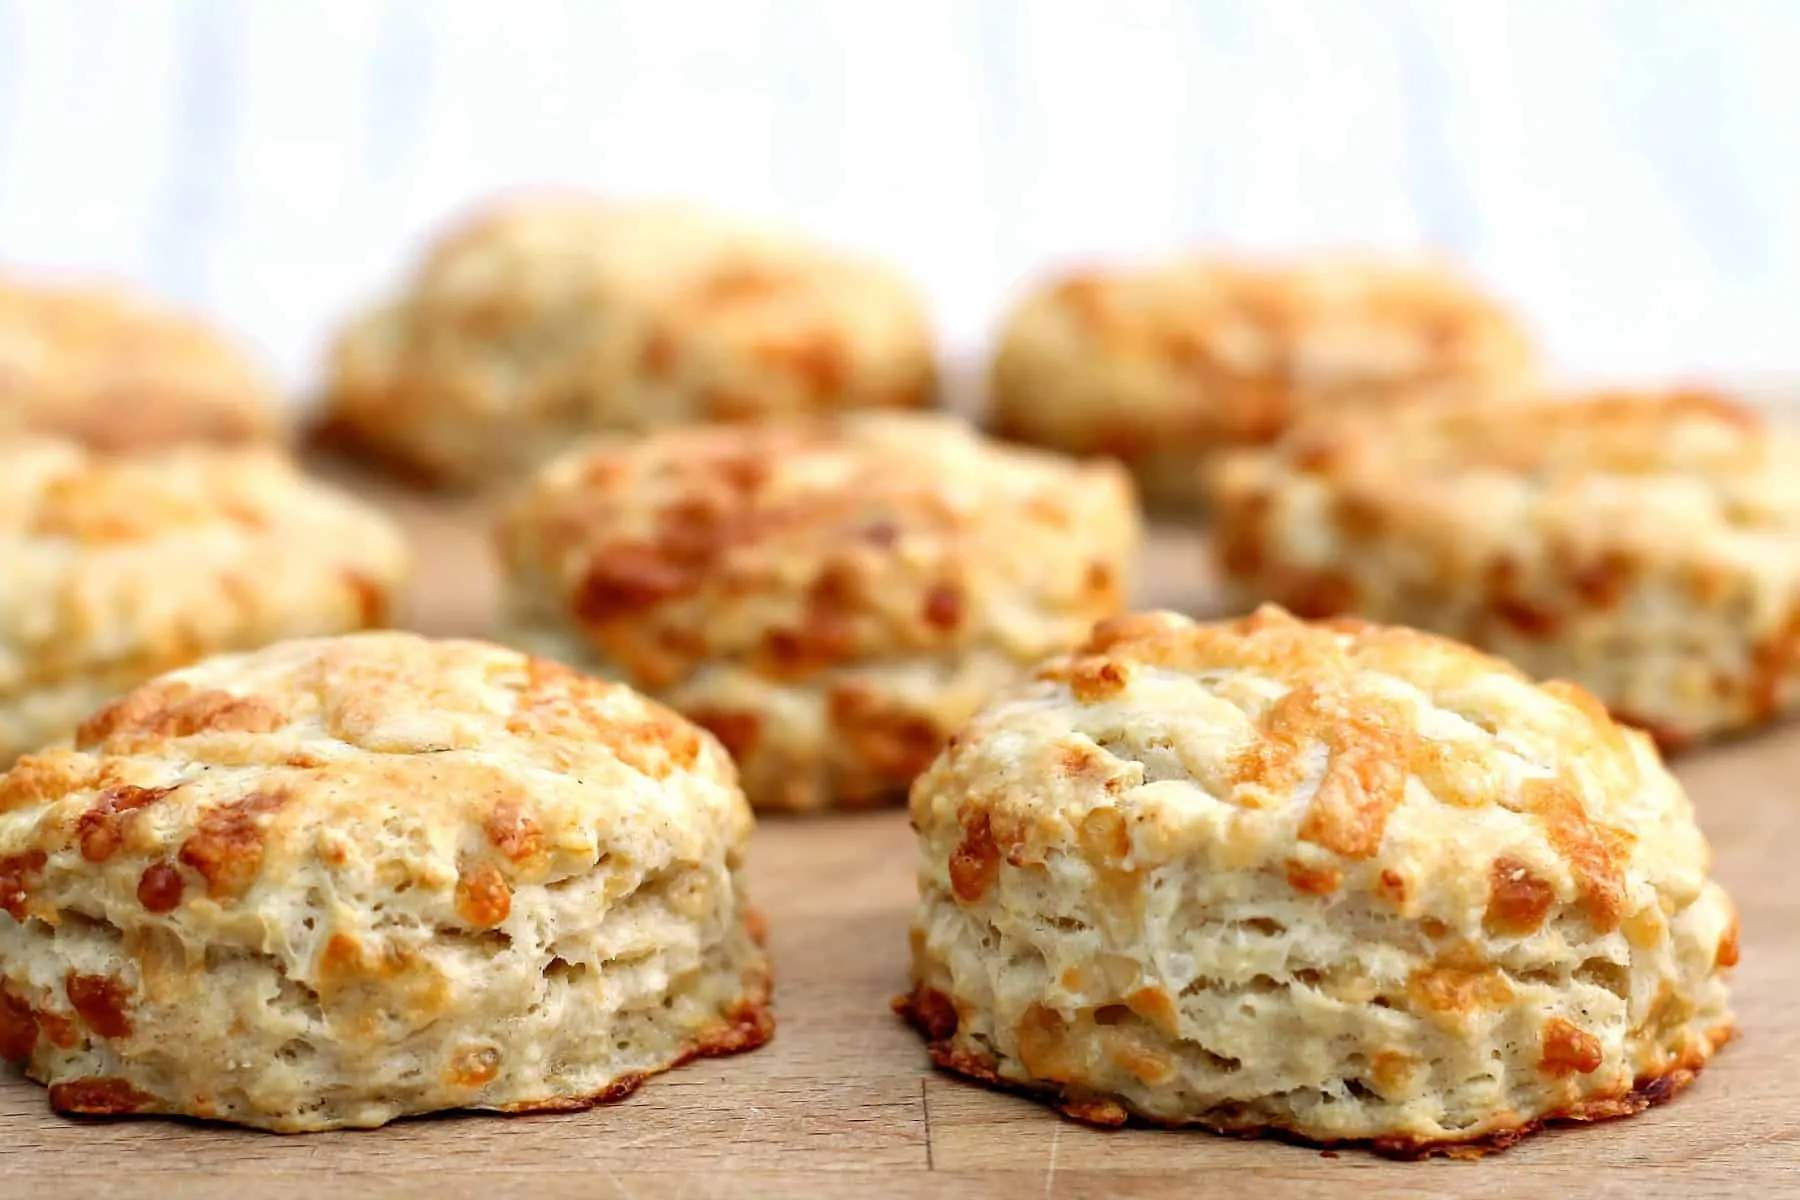
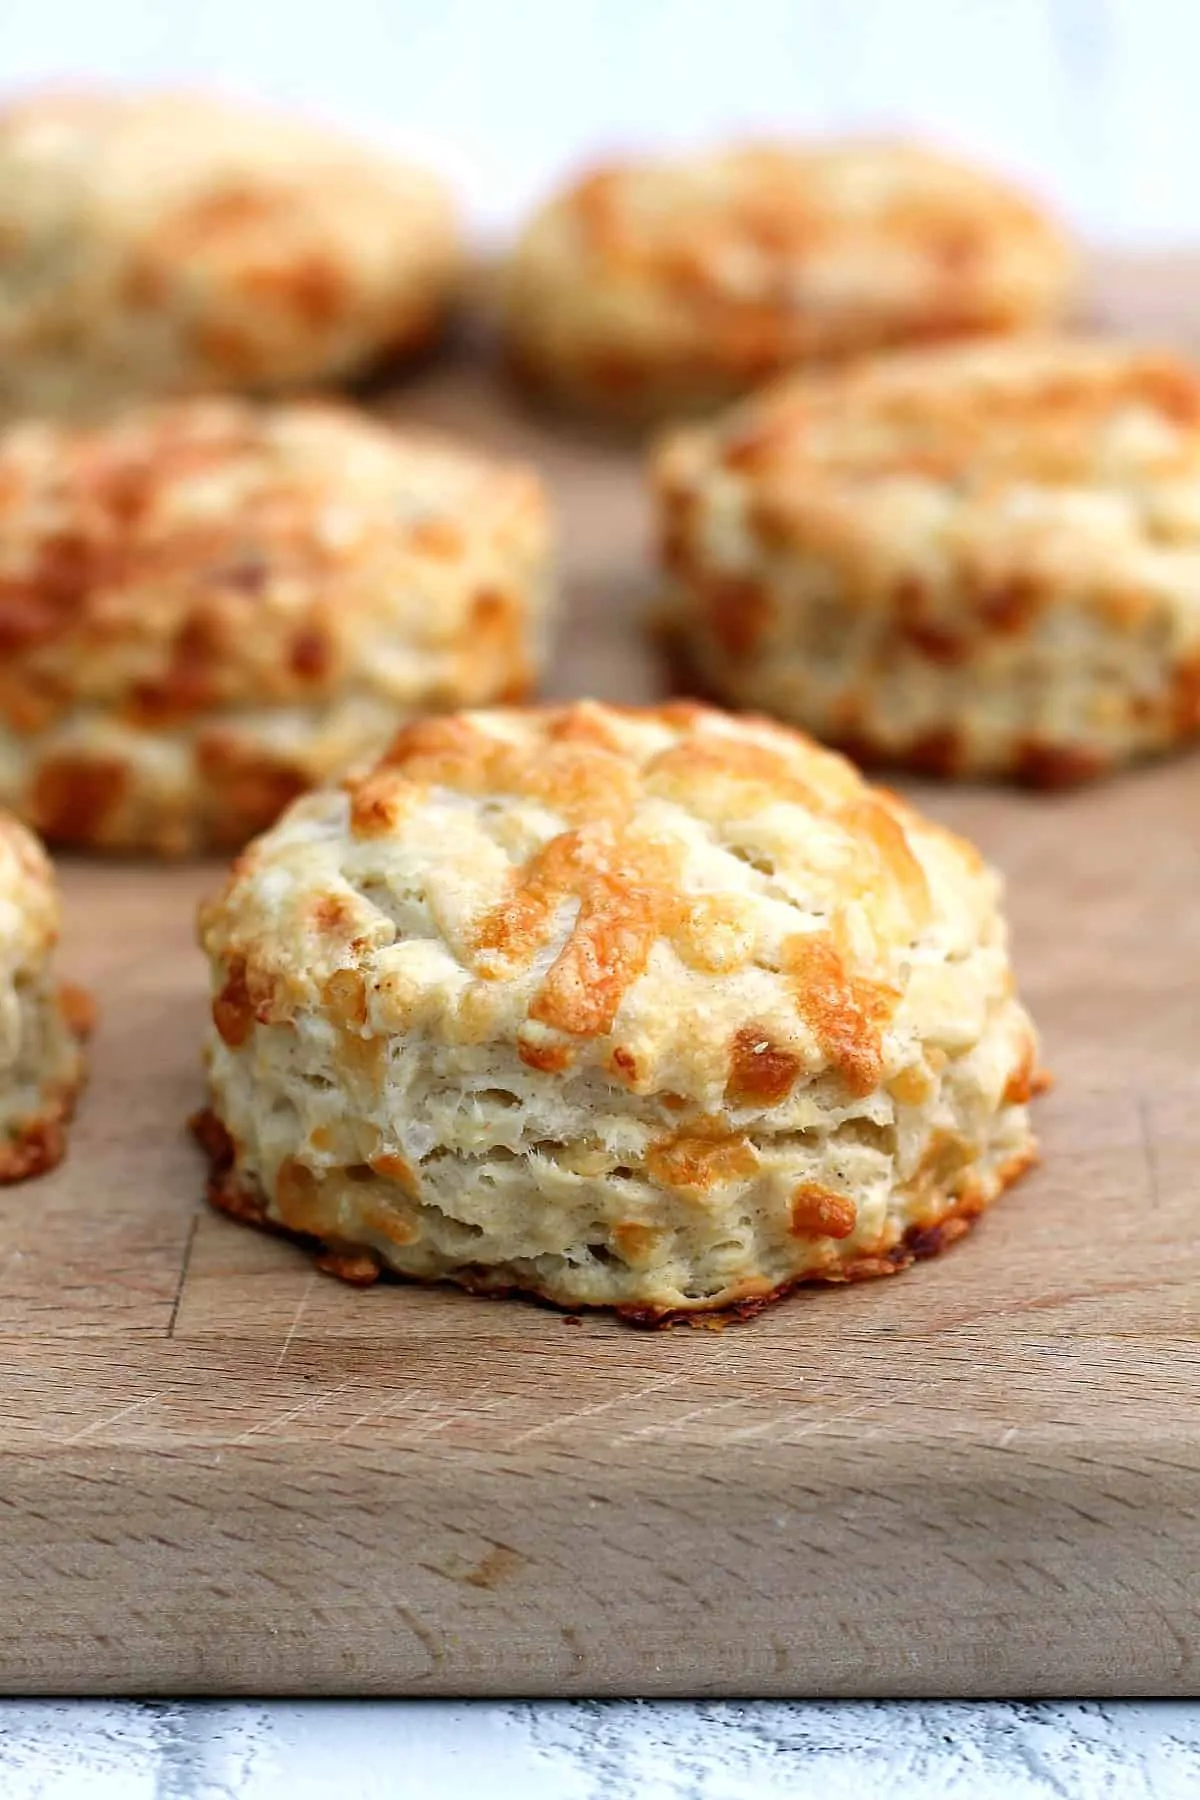
Step 6. Bake the scones for 20-25 minutes or until golden. Remove from the oven and allow to cool then serve.
Recipe tips
Yes you can freeze cheese scones. Allow to cool then freeze in a freezer bag separated with strips of baking paper for best results.
Yes, but if you use mild cheddar cheese then the cheese flavour in the scones will be less intense. You could use other semi-hard cheeses like Red Leicester, Edam, Gouda, whichever you prefer and would like to taste in scone form! Why note add some shaved Parmesan over the scones before baking.
The key is in not rolling the dough out too thin in the first place and then folding it over to make a thicker dough as I have done here. Some people even swear by not rolling scone dough at all, just pressing it into shape. When cutting out the scones the dough should be at least an inch thick to start with. Don’t press and rotate the cutter, just press and remove.
Picnics
When it comes to summer one of the great things is spending more time outdoors; walks in the country, in the park or by the river are fun when the sun it out.
Make it even more fun by bringing a picnic rug and a few snacks to enjoy while sprawled out!
Cheese scones are really versatile, you can eat them warm with butter, so good.
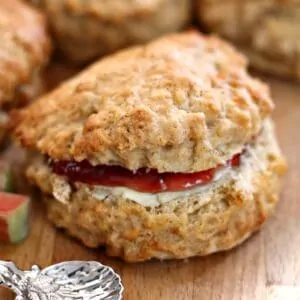
Or use them a bit like cheese rolls and fill with butter, cheese, ham or your favourite filling.
Great for a savoury option for a picnic!
Grab a tub of salad, a few different cheeses, some butter and your cheese scones, and your picnic buddies can assemble their own picnic snacks.
If you like this
You might also like these other scone recipes:
Recipe

Cheese Scones
Ingredients
- 230 g (1 ¾ cups) self-raising flour
- 55 g (¼ cup) unsalted butter
- 105 g (1 cup) mature/sharp cheddar cheese grated
- 175 ml (¾ cup) milk semi-skimmed
- 1 tsp salt
- pepper to taste
Instructions
- In a large bowl, place the self-raising flour. Cut the cold butter into dice and rub the butter into the flour using the tips of your fingers until it has the appearance of large breadcrumbs.230 g / 1 ¾ cups self-raising flour, 55 g / ¼ cup unsalted butter
- Add 1 tsp salt and a good grinding of black pepper (omit salt if using salted butter). Add 75 g of the grated mature cheddar and stir through.1 tsp salt, pepper, 75 g / 0.71 cup mature/sharp cheddar cheese
- Add the milk and stir well to combine.175 ml / ¾ cup milk
- Transfer the scone mixture to a floured work surface and roll out using a rolling pin. Fold the dough over and roll again gently to press it together, so you have dough with a thickness of approx one inch (2.5 cm).
- Cut out 8-10 rounds using a medium scone cutter and place them on a baking tray lined with baking paper. Don't turn the cutter, just press and remove.
- Sprinkle the remaining 30 g of grated cheese onto the scones, making sure each one is well topped. Brush over the scones lightly with one to two tablespoons of milk using a pastry brush.30 g / 0.29 cup mature/sharp cheddar cheese
- Bake the scones for 20-25 minutes or until golden. Remove from the oven and allow to cool then serve.


Joanna Houston says
One of the most delicious scones
Great and easy recipe
bakingqueen74 says
Great, thanks for your review Joanna
Nic | Nic's Adventures & Bakes says
Thanks for sharing, these look amazing lovely for a savoury afternoon tea or picnic 🙂
Nic | Nic’s Adventures & Bakes