BakingQueen74

  • Recipe Index
  • Slow Cooker Baking
    • Slow Cooking Baking Tips
    • Slow Cooker Desserts
    • Make a Cake in a Slow Cooker
  • Slow Cooker
    • Slow Cooker Tips
    • Slow Cooker Recipes
    • Slow Cooker Recipes for Kids
    • Autumn & Winter Slow Cooker Recipes
    • Spring & Summer Slow Cooker Recipes
    • Top Ten Slow Cooker Recipes
  • Baking
    • Christmas Baking Recipes
    • Cake
    • Desserts
    • Biscuits
    • Pâtisserie
    • Bread
    • Traybakes
menu icon
go to homepage
  • Recipes
  • Slow Cooker Tips
  • Slow Cooker Baking
  • Subscribe
  • About
    • Facebook
    • Instagram
    • Pinterest
  • subscribe
    search icon
    Homepage link
    • Recipes
    • Slow Cooker Tips
    • Slow Cooker Baking
    • Subscribe
    • About
    • Facebook
    • Instagram
    • Pinterest
  • ×
    Home » Recipes » Scones

    Fruit Scones

    image of Lucy's face
    Modified: May 10, 2026 · Published: May 10, 2026 by bakingqueen74 · This post may contain affiliate links · Leave a Comment
    1 shares
    Jump to Recipe

    Soft, fluffy fruit scones packed with juicy dried fruit are a classic British bake and so quick and easy to make at home. These homemade fruit scones have a golden, tender crumb and are perfect served warm with butter, jam, or clotted cream.

    A stack of three fruit scones on a baking rack.

    Whether for afternoon tea, as a snack for after school or work, or for a simple weekend treat, this easy fruit scone recipe delivers bakery-style results every time.

    I have various scone recipes on this site, including a lot of fruity scones (rhubarb, blackberry, cheese, cherry and coconut and more, not forgetting various slow cooker scones) but these are the everyday scones I make the most. So I have gone back to basics with this recipe.

    Triangle fruit scones on cooling rack.

    These easy fruit scones are quick to make and such a nostalgic bake anytime.

    Triangle or American-style scones have a few advantages over traditional round scones that I love:

    • so easy to make, you only need a knife, no scone cutters are required
    • they are bigger giving you more scone!
    • they come out fluffier because you are working the dough less – no rolling out, cutting out and re-rolling to use the scraps left after cutting. Win-win!
    • there is room for more filling – butter, cream and jam
    Jump to:
    • Ingredients
    • Instructions
    • Top Tip
    • Substitutions
    • Variations
    • Storage
    • Freezing
    • Defrosting and Reheating
    • Related
    • Recipe
    •  
    • Feedback

    Ingredients

    Here are the ingredients you will need for this fruit scone recipe. You’ll find the quantities together with the full directions in the recipe card at the bottom of the post. 

    Labelled ingredients for fruit scones on wooden table.
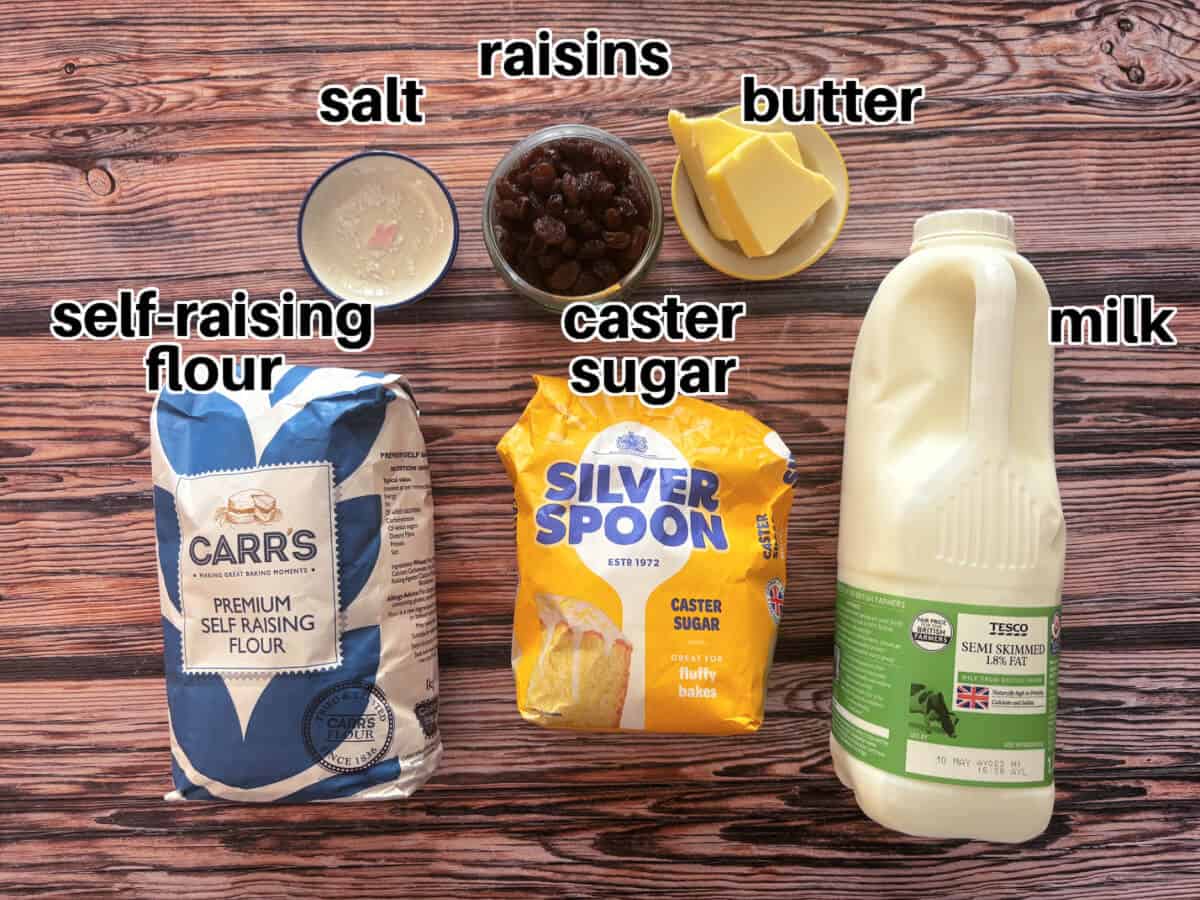
    • raisins – feel free to swap raisins for sultanas, currants or a mixture. I tend to use whatever I have in my baking cupboard that needs to be finished. They add little bursts of chewy sweetness to the dough.
    • self-raising flour – this type of flour ensures your scones rise when baked. If you don’t have self-raising flour you can use plain flour plus 1.5 tbsp of baking powder instead.
    • butter – this provides richness to the scone dough. I tend to use unsalted butter in my baking.
    • salt – a little salt enhances the flavour of the other ingredients. If you are using salted butter you can omit it.
    • caster sugar – scone dough only uses a little sugar for sweetening. You can use granulated sugar if that’s all you have.
    • milk – helps to make the soft scone dough when combined with the dry ingredients.

    Instructions

    Before you start, read my step-by-step instructions, with photos, hints and tips so you can make these fruit scones perfectly every time.
    Scroll down for the recipe card with quantities and more tips at the bottom of the page.

    Butter and flour in a bowl.

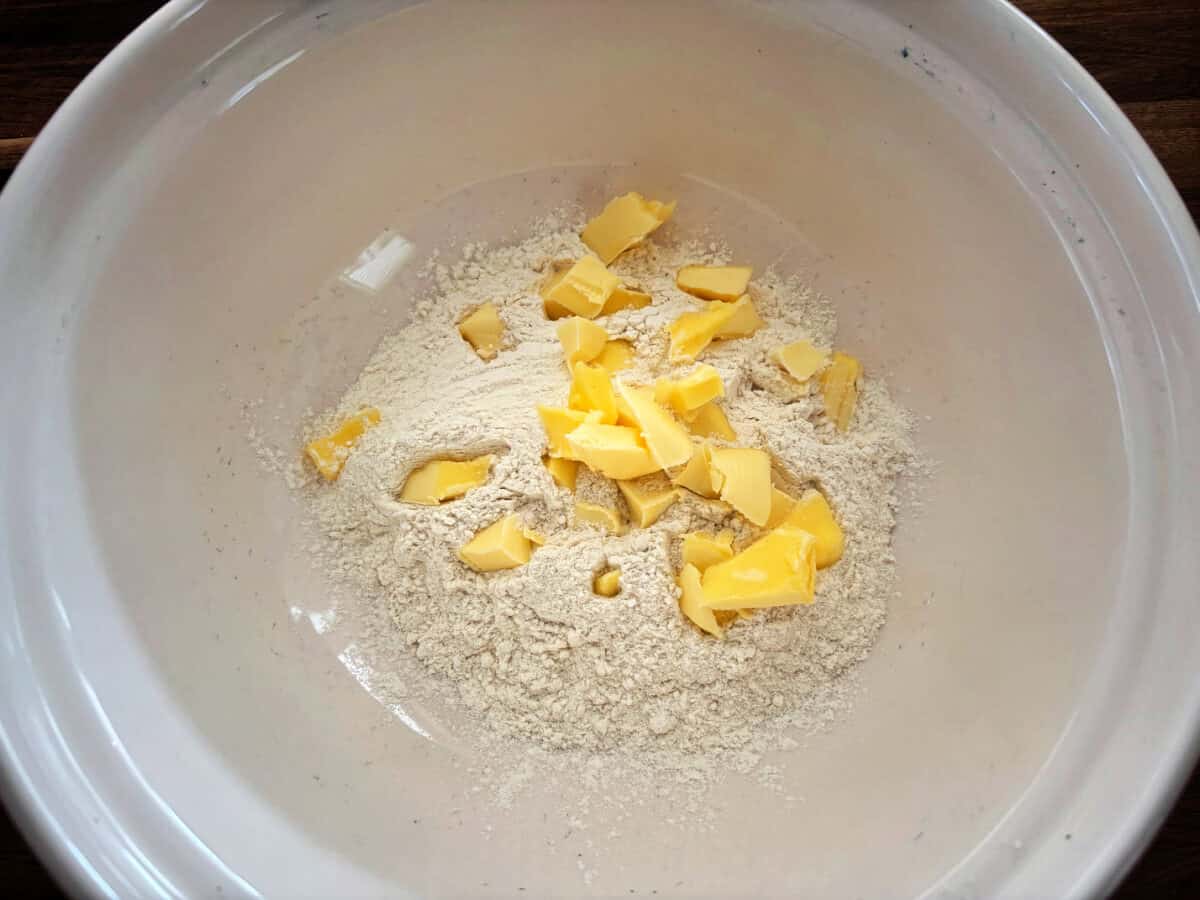
    Step 1. Pre-heat your oven to 180°C or 350°F. Measure out the self-raising flour and butter, and cut the butter into cubes. Add a pinch of salt.

    Butter rubbed into flour, breadcrumb texture.

    Step 2. Rub the butter into the flour roughly, until it has the appearance of breadcrumbs.

    Scone mixture with added sugar and milk.

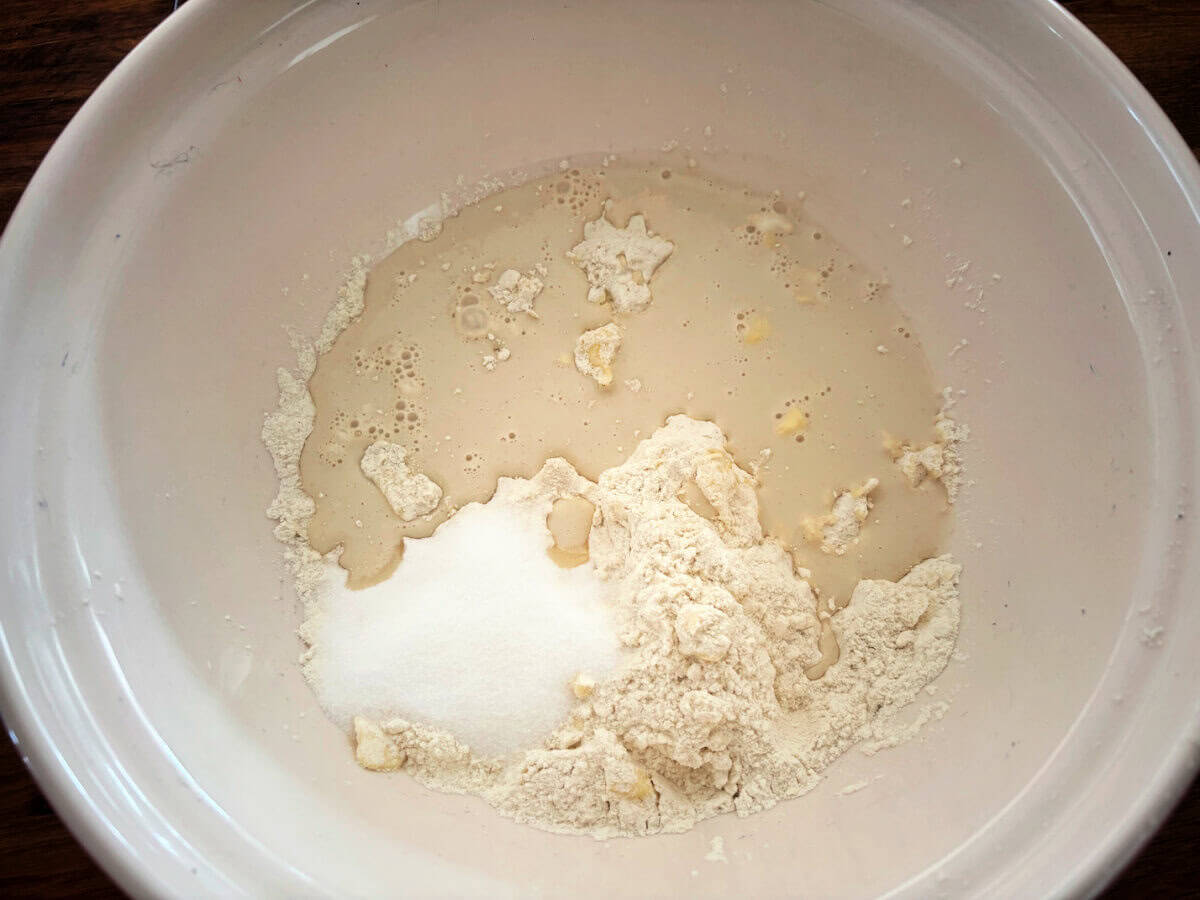
    Step 3. Add the milk and sugar and stir it together until it forms a soft dough.

    Scone dough brought together in bowl.

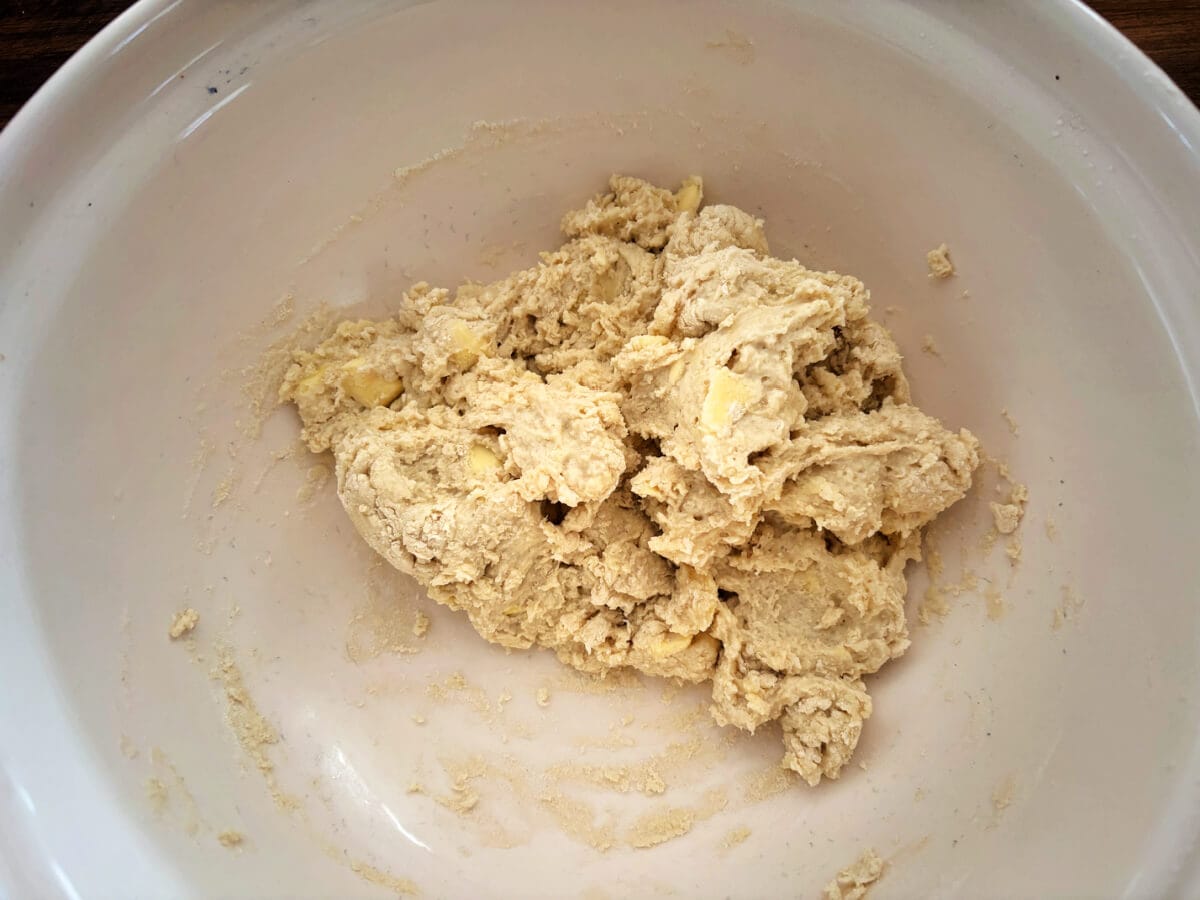
    Step 4. Once the dough has come together, tip it onto a floured surface.

    Scone dough formed into a round.

    Step 5. Knead gently just to bring the dough together.

    Raisins added to scone mixture.

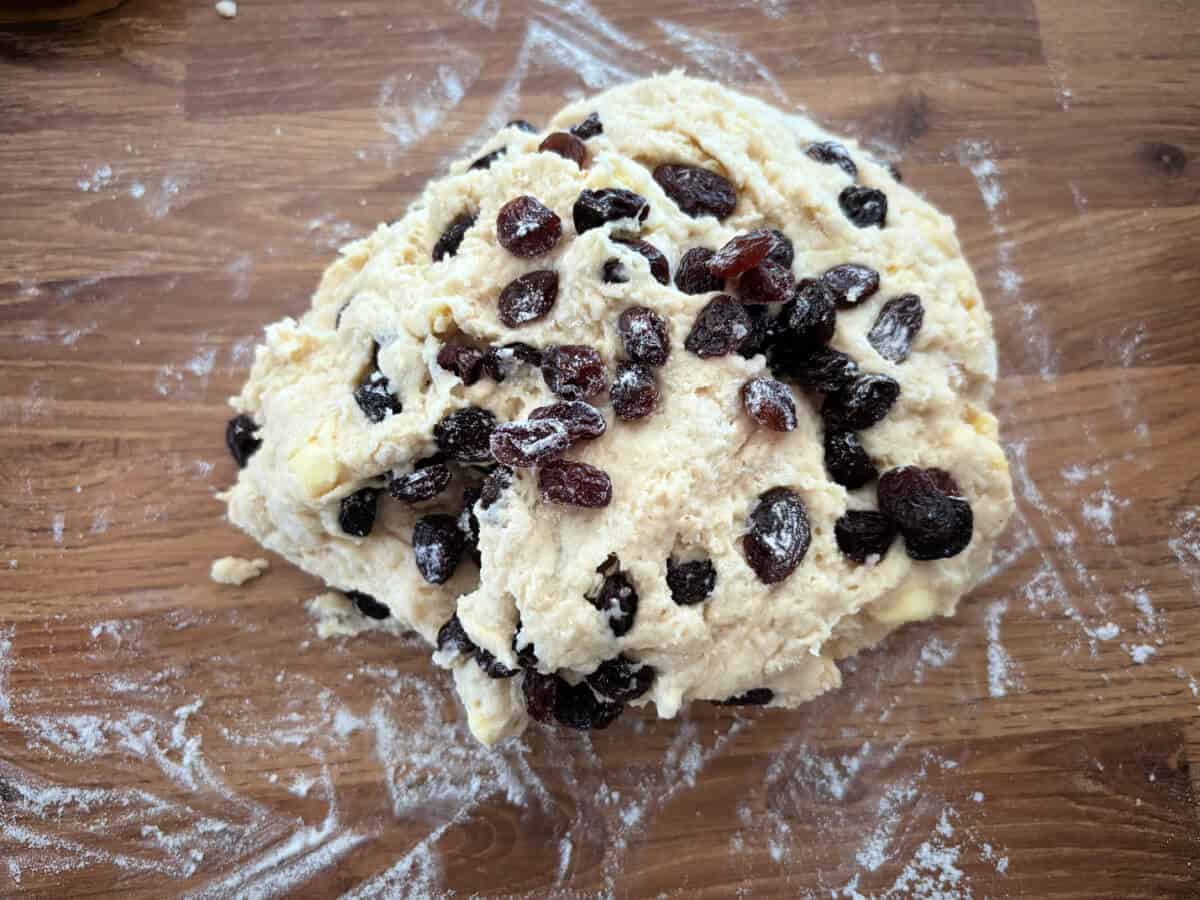
    Step 6. Add the raisins and briefly knead them into the dough.

    Scone dough rolled out into a flat circle.

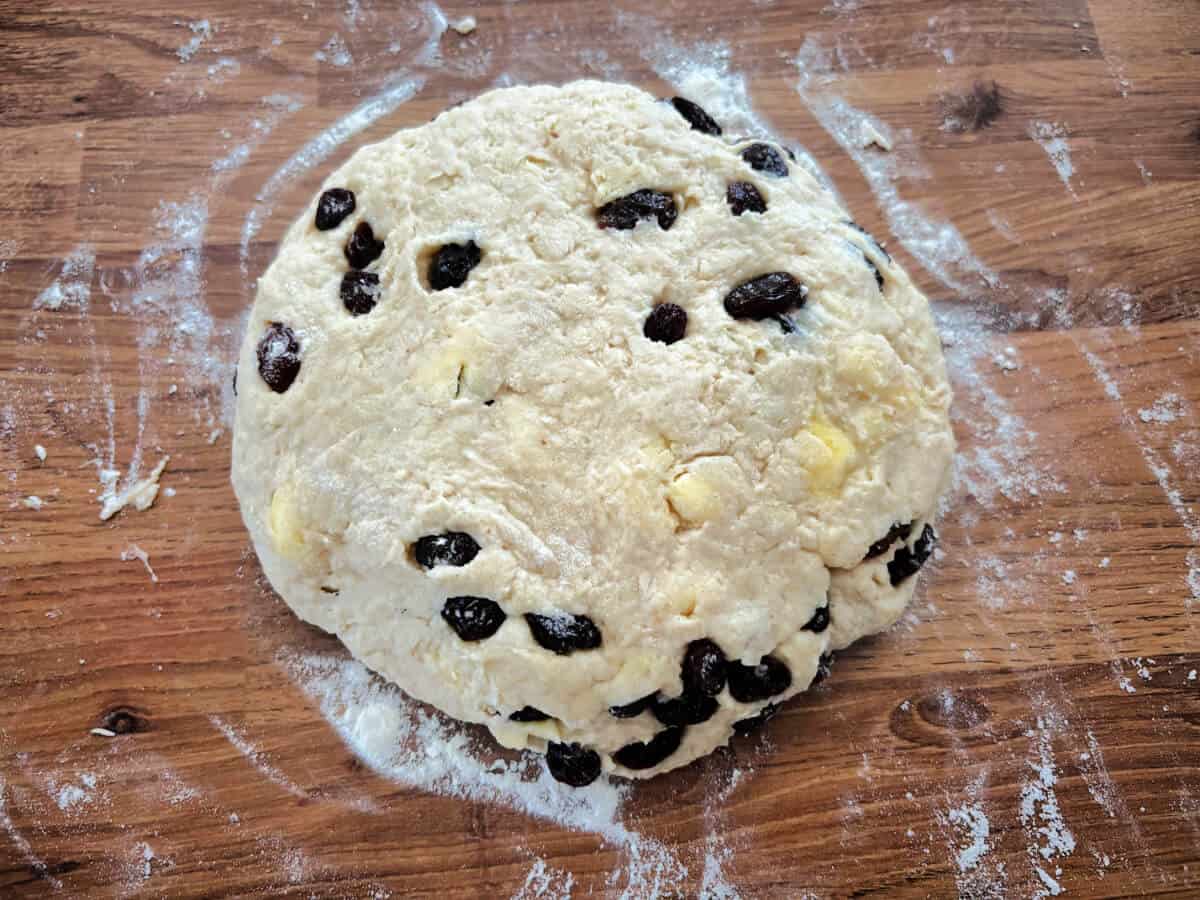
    Step 7. Shape the dough into a flattened ball shape.

    Scone round cut into 6 triangles.

    Step 8. Cut the dough into six triangles – first cut the dough in half then cut each half into three equal pieces.

    Triangle fruit scones on lined baking tray.

    Step 9. Transfer the triangles to a lined baking sheet. Brush the scones with a little milk using a pastry brush.

    Baked fruit scones on baking tray.

    Step 10. Bake for 20-25 minutes at 180℃ / 350℉, until golden and cooked through.

    Fruit scones on a baking rack, one broken open showing the soft crumb inside.

    Enjoy warm with butter or cream and jam with a cup of tea!

    Top Tip

    Scones are always best eaten fresh on the day they’re made. Or sometimes, eaten as soon as they are out of the oven, smothered in butter!

    Substitutions

    This recipe is vegetarian.

    To make the scones dairy free or vegan, use plant-based milk and plant-based butter.

    Variations

    You can use different dried fruit in your fruit scones such as dried cranberries, dried cherries, chopped dried apricots, dried blueberries or even dried pineapple. These will all give fruit scones a different dimension and a twist on the traditional raisins, sultanas or currants.

    Try adding a little lemon or orange zest.

    For chocoholics, why not do away with fruit completely and replace it with chocolate chips.

    Storage

    Store fruit scones in an airtight container at room temperature for up to 2 days. Keep them in a cool, dry place – avoid the fridge.

    If your kitchen is very warm, they may only stay at their best for one day.

    Freezing

    Fruit scones freeze very well. Allow to cool completely, then freeze in a sealed bag or container for up to 3 months.

    You can freeze them whole or sliced in half for easier serving.

    Defrosting and Reheating

    Defrost at room temperature for a few hours.

    To refresh, warm in the oven at 140°C for approx. 5 minutes.

    Alternatively, microwave briefly (10-20 seconds), though this gives a softer texture.

    Related

    Looking for other recipes like this? Try these next:

    • Triange cheese scones in a circle, on baking paper, with scattered spring onion slices.
      Slow Cooker Cheese Scones
    • Close up shot of a golden cheesy scone on a wooden board.
      Easy Cheese Scones
    • Close up of a scone filled with butter and jam.
      Rhubarb Scones
    • Scones on a white round rack on a blue background.
      Cherry Coconut Scones

    Recipe

    Golden brown triangle fruit scones on a metal cooling rack.

    Fruit Scones

    By Lucy Allen | BakingQueen74
    Buttery, golden fruit scones packed with juicy dried fruit and baked until perfectly fluffy. Delicious served warm with butter, jam, or clotted cream for a classic homemade treat.
    No ratings yet
    Prep Time: 5 minutes minutes
    Cook Time: 25 minutes minutes
    Total Time: 30 minutes minutes
    Servings: 6
    Course: Baking
    Cuisine: American, British
    Calories: 285kcal
    Rate Save Saved! Pin Print

    Ingredients

    • 225 g (1 ¼ cups + 2 tbsp) self-raising flour
    • 1 pinch salt
    • 55 g (¼ cup) butter unsalted
    • 30 g (2 tbsp + 1 tsp) caster sugar
    • 150 ml (½ cup + 2 tbsp) milk
    • 100 g (½ cup + 3 tbsp) raisins or sultanas, currants

    Equipment

    mixing bowl
    mixing bowl
    weighing scales
    weighing scales

    Instructions
     

    • Pre-heat your oven to 180°C or 350°F. Measure out the self-raising flour and butter and cut the butter into cubes. Add a pinch of salt.
      225 g / 1 ¼ cups + 2 tbsp self-raising flour, 55 g / ¼ cup butter, 1 pinch salt
    • Rub the butter into the flour roughly, until it has the appearance of breadcrumbs.
    • Add the milk and sugar and stir it together until it forms a soft dough.
      150 ml / ½ cup + 2 tbsp milk, 30 g / 2 tbsp + 1 tsp caster sugar
    • Once the dough has come together, tip it onto a floured surface.
    • Knead gently just to bring the dough together.
    • Add the raisins and briefly knead them into the dough.
      100 g / ½ cup + 3 tbsp raisins
    • Shape the dough into a flattened ball shape.
    • Cut the dough into six triangles – first cut the dough in half then cut each half into three pieces.
    • Transfer the triangles to a lined baking sheet. Brush the scones with a little milk using a pastry brush.
    • Bake for 20-25 minutes at 180°C / 350°F, until golden and cooked through.
    • Enjoy warm with butter, jam and clotted cream!

    Notes

    Substitutions
    This recipe is vegetarian.
    To make the scones dairy free or vegan, use plant-based milk and plant-based butter.
    Variations
    You can use different dried fruit in your fruit scones such as dried cranberries, dried cherries, chopped dried apricots, dried blueberries or even dried pineapple.
    These will all give fruit scones a different dimension and a twist on the traditional raisins, sultanas or currants.
    Try adding a little lemon or orange zest.
    For chocoholics, why not do away with fruit completely and replace it with chocolate chips.
    Storage
    Store fruit scones in an airtight container at room temperature for up to 2 days. Keep them in a cool, dry place – avoid the fridge.
    If your kitchen is very warm, they may only stay at their best for one day.
    Freezing
    Fruit scones freeze very well. Allow to cool completely, then freeze in a sealed bag or container for up to 3 months.
    You can freeze them whole or sliced in half for easier serving.
    Defrosting and Reheating
    Defrost at room temperature for a few hours.
    To refresh, warm in the oven at 140°C for approx. 5 minutes.
    Alternatively, microwave briefly (10-20 seconds), though this gives a softer texture.


    Have you made this recipe?Please leave a star rating and comment below to let me know how you got on!

    More Scones

    • Close up of berry scone with lemon zest.
      Lemon Berry Scones
    • Blueberry scone cake filled with cream on a white plate.
      Slow Cooker Giant Blueberry Cream Scone
    • Pumpkin scone round with one triangle removed.
      Pumpkin Chocolate Chip Scones
    • Scones with blood orange syrup topped with blood orange pieces.
      Blood Orange Buttermilk Scones

    Comments

    No Comments

    Leave a Reply Cancel reply

    Your email address will not be published. Required fields are marked *

    Recipe Rating


    Hi, I'm Lucy! I'm a slow cooker addict, food blogger and also a busy working mum of two. I hope you'll enjoy the recipes I create and post which are perfect for busy families.

    More about me →

    Popular

    • Rhubarb sponge pudding in a dish with bowl served to the side.
      Rhubarb Sponge Pudding
    • Shepherds pie in slow cooker pot, garnished with herbs.
      Slow Cooker Shepherd’s Pie
    • Grey bowl of vibrant fish curry garnished with fresh coriander and sliced red chilli.
      Slow Cooker Coconut Fish Curry
    • Flapjack with chunks of rhubarb on wooden board.
      Rhubarb Flapjacks (Oat Bars)

    Seasonal

    • Chicken breast with herbs and asparagus in a serving dish.
      Slow Cooker Lemon Chicken with Asparagus
    • Bowl of lamb stew with carrots garnished with parsley.
      Slow Cooker Lamb Casserole
    • Pot of green hummus on a wooden board, pea pods behind.
      Broad Bean Hummus with Pea and Mint
    • Chicken spinach curry in slow cooker pot.
      Slow Cooker Chicken Saag Curry

    As Seen In

    Footer

    ^ back to top

    About

    • Privacy Policy
    • Accessibility
    • Advertising

    Subscribe

    • Subscribe here

    Contact

    • About

    As an Amazon Associate I earn from qualifying purchases.

    Copyright © 2013-2026 BakingQueen74 / Lucy Allen • All Rights Reserved

    Rate This Recipe

    Your vote:


    A rating is required
    A name is required
    An email is required