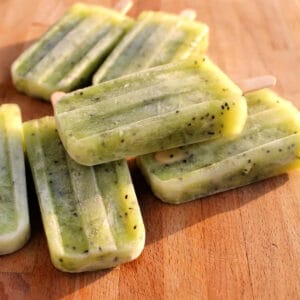
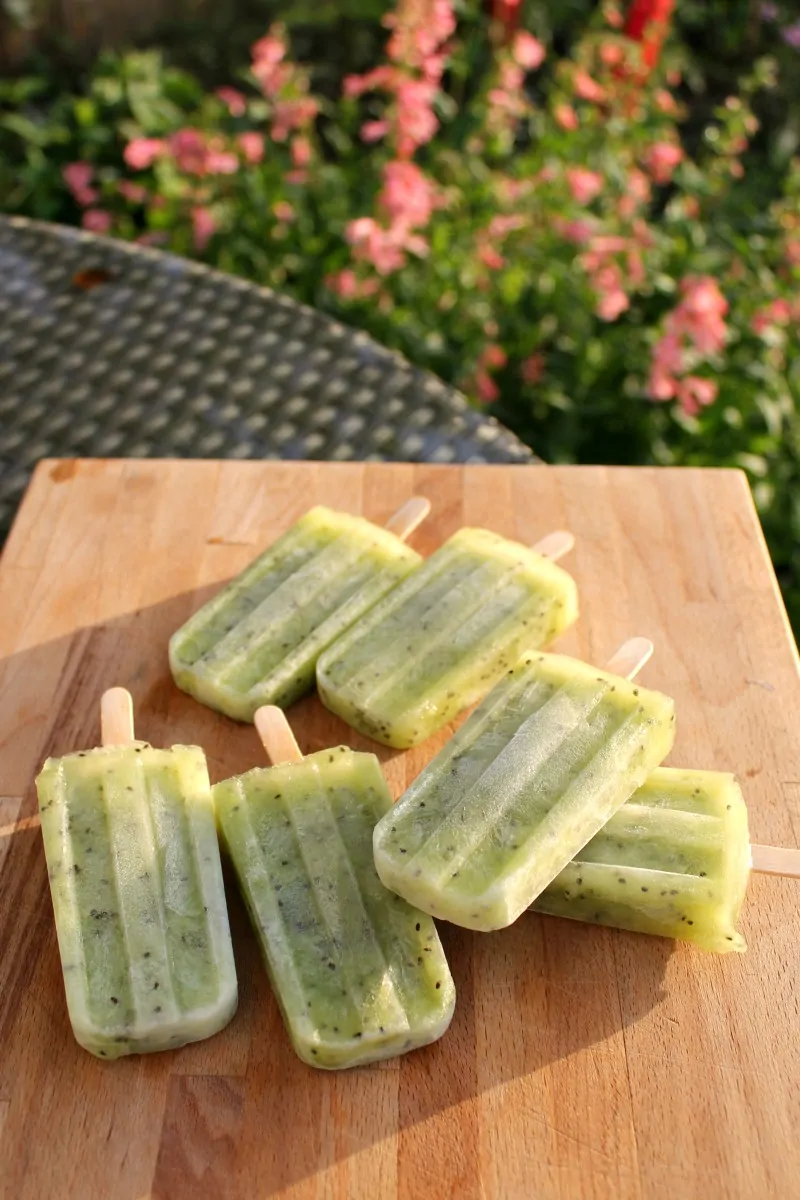
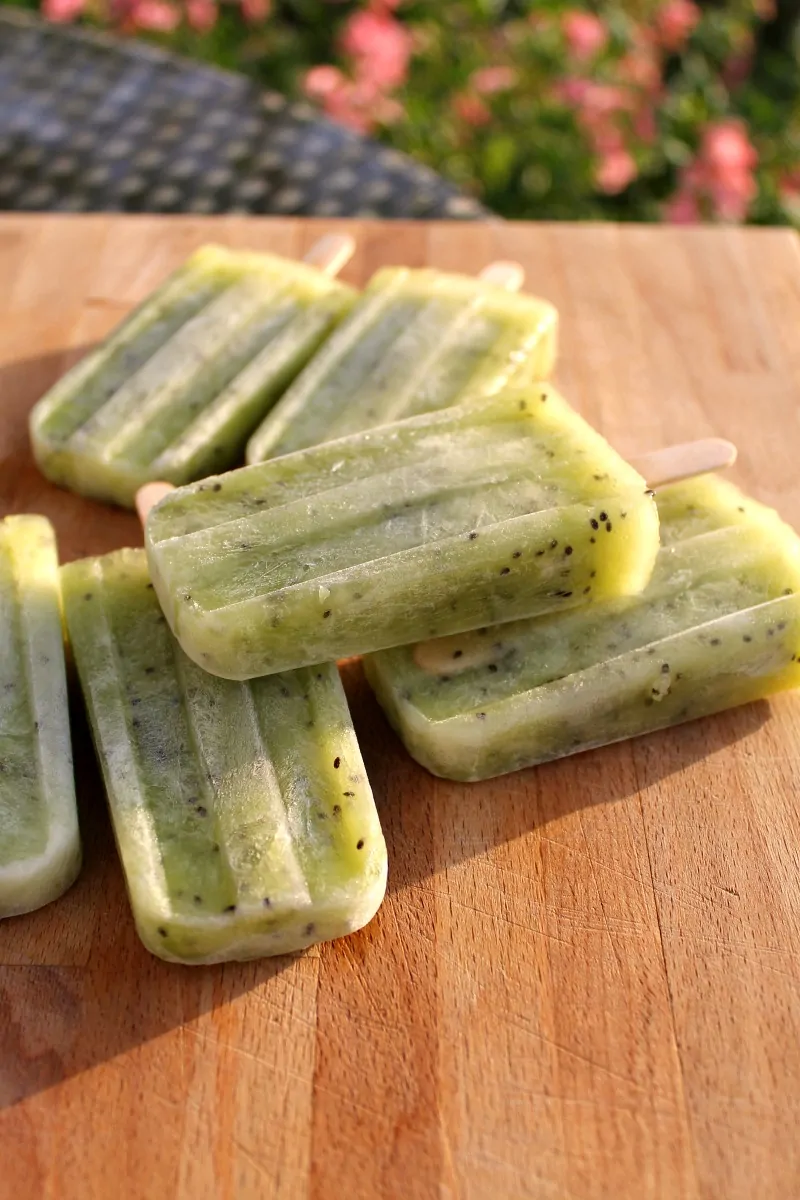
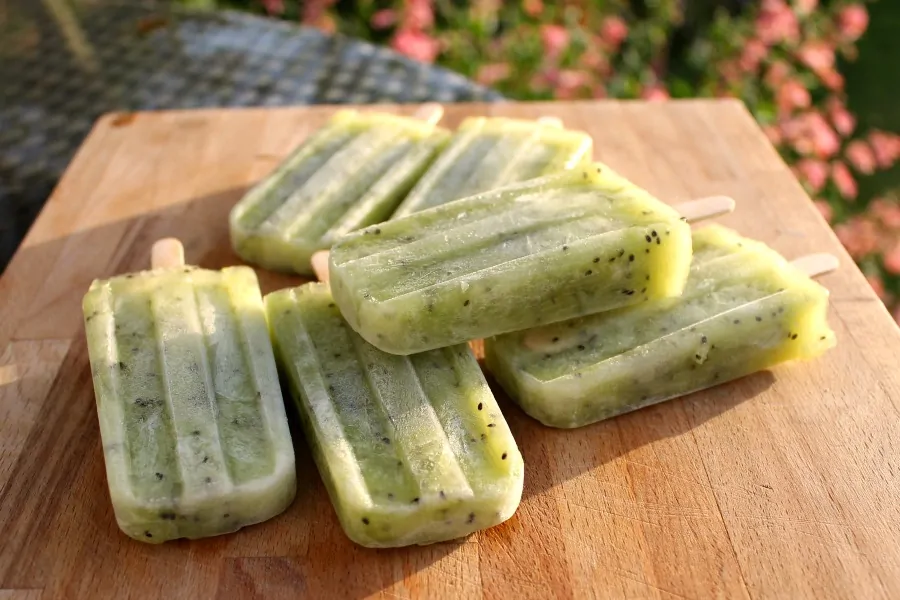
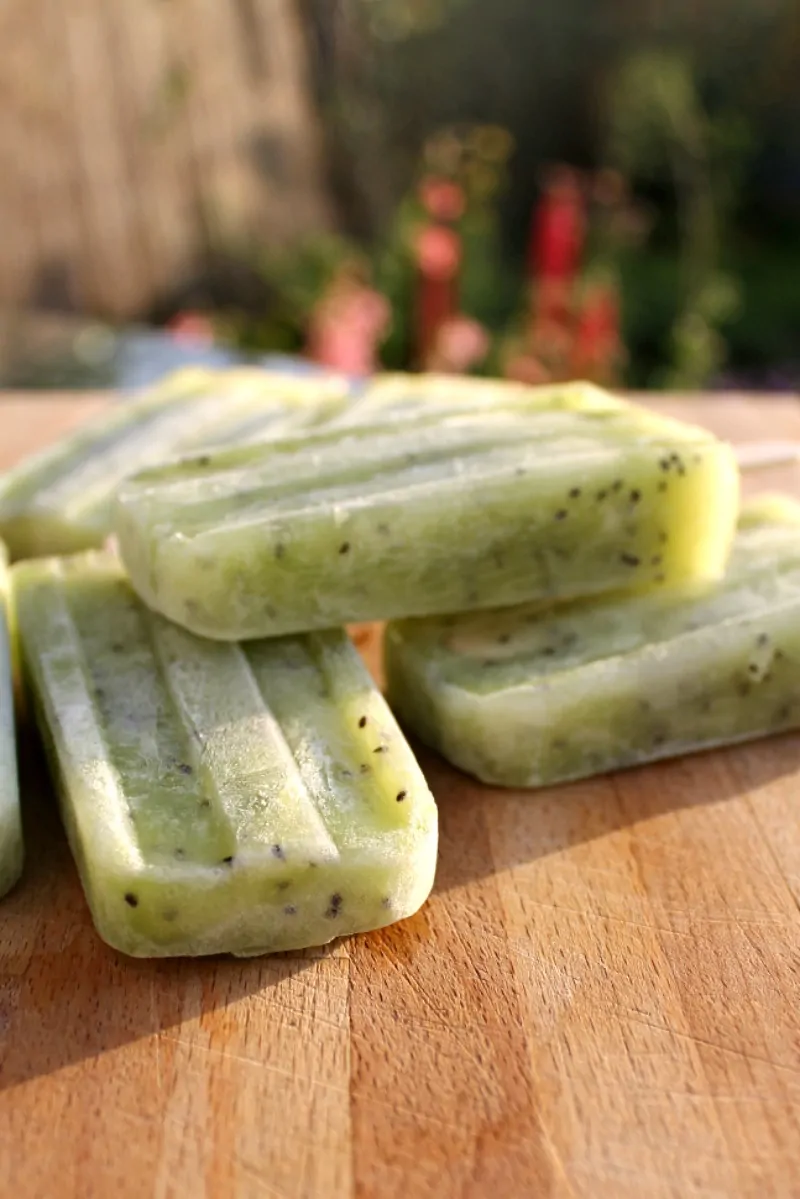
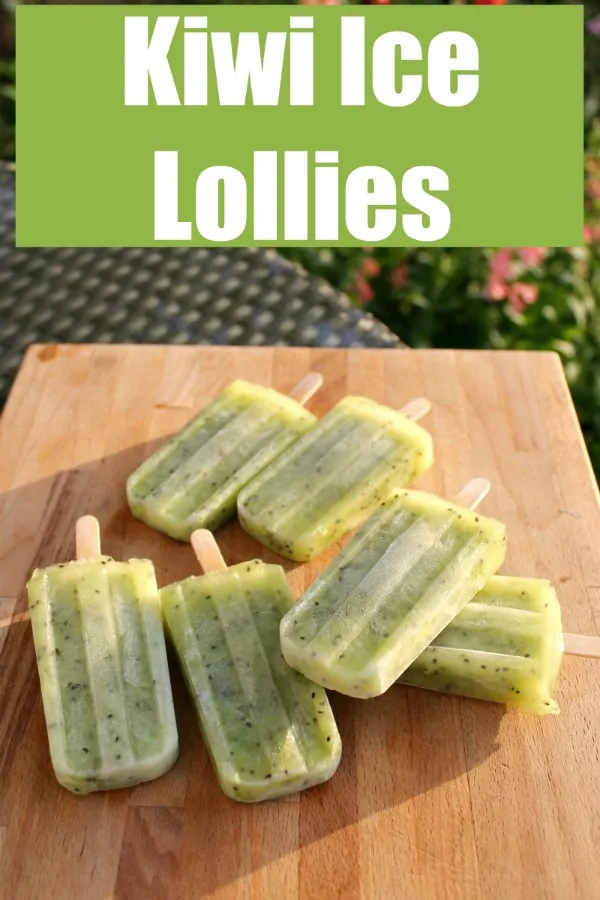
Kiwi ice lollies are just what you need to refresh you this summer. If you love kiwi fruit, you’ll adore these refreshing ice lollies, or popsicles, made from puréed kiwi fruit.
I’ve used some low calorie tonic water with lime which was left over from my latest gin and tonics and found that this mixer goes perfectly with the kiwi here. It would also be nice if you add a shot or two of gin if you want to serve these ice lollies to grownups rather than to kids!
You can replace the tonic water with fruit juice (apple would be nice) or lemonade if you prefer.
Now that I have a ice lolly mould that always works and that I can always get the ice lollies out of, it is great to spend a couple of minutes preparing my ice lolly mixture, then simply pour it into the mould, add lolly sticks and freeze overnight. Next day the ice lollies are ready to remove from the mould and help everyone cool down! It couldn’t be simpler.
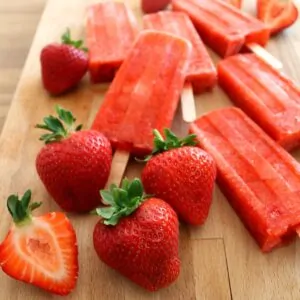
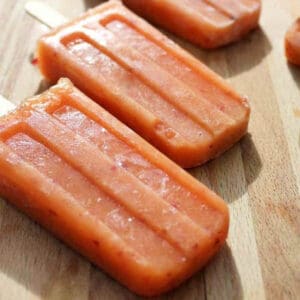
With the mould I use (see link to Amazon further down the post) all you need is a bag of wooden lolly sticks, then the only limit is your imagination. In the summer I seem to always go for simple fruit flavours for my ice lollies. You might like my strawberry ice lollies or papaya and apple ice lollies too.
Kiwi Fruit
Kiwi fruits with their tangy sour flavour might not be everyone’s favourite fruit but I think they deserve a chance!
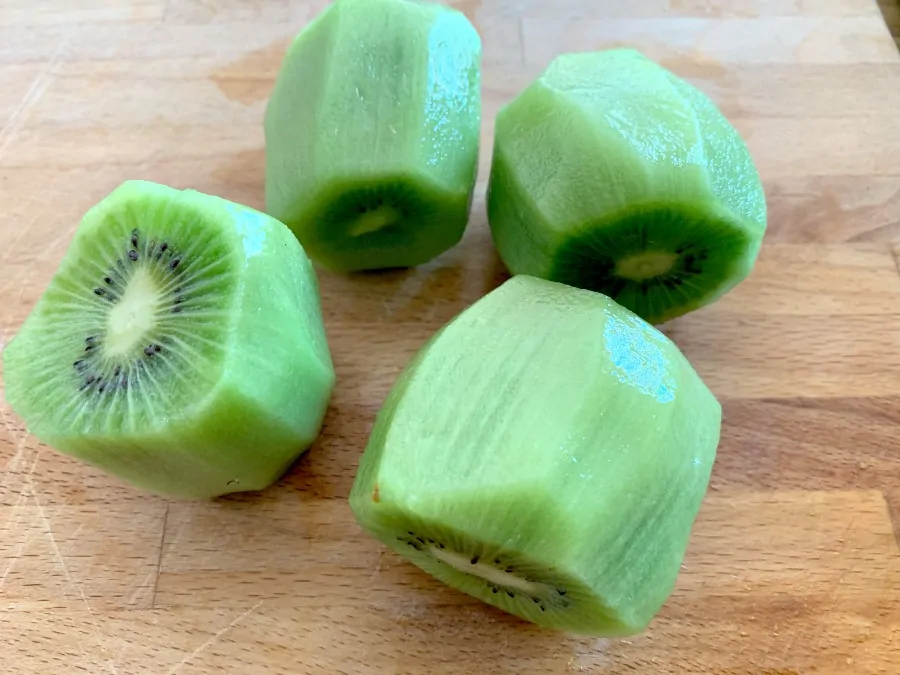
Once you have removed the furry skin, I usually do this using a sharp knife but you can also use a vegetable peeler, the bright green fruit with that white starlike pattern and the black seeds inside smells rather like lemon or orange, you might not realise it. My daughter even thought they smelled like strawberries when I chopped the kiwi fruit for these ice lollies.
They have that tart flavour which some think tastes like a mixture of strawberry, banana and pineapple.
Combined with the sharp bitter flavour of tonic water, as used as a mixer for gin of course, I think kiwi tastes so refreshing, especially once frozen into these ice lollies!
How to Make Kiwi Ice Lollies
If you have kiwi fruit and a blender you are half way there!
Step 1. Peel the kiwi fruit.
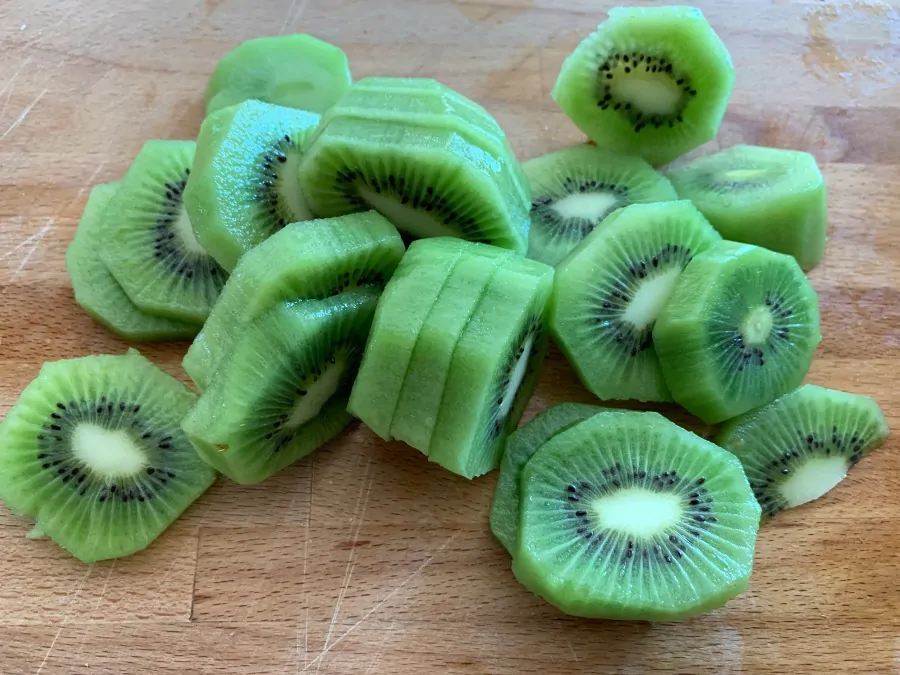
Step 2. Slice the kiwi fruit. If you have a powerful blender you could skip this step.
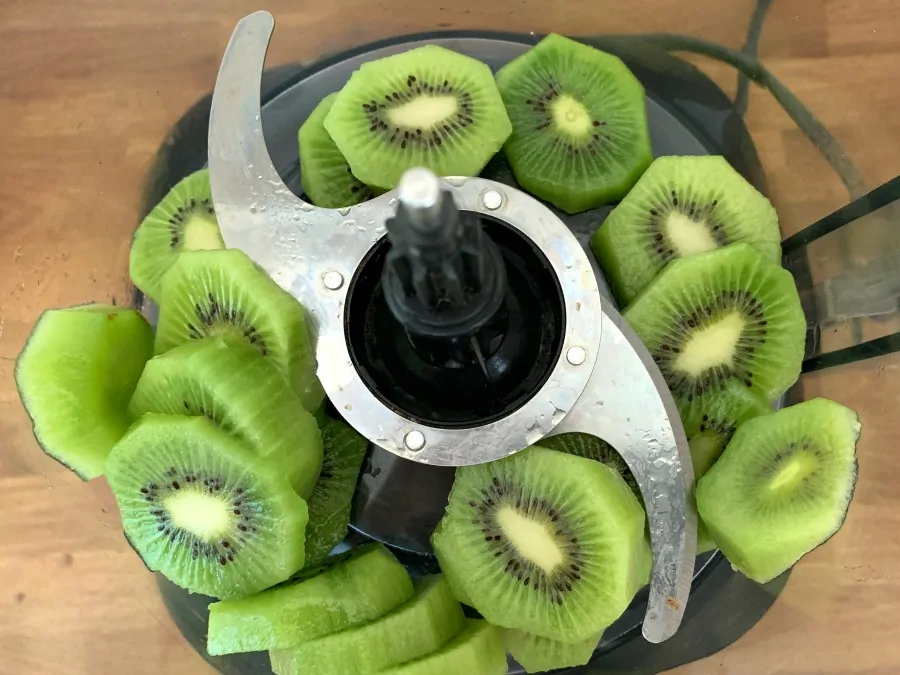
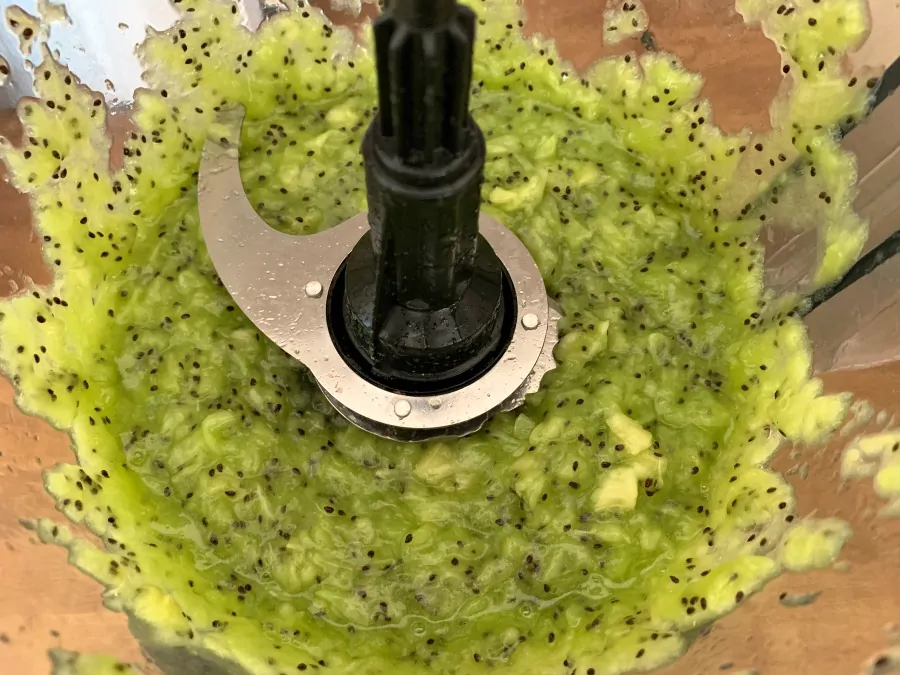
Step 3. Place the sliced kiwi fruit in your blender and blend until puréed.
Step 4. Add the tonic water into the pureed kiwi. Then mix, pour into your ice lolly moulds, add wooden sticks and freeze. Leave in the freezer for 4-6 hours or until solid.
Equipment needed:
The ice lolly mould I use is the following from Amazon (affiliate link):
Tips for making the ice lollies:
- Don’t fill each mould right to the top, leave a little space of around a centimetre or so, so that when you push in the lolly sticks it does not overflow
- Put the blue lid on when the moulds have been filled, then add the sticks in each hole
- Adjust the sticks so they are all at the same level, you only need about one or two centimetres of stick to hold onto
- Put the mould in the freezer on an even surface so that the ice lollies don’t freeze at an angle, making sure the sticks are still in the right place
- Freeze for 4-6 hours or overnight until frozen through
- When solid, loosen the lollies by running the lid and sides of the mould under the cold tap
- Don’t force the blue lid off as it could snap, wait a while so that the ice loosens, then take off the lid
- Gently remove the lollies by pulling the sticks, and transfer to a freezer bag, separated by squares of baking parchment, if you are not going to eat them right away
More Kiwi Recipes
Kiwi and pomegranate crown pavlova
Kiwi berry and lemon mini meringues
Kiwi jam from Becca on Easy Cheesy Vegetarian
Pin for Later
Recipe
Kiwi Ice Lollies
Ingredients
- 300 g kiwi peeled and sliced
- 200 ml tonic water I used diet tonic water with lime
Instructions
- Peel the kiwis, then slice them up.300 g kiwi
- Puree the kiwi in a blender until smooth.
- Pour in the tonic water and stir.200 ml tonic water
- Pour into your ice lolly moulds and add lolly sticks.
- Freeze for 4-6 hours until solid.
- Remove from the moulds and enjoy!
Notes
- Don't fill each mould right to the top, leave a little space of around a centimetre or so, so that when you push in the lolly sticks it does not overflow
- Put the blue lid on when the moulds have been filled, then add the sticks in each hole
- Adjust the sticks so they are all at the same level, you only need about one or two centimetres of stick to hold onto
- Put the mould in the freezer on an even surface so that the ice lollies don't freeze at an angle, making sure the sticks are still in the right place
- Freeze for 4-6 hours or overnight until frozen through
- When solid, loosen the lollies by running the lid and sides of the mould under the cold tap
- Don't force the blue lid off as it could snap, wait a while so that the ice loosens, then take off the lid
- Gently remove the lollies by pulling the sticks, and transfer to a freezer bag, separated by squares of baking parchment, if you are not going to eat them right away

Choclette says
Ooh I want one of your kiwi ice lollies. They look so wonderfully refreshing and I am so very hot!
Carrie says
Yum!!!