
These mini egg rice krispie treats are chewy yet crispy, topped with a smooth layer of white chocolate and a scatter of pastel Mini Eggs. A simple, no-bake treat that’s colourful, nostalgic, and perfect to share at Easter.
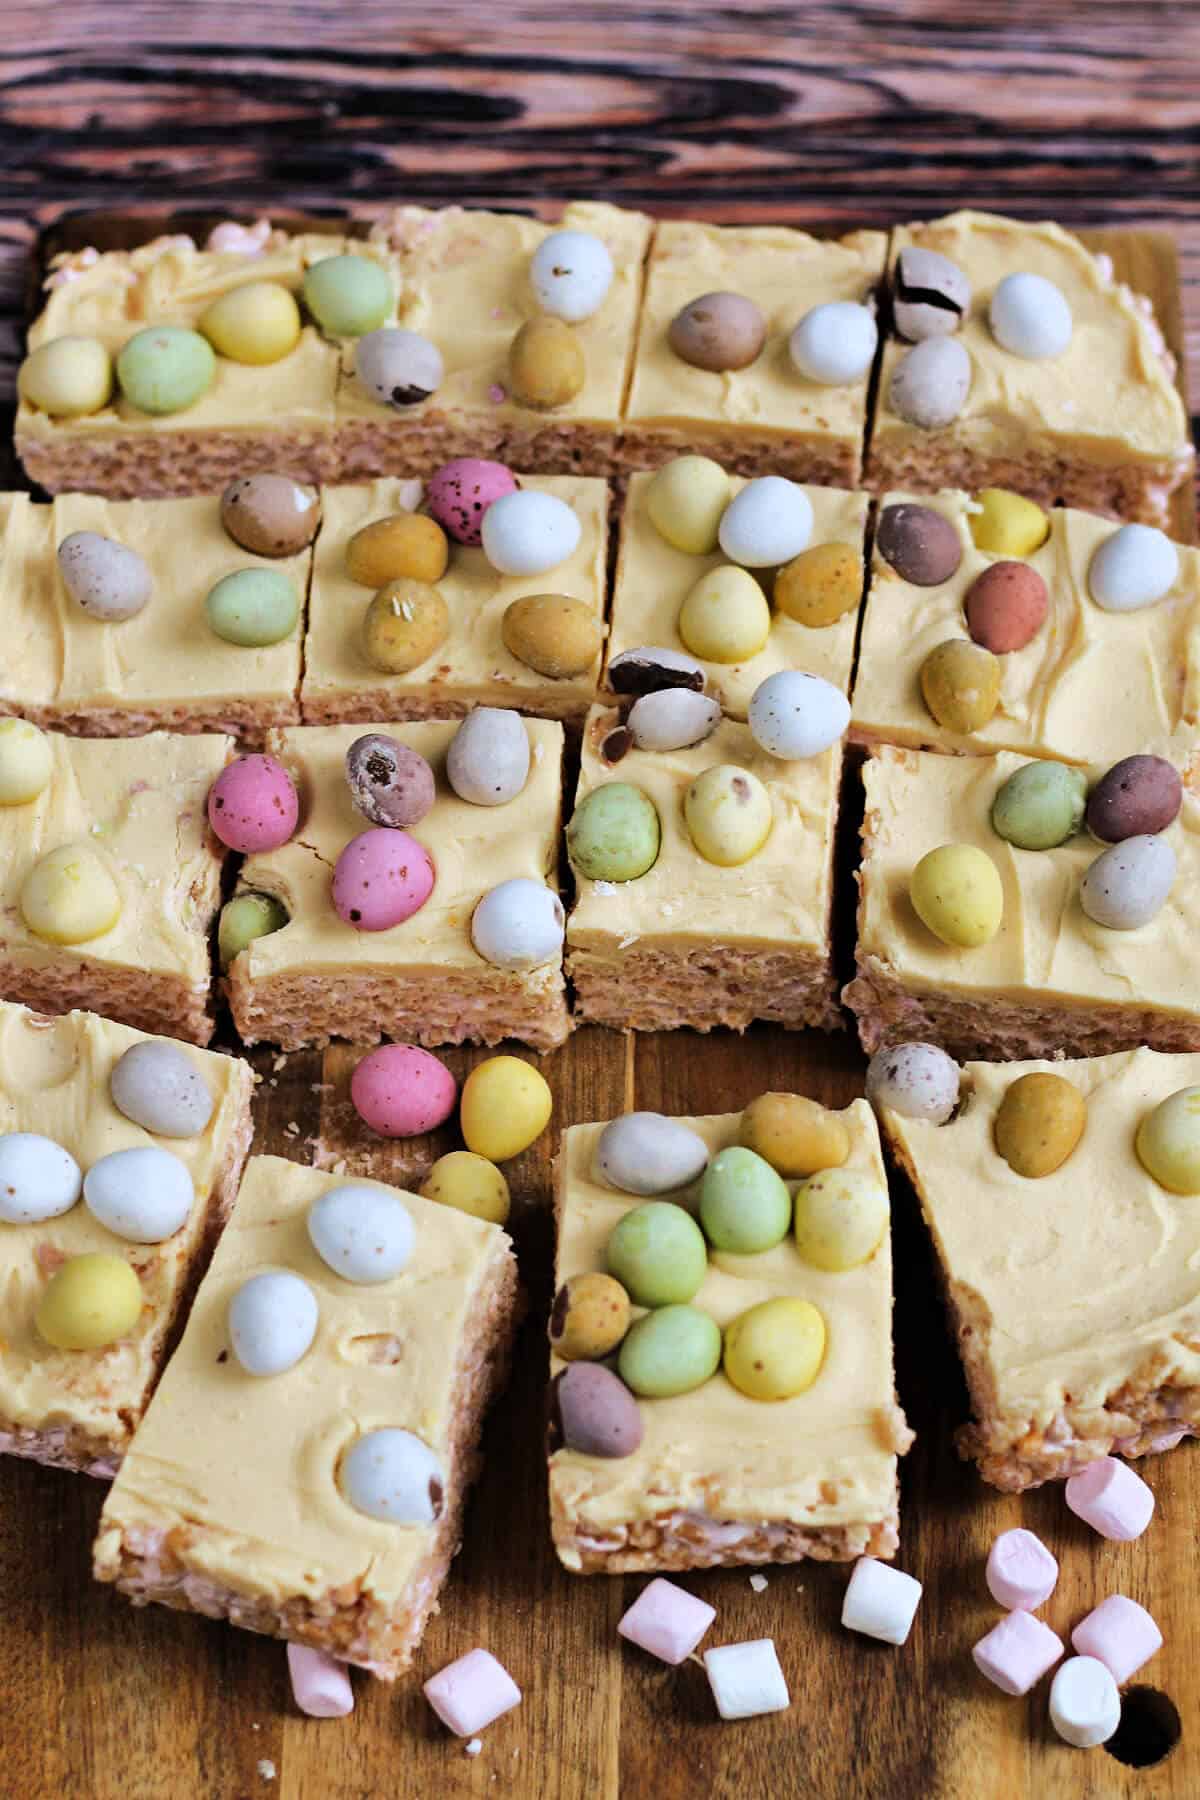
They make a great last-minute Easter treat to make with the children and are light and gooey so everyone will love them.
They have the Easter vibe combined with that nostalgia of childhood.

So fun to decorate and they come together in minutes so can be made as a last-minute addition to your Easter table.
Jump to:
Why you’ll love this recipe
✅ Quick to make with minimal effort
✅ Only five ingredients
✅ Fun for Easter – the pastel Mini Eggs add that seasonal touch
✅ Easy to slice into bite-sized squares for sharing
✅ Irresistible mix of crisp cereal and smooth white chocolate
What are Rice Krispie treats?
These are Rice Krispie squares, Rice Krispie treats being the US wording which is often also used in the UK now. They are of course the simple no-bake treat made with Rice Krispie cereal, melted marshmallows and butter.
Popular for children’s parties and nostalgic from childhood, they are also a light and gooey treat that is great for snacking.
I’ve given these an Easter spin with a layer of white chocolate and speckled pastel mini eggs.
Ingredients
Here are the 5 ingredients you need to make these mini egg rice krispie treats. You’ll find the quantities in the recipe card.
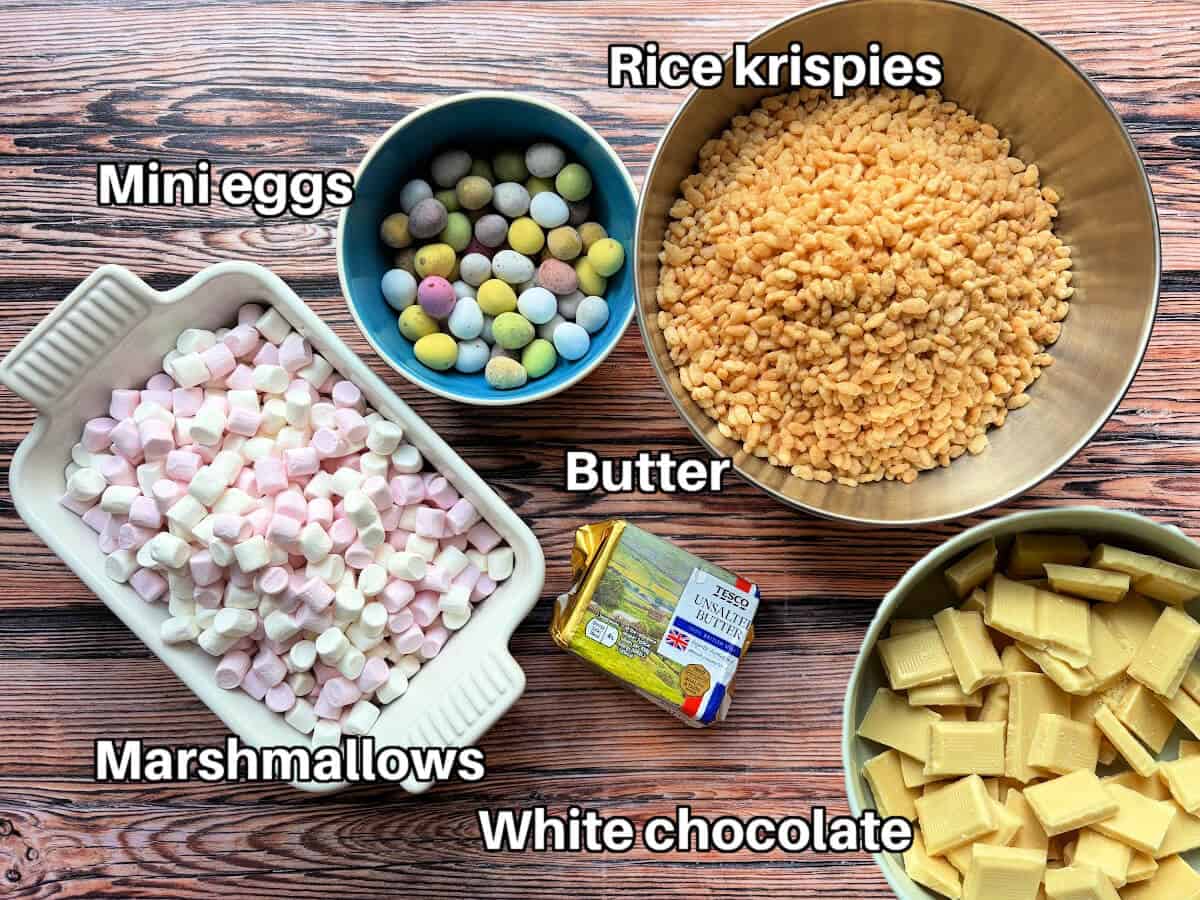
- Mini eggs – I’ve used the speckled Cadbury mini eggs, supermarket-own versions can be used too.
- Rice Krispies – either a named brand such as Kelloggs or supermarket-own version.
- Mini marshmallows – I use pink and white but you could use white only marshmallows. Mini marshmallows melt quicker and more easily than large ones.
- Butter – a little butter helps the marshmallows to melt smoothly, stop them being so sticky and also enhances the soft gooey texture.
- White chocolate – for the top layer. I recommend using a good quality white chocolate for the best flavour and smooth texture.
Instructions
You can follow the quick one minute video I have added in the post to see the simple steps to make these mini egg rice krispie treats, or follow these easy step by step instructions. Quantities are in the printable recipe card at the end of the post.
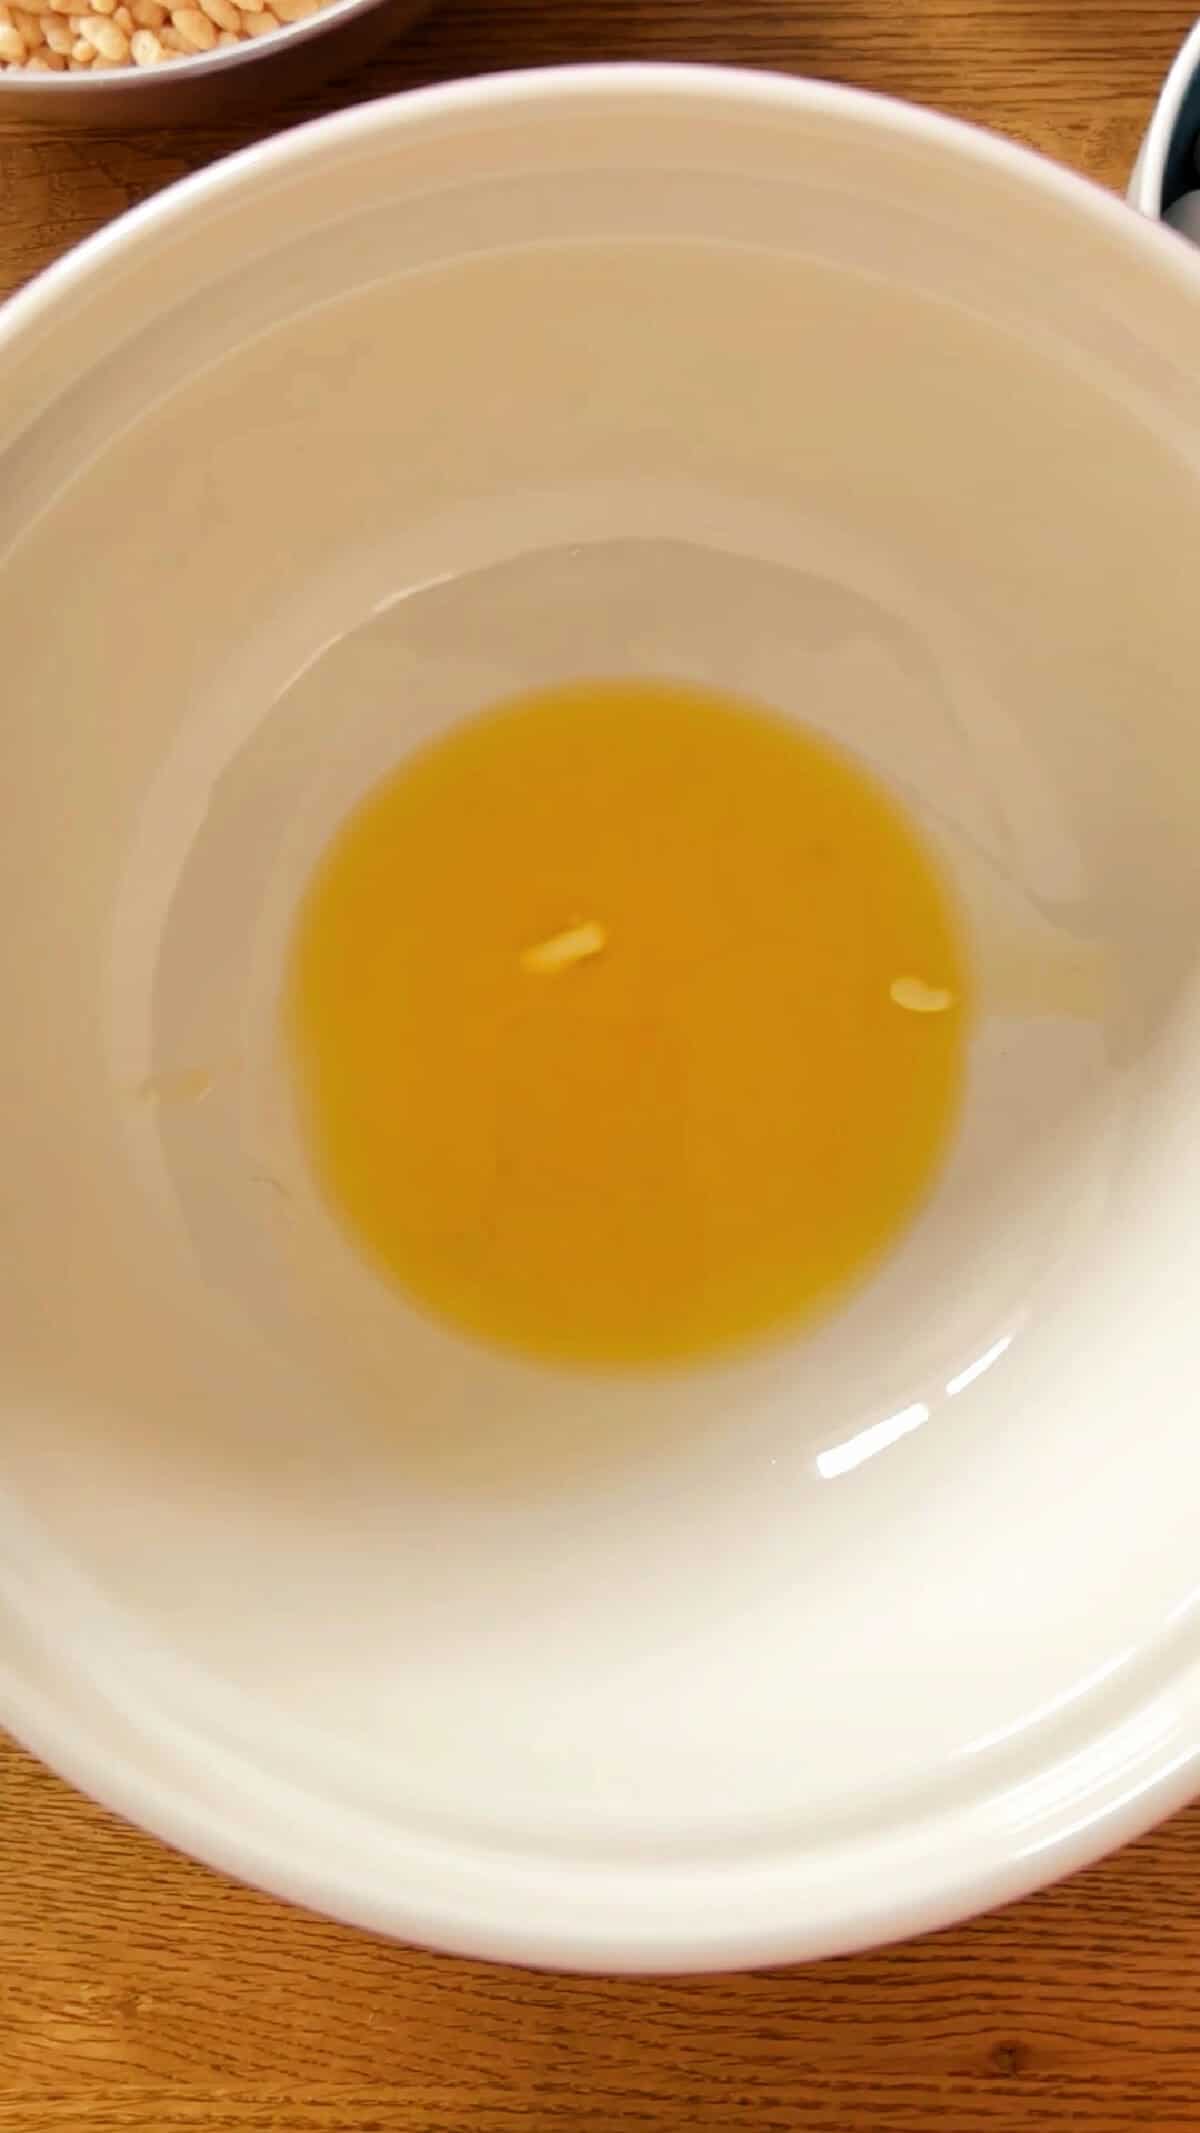
Step 1. Melt the butter (I use the microwave).

Step 2. Add the mini marshmallows to the bowl and microwave for 2 x 30 seconds on low, stirring often, till melted.
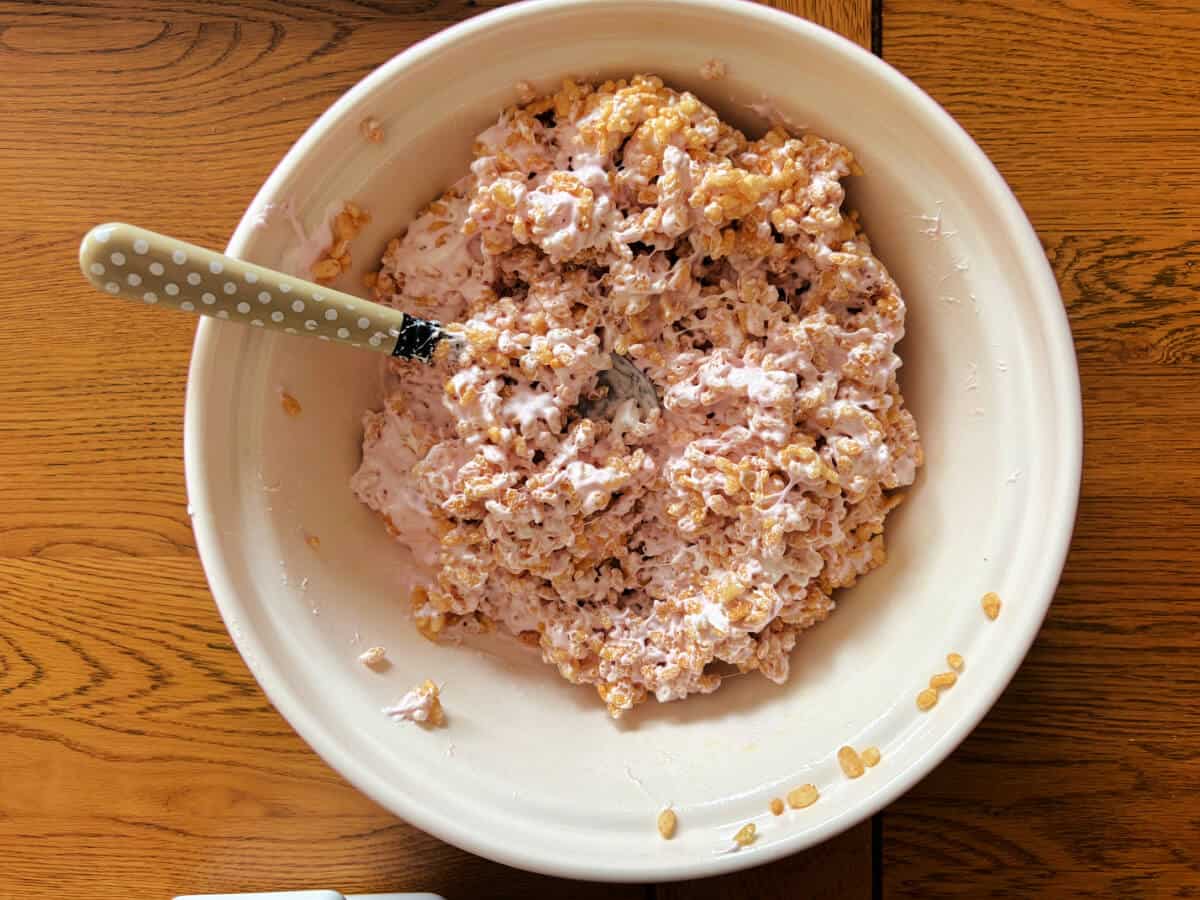
Step 3. Stir the Rice Krispies into the melted marshmallows until evenly mixed.
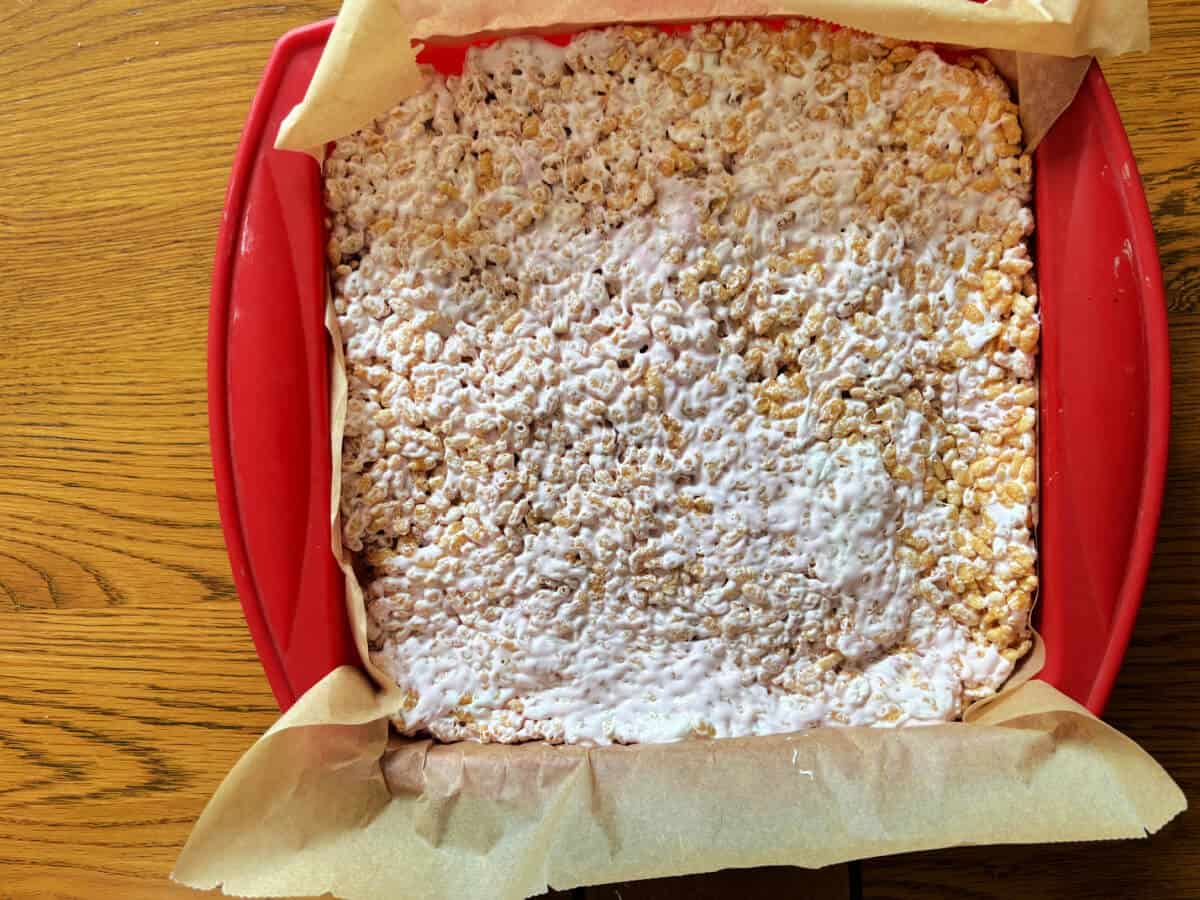
Step 4. Transfer to a 9×9 inch pan. Press firmly into the pan until even and smooth on top. Leave to set for 10 minutes.
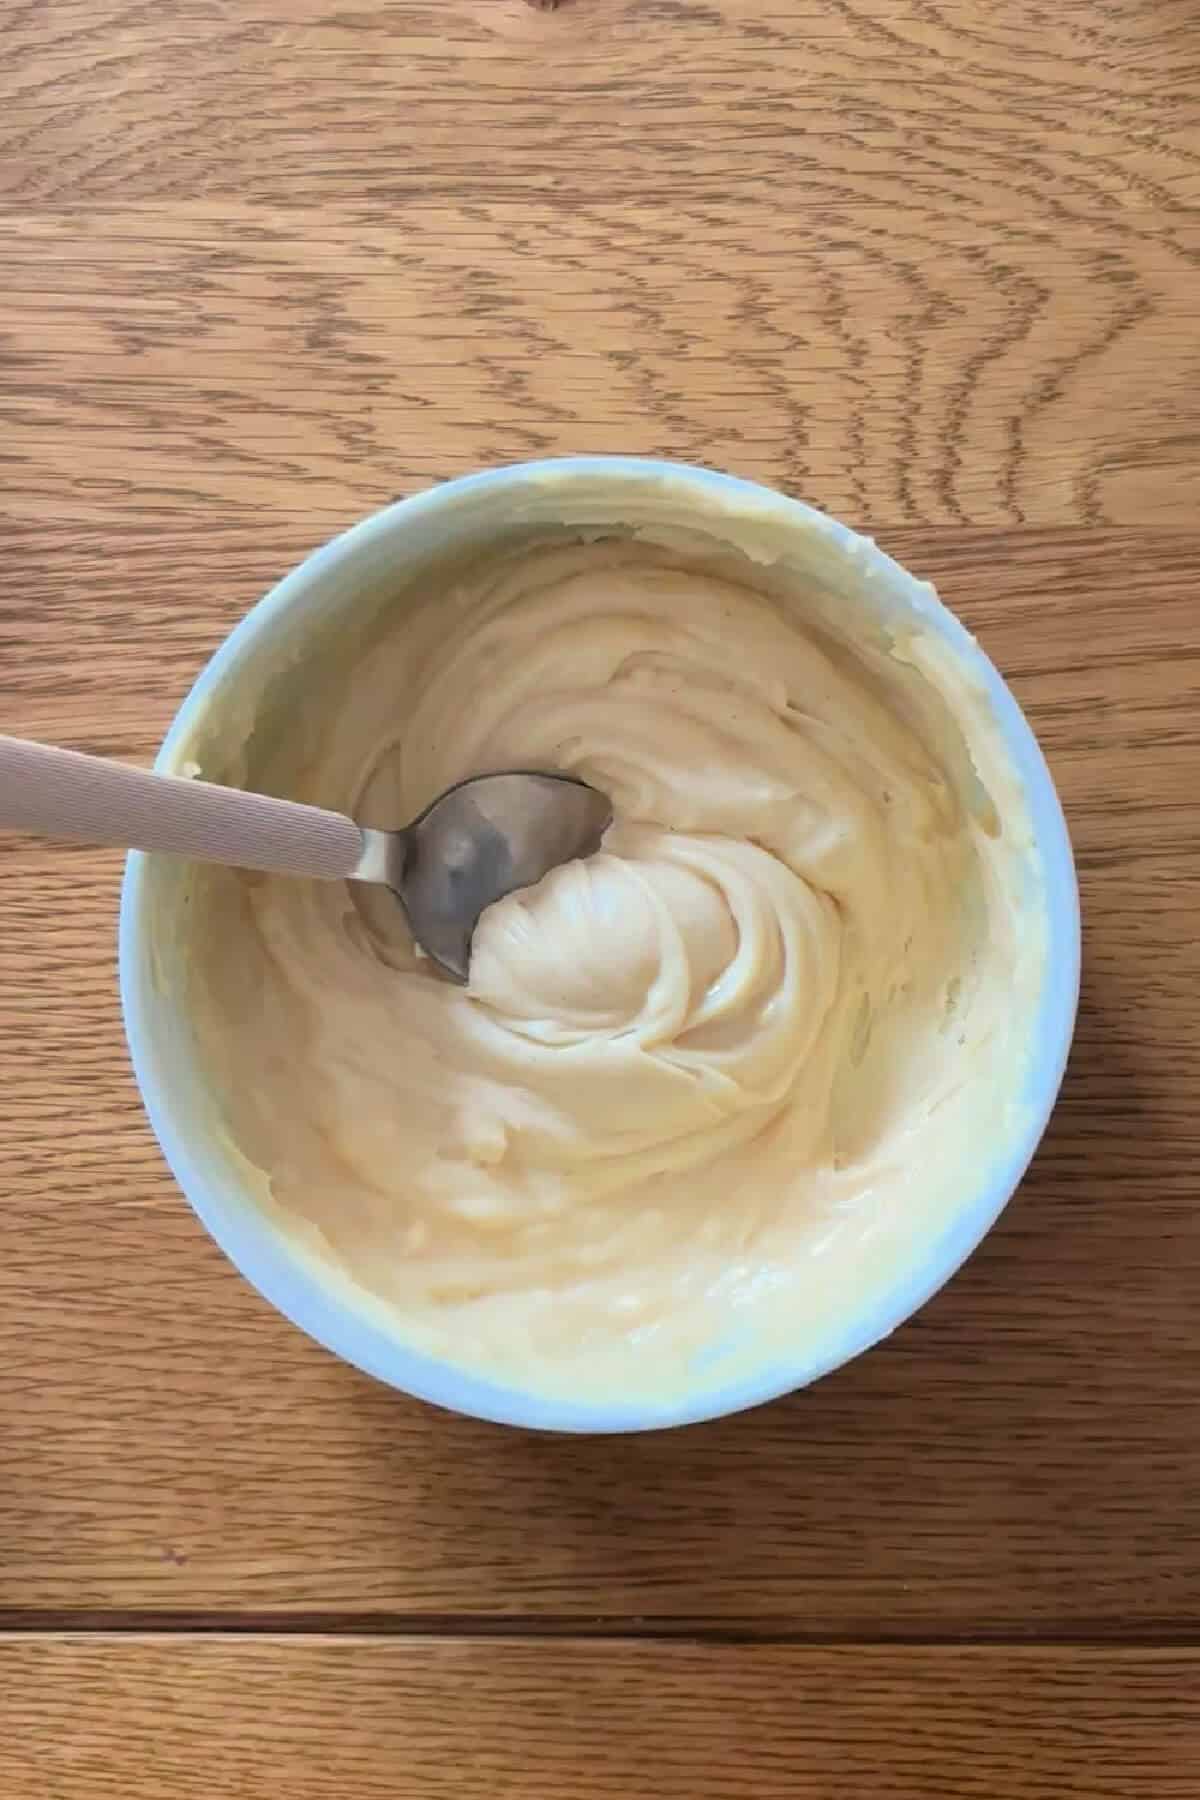
Step 5. Melt the white chocolate until smooth.
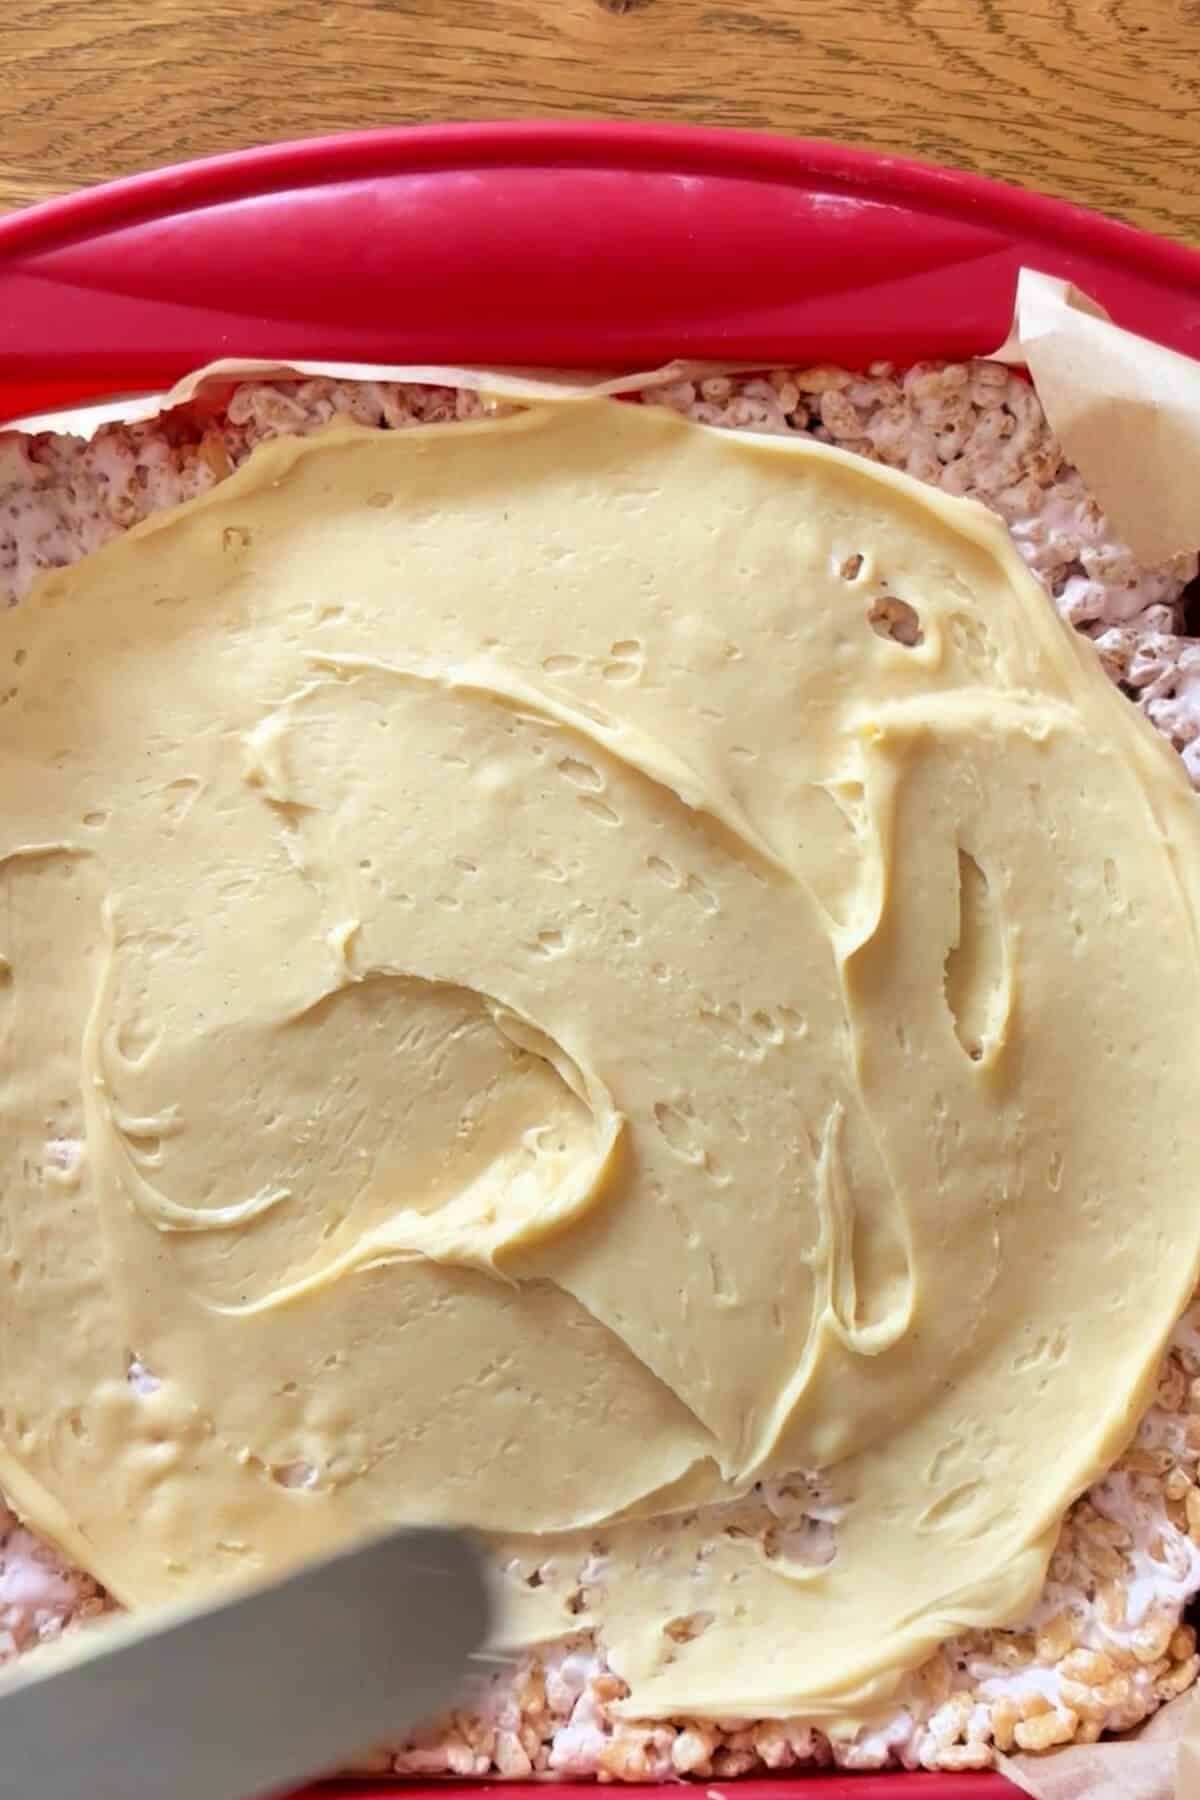
Step 6. Using a palette knife, spread the melted white chocolate over the top of the Rice Krispie mixture in the pan.
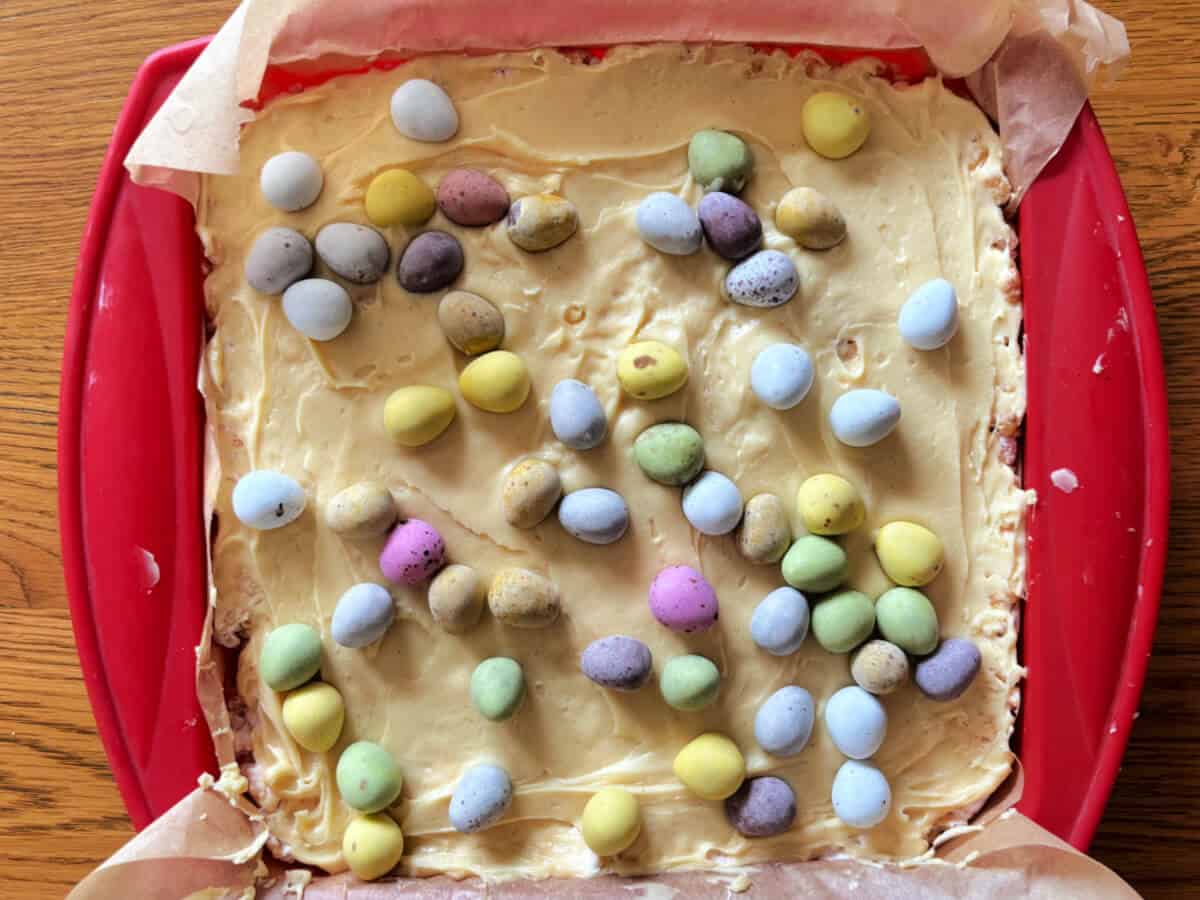
Step 7. Top with the mini eggs, and press them into the white chocolate while soft.
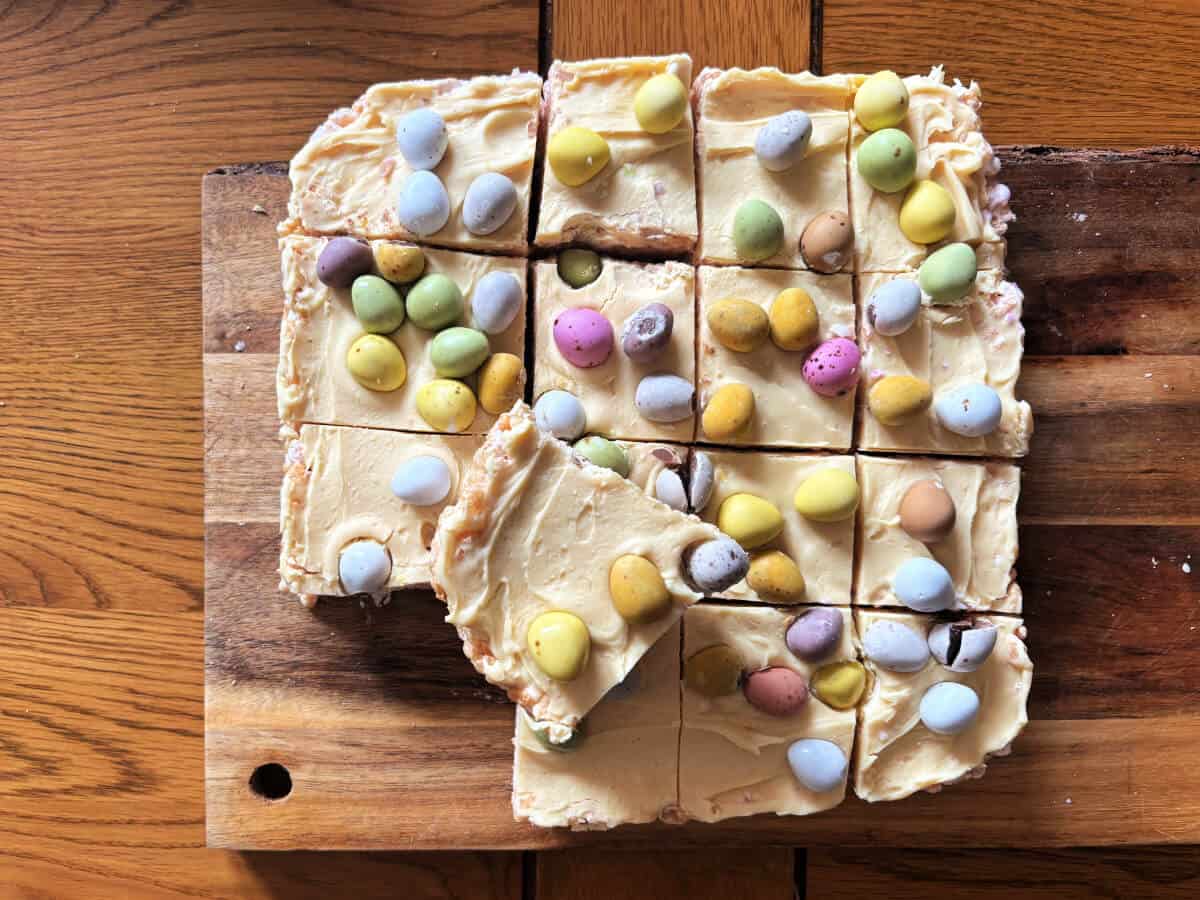
Step 8. Put the pan in the fridge for 1 hour. Once set, cut into squares using a sharp knife, then enjoy.
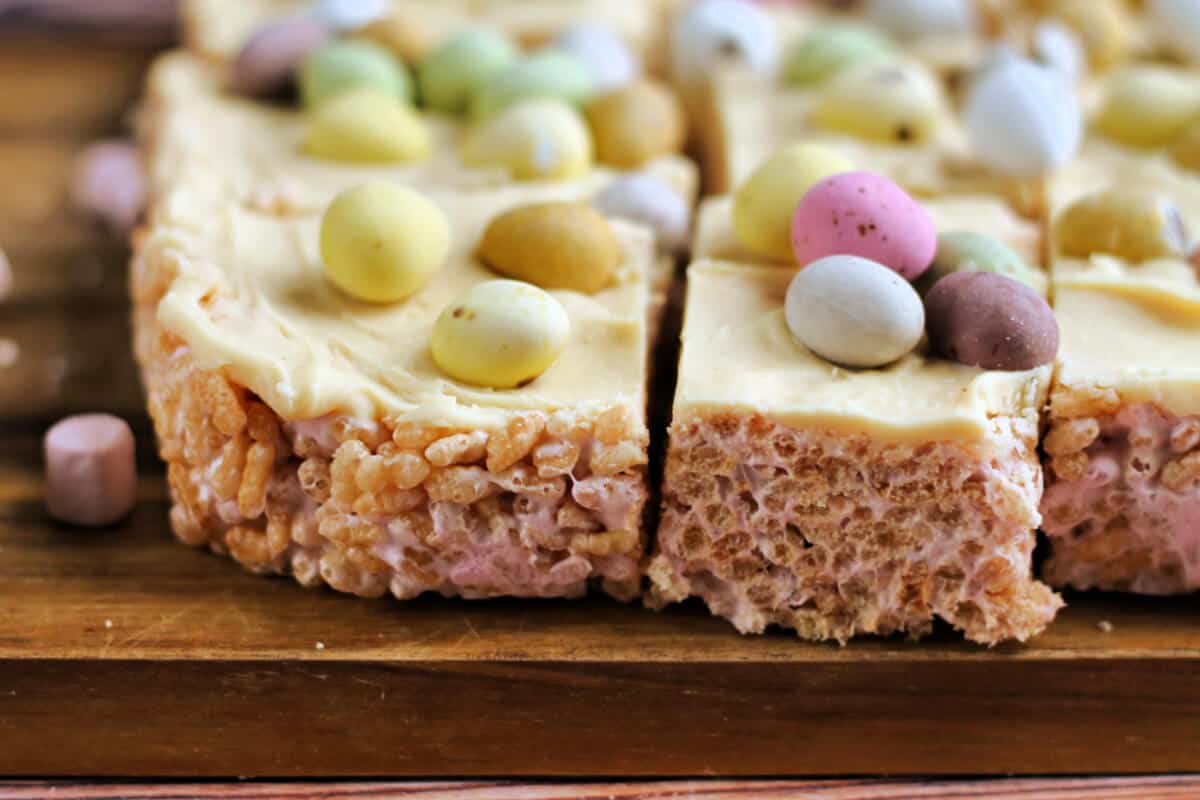
Delicious to share as a fun Easter treat. The gooey marshmallow and the crispy cereal are the perfect contrast.

Variations
- Use different kinds of Easter mini egg – mini Creme Eggs, chocolate orange mini eggs, mint aero mini eggs, Smarties mini eggs, M&M mini eggs, Malteser mini eggs, Kit Kat mini eggs, Lindor mini eggs, or whichever are your favourite!
- Instead of a white chocolate layer, use milk or dark chocolate, or even marble white and dark together.
- Chop the Mini Eggs and add some additional ones into the Rice Krispie layer.
- Add some sprinkles for extra colour in the Rice Krispie layer.
Equipment
I use a 9 inch / 23 cm square silicone pan, which is 4 cm deep. You can use a normal metal pan, like this one.
Storage
Rice Krispie treats stay fresh for 2-3 days, stored in an airtight container at room temperature.
Don’t store in the fridge as this will make the gooey marshmallow turn hard.
Top tips
- Let the melted marshmallow mixture cool for 1–2 minutes before mixing in the Rice Krispies. This keeps them crisp and stops the bars from turning dense or hard.
- Press the mixture firmly into your tin to compact the Rice Krispies together. This will ensure they stay firm and don’t fall apart.
- To cut them cleanly, heat your knife in hot water and wipe the knife dry before each cut.
Related
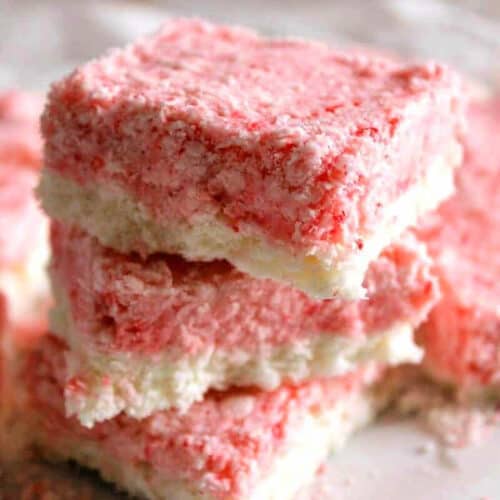
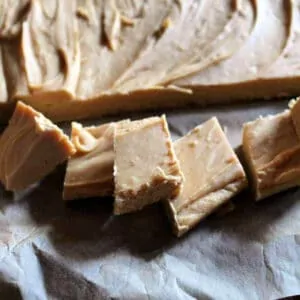
Looking for more no-bake recipes like this? Check these out:


Recipe

Mini Egg Rice Krispie Treats
Ingredients
- 50 g butter
- 300 g mini marshmallows
- 200 g rice krispies
- 250 g white chocolate
- 200 g Mini Eggs
Equipment


Video
Instructions
- Melt the butter (I use the microwave).50 g butter
- Add the mini marshmallows to the bowl and microwave for 2 x 30 seconds on low, stirring often, till melted.300 g mini marshmallows
- Stir the Rice Krispies into the melted marshmallows until evenly mixed.200 g rice krispies
- Transfer to a 9×9 inch pan. Press firmly into the pan until even and smooth on top. Leave to set for 10 minutes.
- Melt the white chocolate until smooth.250 g white chocolate
- Using a palette knife, spread the melted white chocolate over the top of the Rice Krispie mixture in the pan.
- Top with the mini eggs, and press them into the white chocolate while soft.200 g Mini Eggs
- Put the pan in the fridge for 1 hour. Once set, cut into squares using a sharp knife, then enjoy.
Notes
- Use different kinds of Easter mini egg – mini Creme Eggs, chocolate orange mini eggs, mint aero mini eggs, Smarties mini eggs, M&M mini eggs, Malteser mini eggs, Kit Kat mini eggs, Lindor mini eggs, or whichever are your favourite!
- Instead of a white chocolate layer, use milk or dark chocolate, or even marble white and dark together.
- Chop the Mini Eggs and add some additional ones into the Rice Krispie layer.
- Add some sprinkles for extra colour in the Rice Krispie layer.
- Let the melted marshmallow mixture cool for 1–2 minutes before mixing in the Rice Krispies. This keeps them crisp and stops the bars from turning dense or hard.
- Press the mixture firmly into your tin to compact the Rice Krispies together. This will ensure they stay firm and don’t fall apart.
- To cut them cleanly, heat your knife in hot water and wipe the knife dry before each cut.


Comments
No Comments