
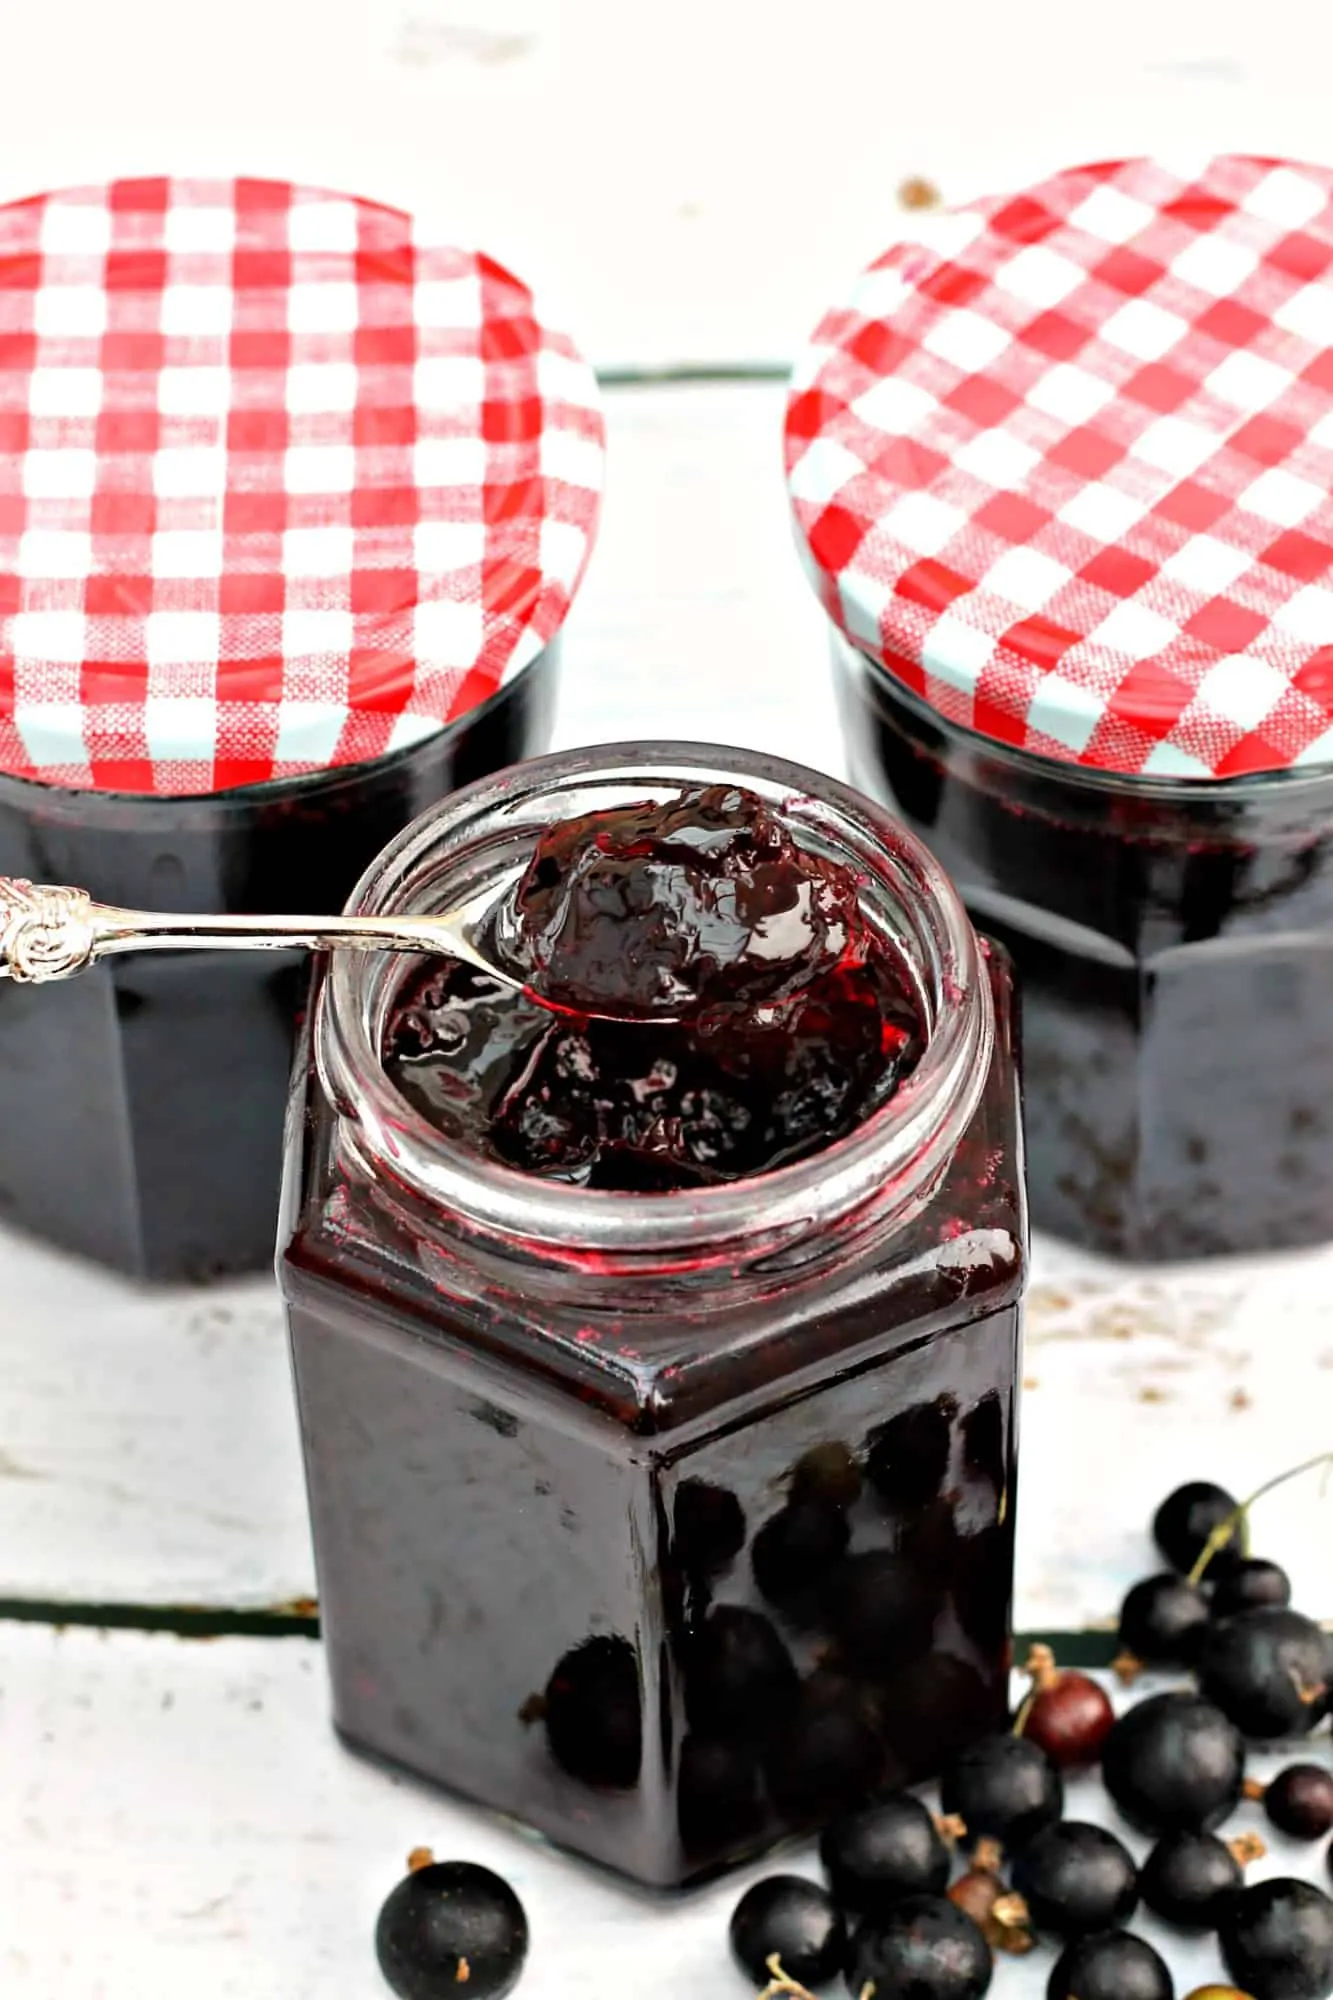
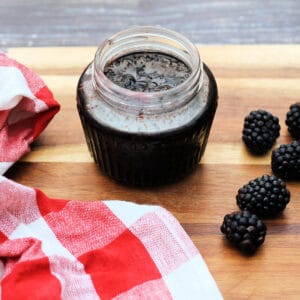
If you want to make the most of this summer’s fruit then my blackcurrant jam recipe is the perfect place to start. An easy jam made with only three ingredients, the ideal recipe to start preserving with.
I am really into making jam and curd at the moment, I think it is the idea you can preserve summer fruit so you can enjoy it all year round!
I’m certainly enjoying filling my cupboard with jams that we can enjoy during the winter.
If you can get fresh blackcurrants from either your local farm shop, from your own garden or allotment, or even in your fruit and veg box, then blackcurrant jam is such an easy jam as you don’t need any added pectin.
The fruit is already high in pectin so it is very tricky to get this jam wrong!
Jump to:
Ingredients
To make this tasty jam you only need three ingredients:
- blackcurrants – freshly picked work best, but you can also use frozen
- sugar – normal granulated sugar is all you need, not special jam sugar (which usually has added pectin)
- water
Step by step
Wash your blackcurrants in a colander and remove any remaining stalks or leaves. You can leave on the small brown bits which are the remainder of the flowers.
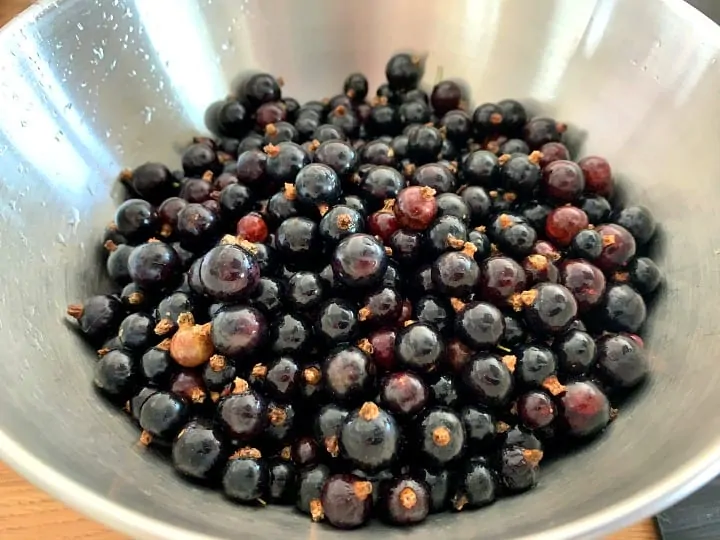
Weigh them so you know how much sugar to use later. I take the weight of the blackcurrants and use 1.5 times their weight for the amount of sugar. Here I used 640 g of blackcurrants and 960 g granulated sugar.
Put the clean blackcurrants in a very large saucepan or jam pan.
Cover the blackcurrants with water. For the 640 g of blackcurrants I had picked, I use 350 ml water to cover them. Bring to the boil.
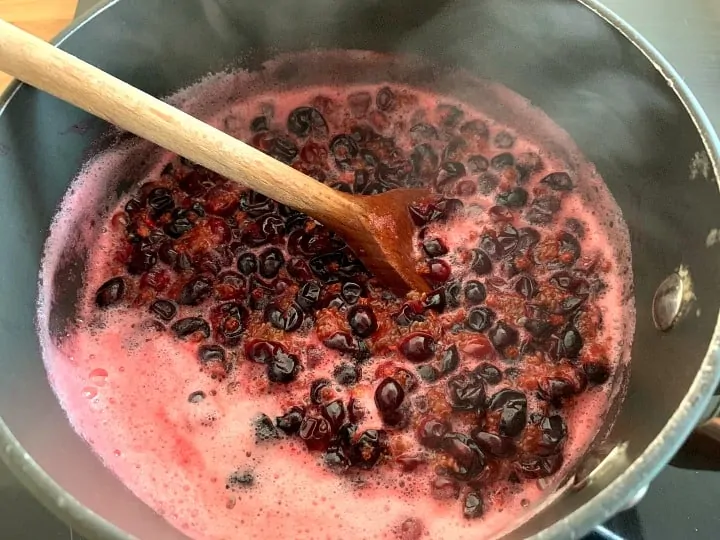
Then reduce to a simmer and cook for around ten minutes, to soften the fruit. The blackcurrants will break down and release their juices.
After ten minutes, pour in the sugar.
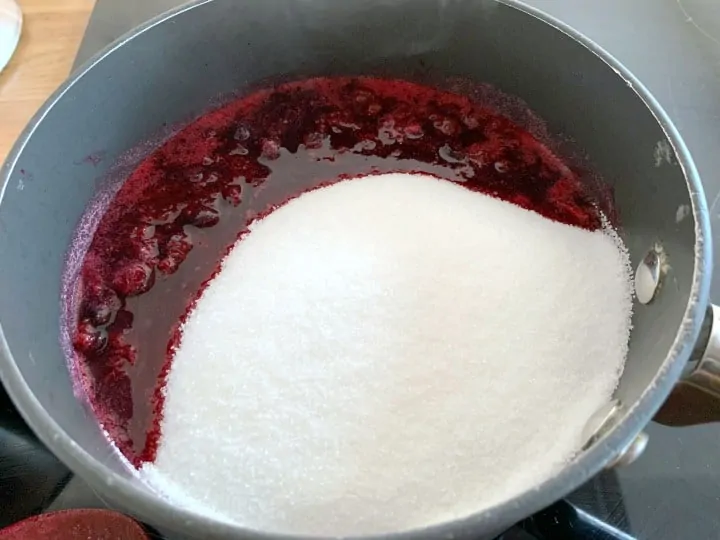
Stir it in and keep stirring for 5 to 10 minutes until the sugar has all dissolved. Once it has all dissolved you can start the final stage of the process of making your blackcurrant jam.
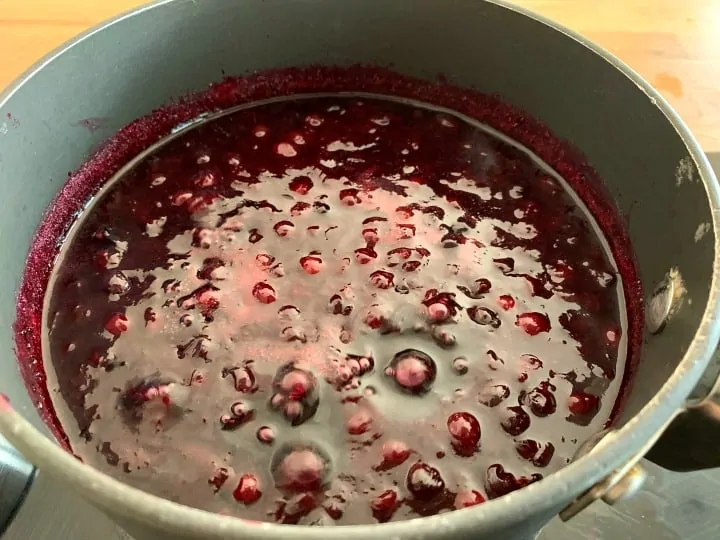
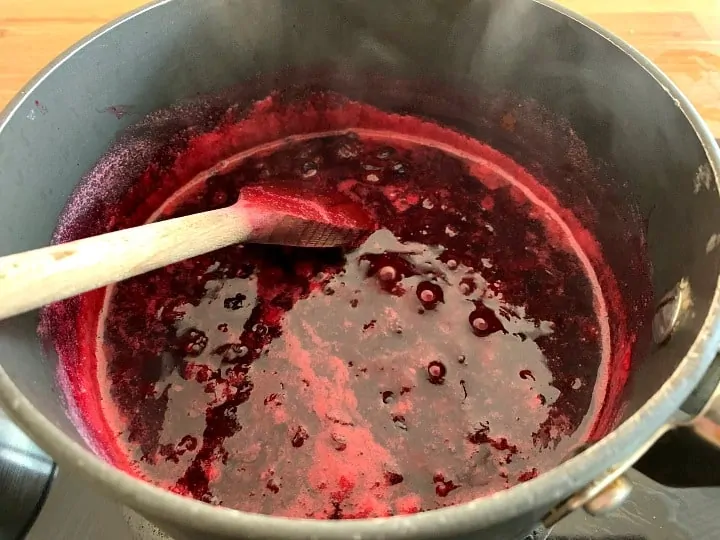
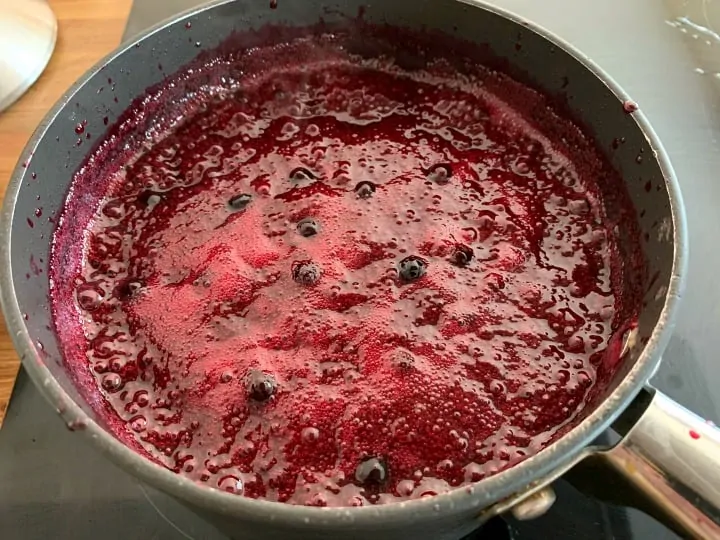
Now bring the pan to a boil and keep it on a high boil for five to ten minutes.
Check the photo below to see the speed of boil your pan needs to be at, constant bubbling and boiling.
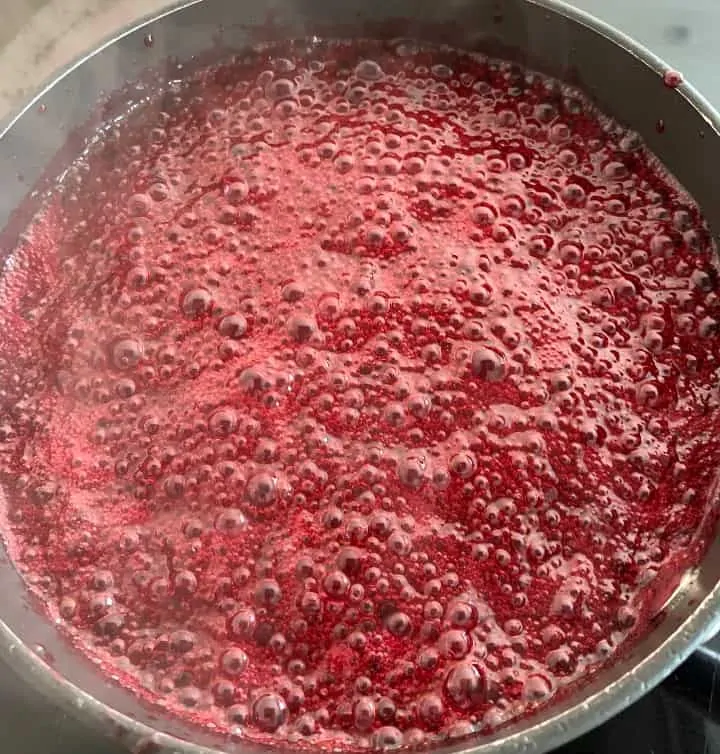
In order for the jam to set it needs to reach 105 degrees Celsius for one minute.
I use a food thermometer/probe to check the pan occasionally, for me it takes between five and ten minutes to reach the required temperature.
But as the time might well vary if using a different size pan or due to different conditions, it is best to either use a food thermometer to check that your pan has reached 105 Celsius.
Or use the wrinkle test to check if the jam has reached setting point.
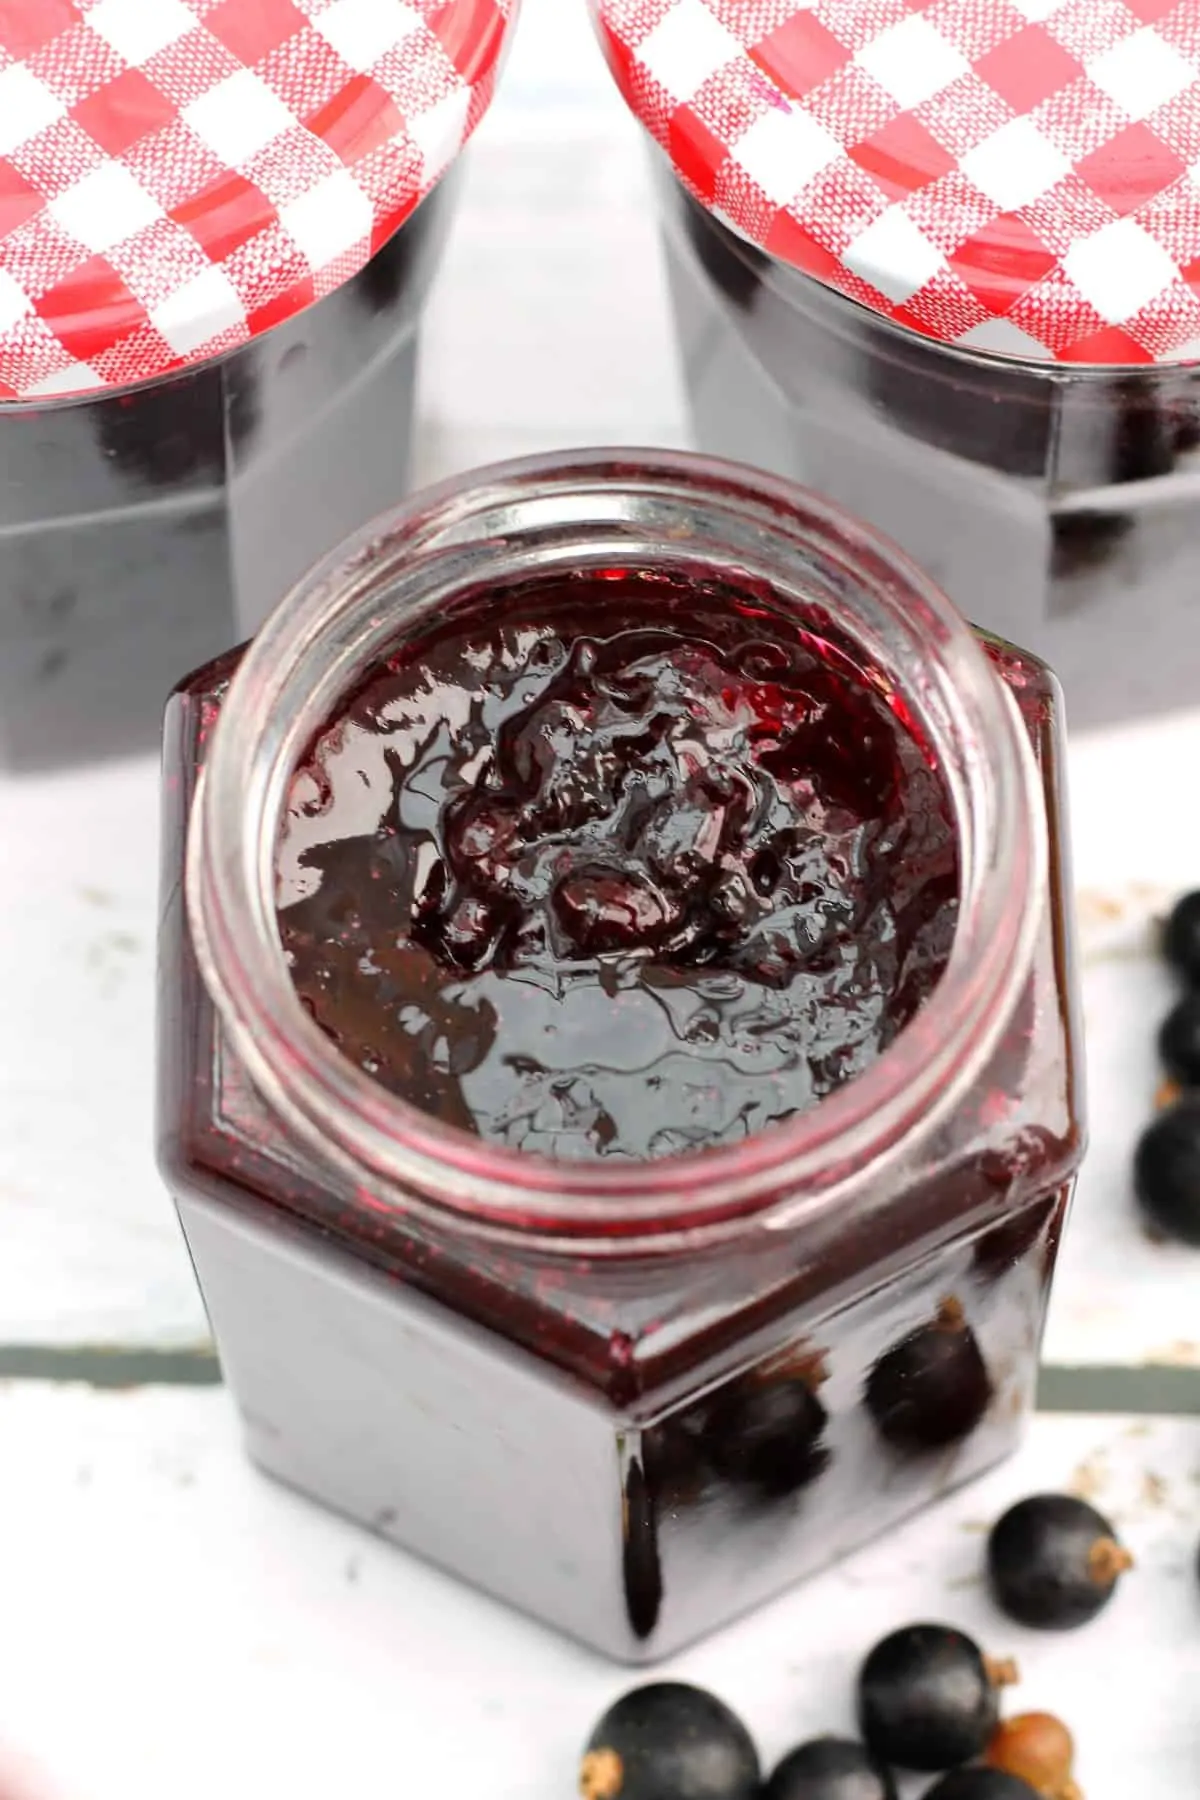
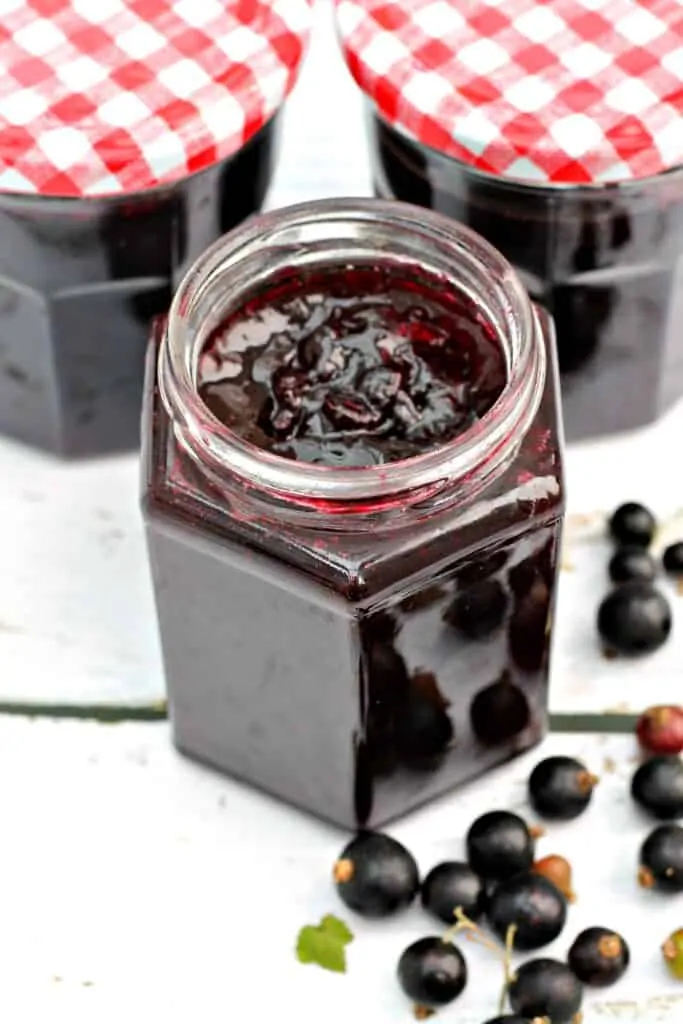
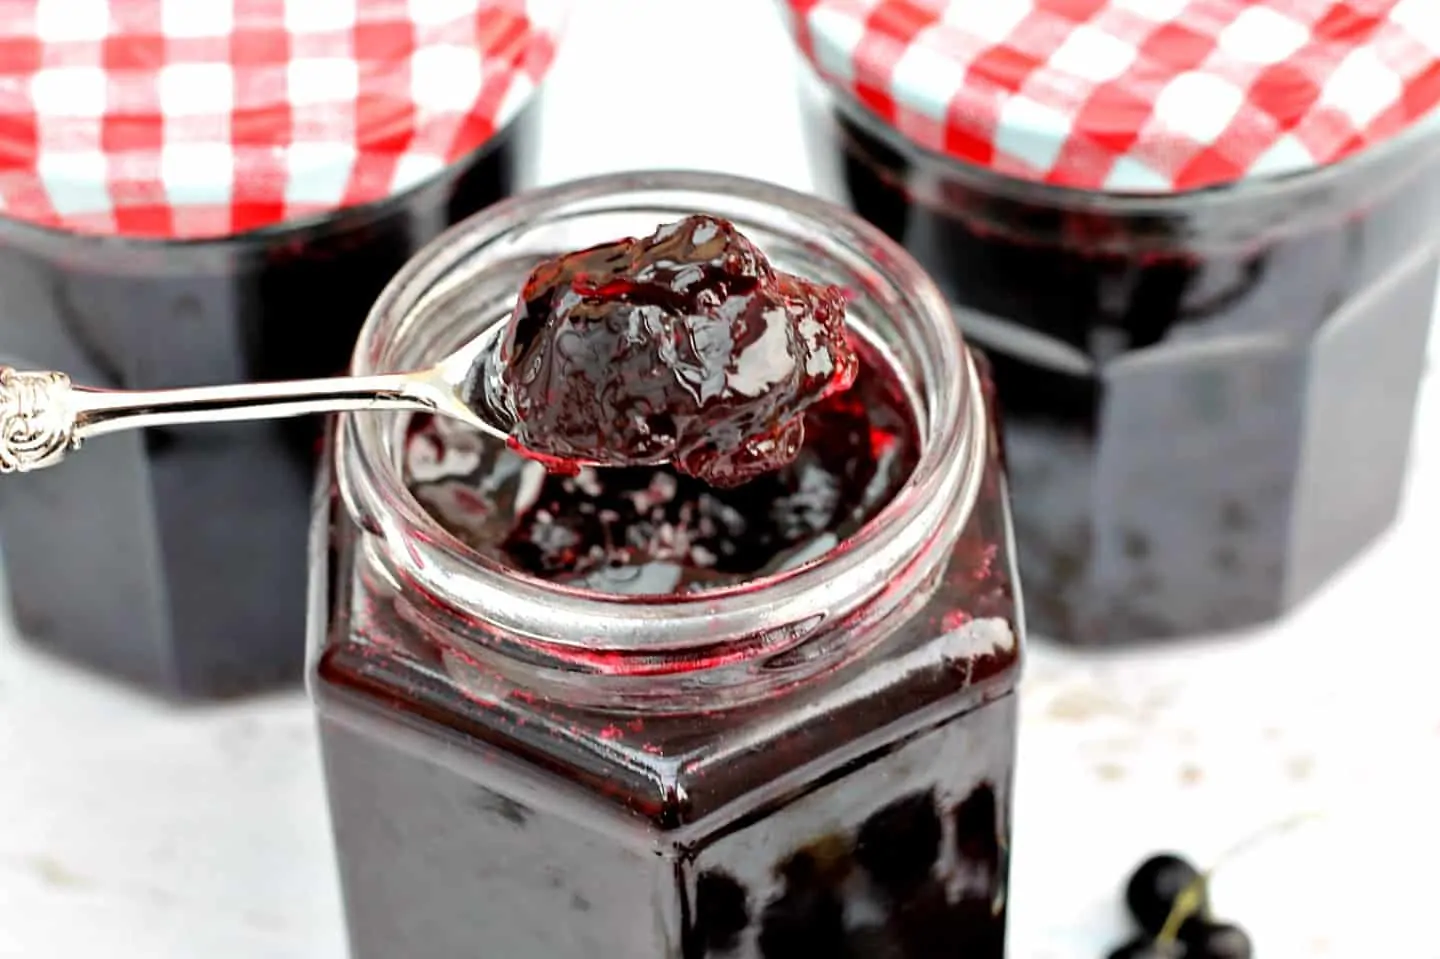
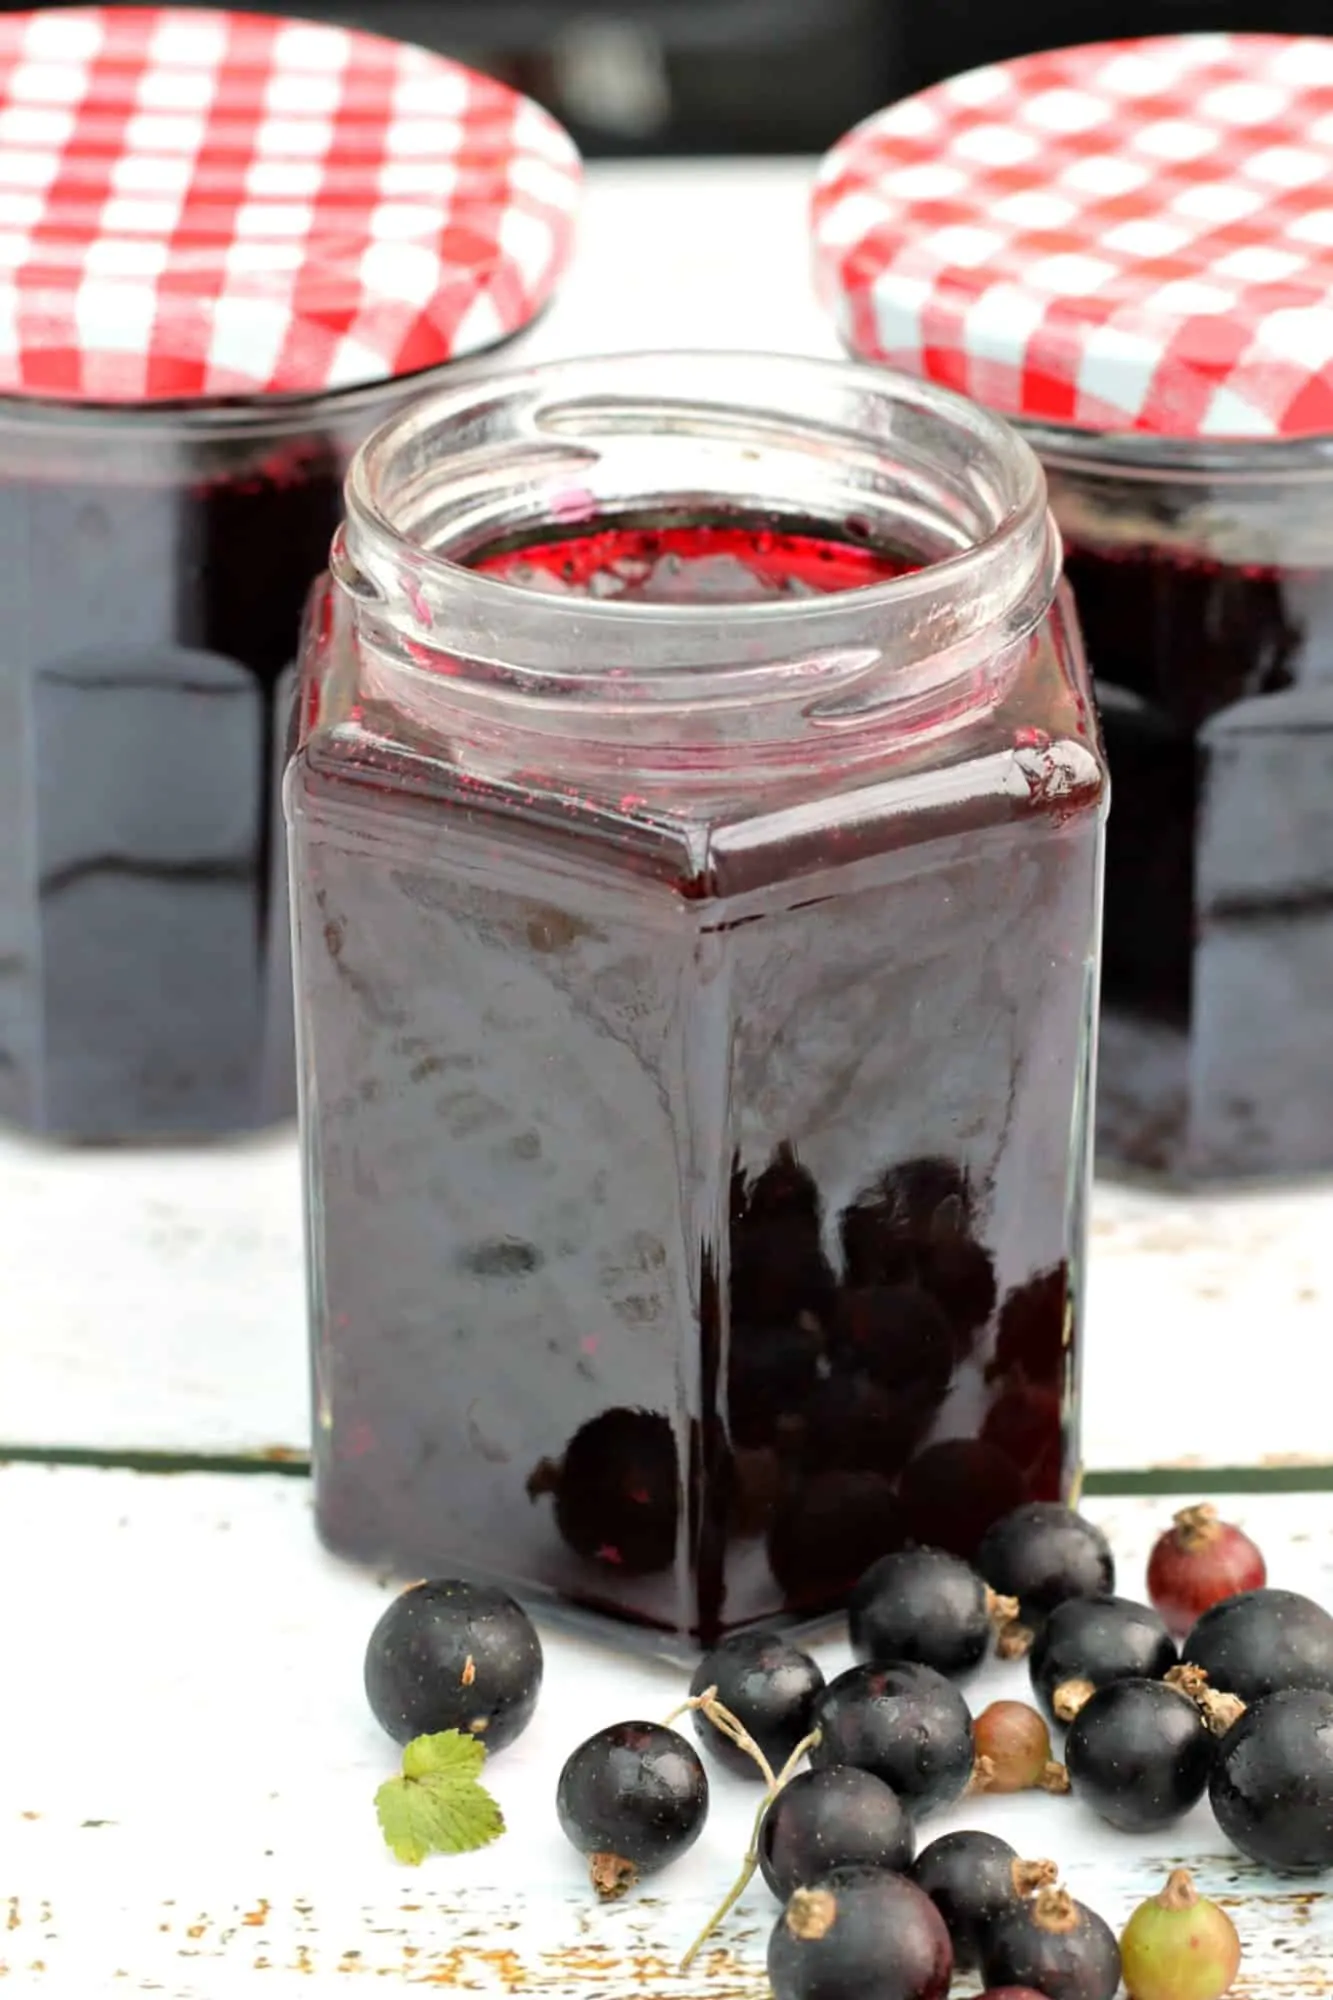
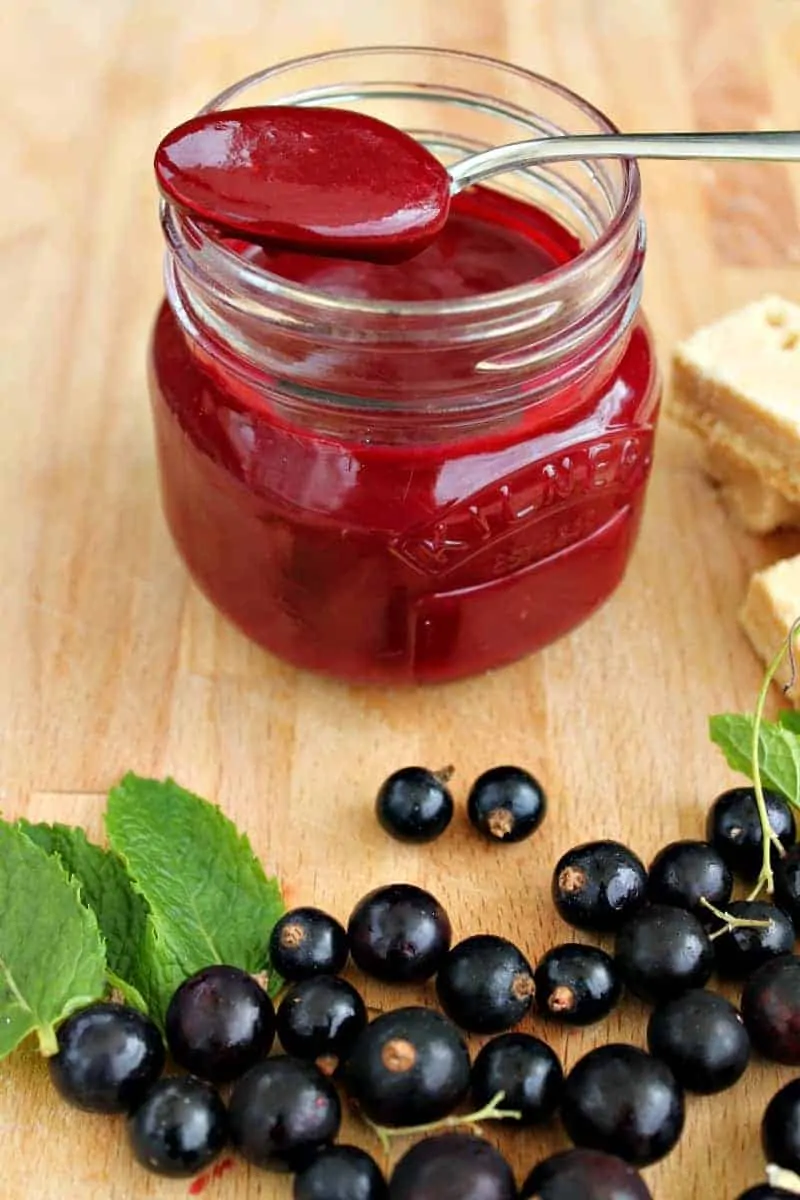
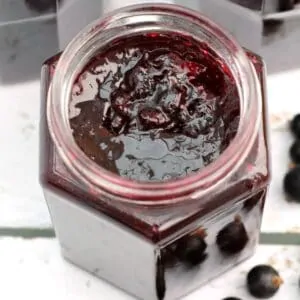
Once you have checked the temperature of your jam or done the wrinkle test successfully, you can now transfer your blackcurrant jam to your jars with confidence it won’t stay runny!
Jam wrinkle test
If you don’t have a food thermometer to check the temperature, or want to be really sure your jam is ready, another way to check is to use the wrinkle test.
I put a small plate in the freezer when starting to make my jam.
Then by the time you are onto the boiling stage of the jam process, the plate will be nice and cold.
Carefully take a teaspoon of the jam from the boiling pan and drop it onto the cold plate.
Leave it for a minute or two to cool (and hopefully start to set) through the action of the chilled plate.
Then push your finger upwards through the jam on the plate. If it wrinkles where you have pushed your finger through it, then the jam has reached setting point.
Jarring up
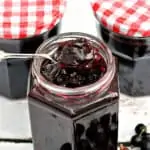
This recipe makes four 324 ml jars of jam.
Before starting the jam preparation, make sure you have washed your jars in hot soapy water or passed them through your dishwasher.
If washing by hand, rinse the jars and lids well then put them on a baking tray in a low oven (approx. 120 degrees Celsius) until dry.
This steam sterilises your jars and lids and make sure they are ready for filling with jam.
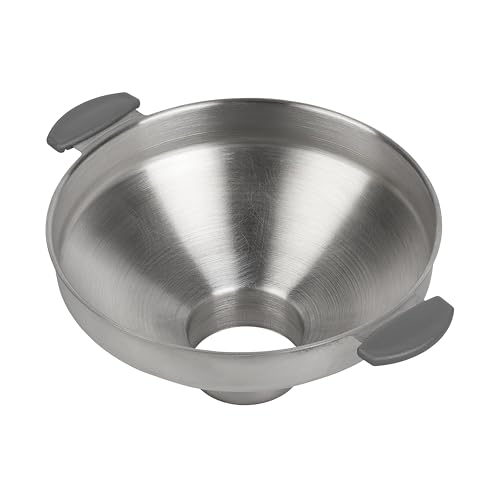
Pouring the hot jam into jars can be tricky when the saucepan is really large and heavy and you need to use your other hand to keep your jars still.
I like to use a jam funnel which stops the jam making a mess everywhere as you pour it, a wide funnel is easy to pour into and funnels the jam into your jars, reducing the clean-up needed afterwards.
Once your hot jam is in the jars, put on the lids tightly and leave to cool.
Traditional jam
Here in the UK jam is typically made and jarred following the process I have outlined above.
Normally equal amounts of fruit and sugar are used for making jam from most fruits, though for tart fruit like blackcurrants a higher proportion of sugar is used.
The high levels of sugar (not less than 1 to 1 ratio of sugar to fruit) preserve the fruit. Making sure your equipment is sterilised (jars and lids) keeps the process safe.
It is not typical in the UK for home cooks to process jars of jam through hot water canning.
Pans for jam-making
It is important to use a large pan for making jam, because you need to boil it on a high heat for about ten minutes, and you don’t want the jam to overflow everywhere.
It will take longer to reach the temperature needed to ensure the jam will set if you have to keep turning the pan down so it doesn’t boil over.
I use either my largest saucepan or a very big jam pan when making jam.
Why not try
If you love blackcurrants you might also want to try blackcurrant curd!
If you love making jam in the summer why not try:
Recipe
Blackcurrant Jam
Ingredients
- 640 g (22 oz) blackcurrants
- 350 ml (1.5 cups) water
- 960 g (4.0 cups) granulated sugar
Equipment


Instructions
- Wash your blackcurrants in a colander and remove any remaining stalks or leaves. You can leave on the small brown bits which are the remainder of the flowers.640 g / 22 oz blackcurrants
- Weigh them so you know how much sugar to use later. I take the weight of the blackcurrants and use 1.5 times their weight for the amount of sugar. Here I used 640 g of blackcurrants and 960 g granulated sugar.Put the clean blackcurrants in a very large saucepan or jam pan.
- Cover the blackcurrants with water. For the 640 g of blackcurrants I had picked, I use 350 ml water to cover them. Bring to the boil.350 ml / 1.5 cups water
- Then reduce to a simmer and cook for around ten minutes, to soften the fruit. The blackcurrants will break down and release their juices.
- After ten minutes, pour in the sugar.Stir it in and keep stirring for 5 to 10 minutes until the sugar has all dissolved. Once it has all dissolved you can start the final stage of the process of making your blackcurrant jam.960 g / 4.0 cups granulated sugar
- Now bring the pan to a boil and keep it on a high boil for five to ten minutes.Check the photo below to see the speed of boil your pan needs to be at, constant bubbling and boiling.

- In order for the jam to set it needs to reach 105 degrees Celsius for one minute. I use a food thermometer/probe to check the pan occasionally, for me it takes between five and ten minutes to reach the required temperature.But as the time might well vary if using a different size pan or due to different conditions, it is best to either use a food thermometer to check that your pan has reached 105 Celsius, or use the wrinkle test to check if the jam has reached setting point.
- Once you have checked the temperature of your jam or done the wrinkle test successfully, you can now transfer your blackcurrant jam to your jars with confidence it won’t stay runny!

Jam wrinkle test
- If you don’t have a food thermometer to check the temperature, or want to be really sure your jam is ready, another way to check is to use the wrinkle test.
- Put a small plate in the freezer when starting to make my jam. Then by the time you are onto the boiling stage of the jam process, the plate will be nice and cold.
- Carefully take a teaspoon of the jam from the boiling pan and drop it onto the cold plate. Leave it for a minute or two to cool (and hopefully start to set) through the action of the chilled plate.
- Then push your finger upwards through the jam on the plate. If it wrinkles where you have pushed your finger through it, then the jam has reached setting point.
Jarring up your jam
- This recipe makes four 324 ml jars of jam.Before starting the jam preparation, make sure you have washed your jars in hot soapy water or passed them through your dishwasher.
- If washing by hand, you must next rinse the jars and lids well then put them on a baking tray in a low oven (approx. 120 degrees Celsius) until dry.This steam sterilises your jars and lids and make sure they are ready for filling with jam.
- Pouring the hot jam into jars can be tricky when the saucepan is really large and heavy and you need to use your other hand to keep your jars still.I like to use a jam funnel which stops the jam making a mess everywhere as you pour it, a wide funnel is easy to pour into and funnels the jam into your jars, reducing the clean-up needed afterwards.
- Once your hot jam is in the jars, put on the lids tightly and leave to cool.


Alison Martin says
Made it with the blackcurrants from my garden. I had about 840g so I adjusted the amount of sugar according to the ratio given here and it turned out perfectly. Very simple recipe for a great result.
bakingqueen74 says
Ooh so lucky of you Alison to get so many blackcurrants from your garden. I would love to grow some too. Thanks very much for your review.