
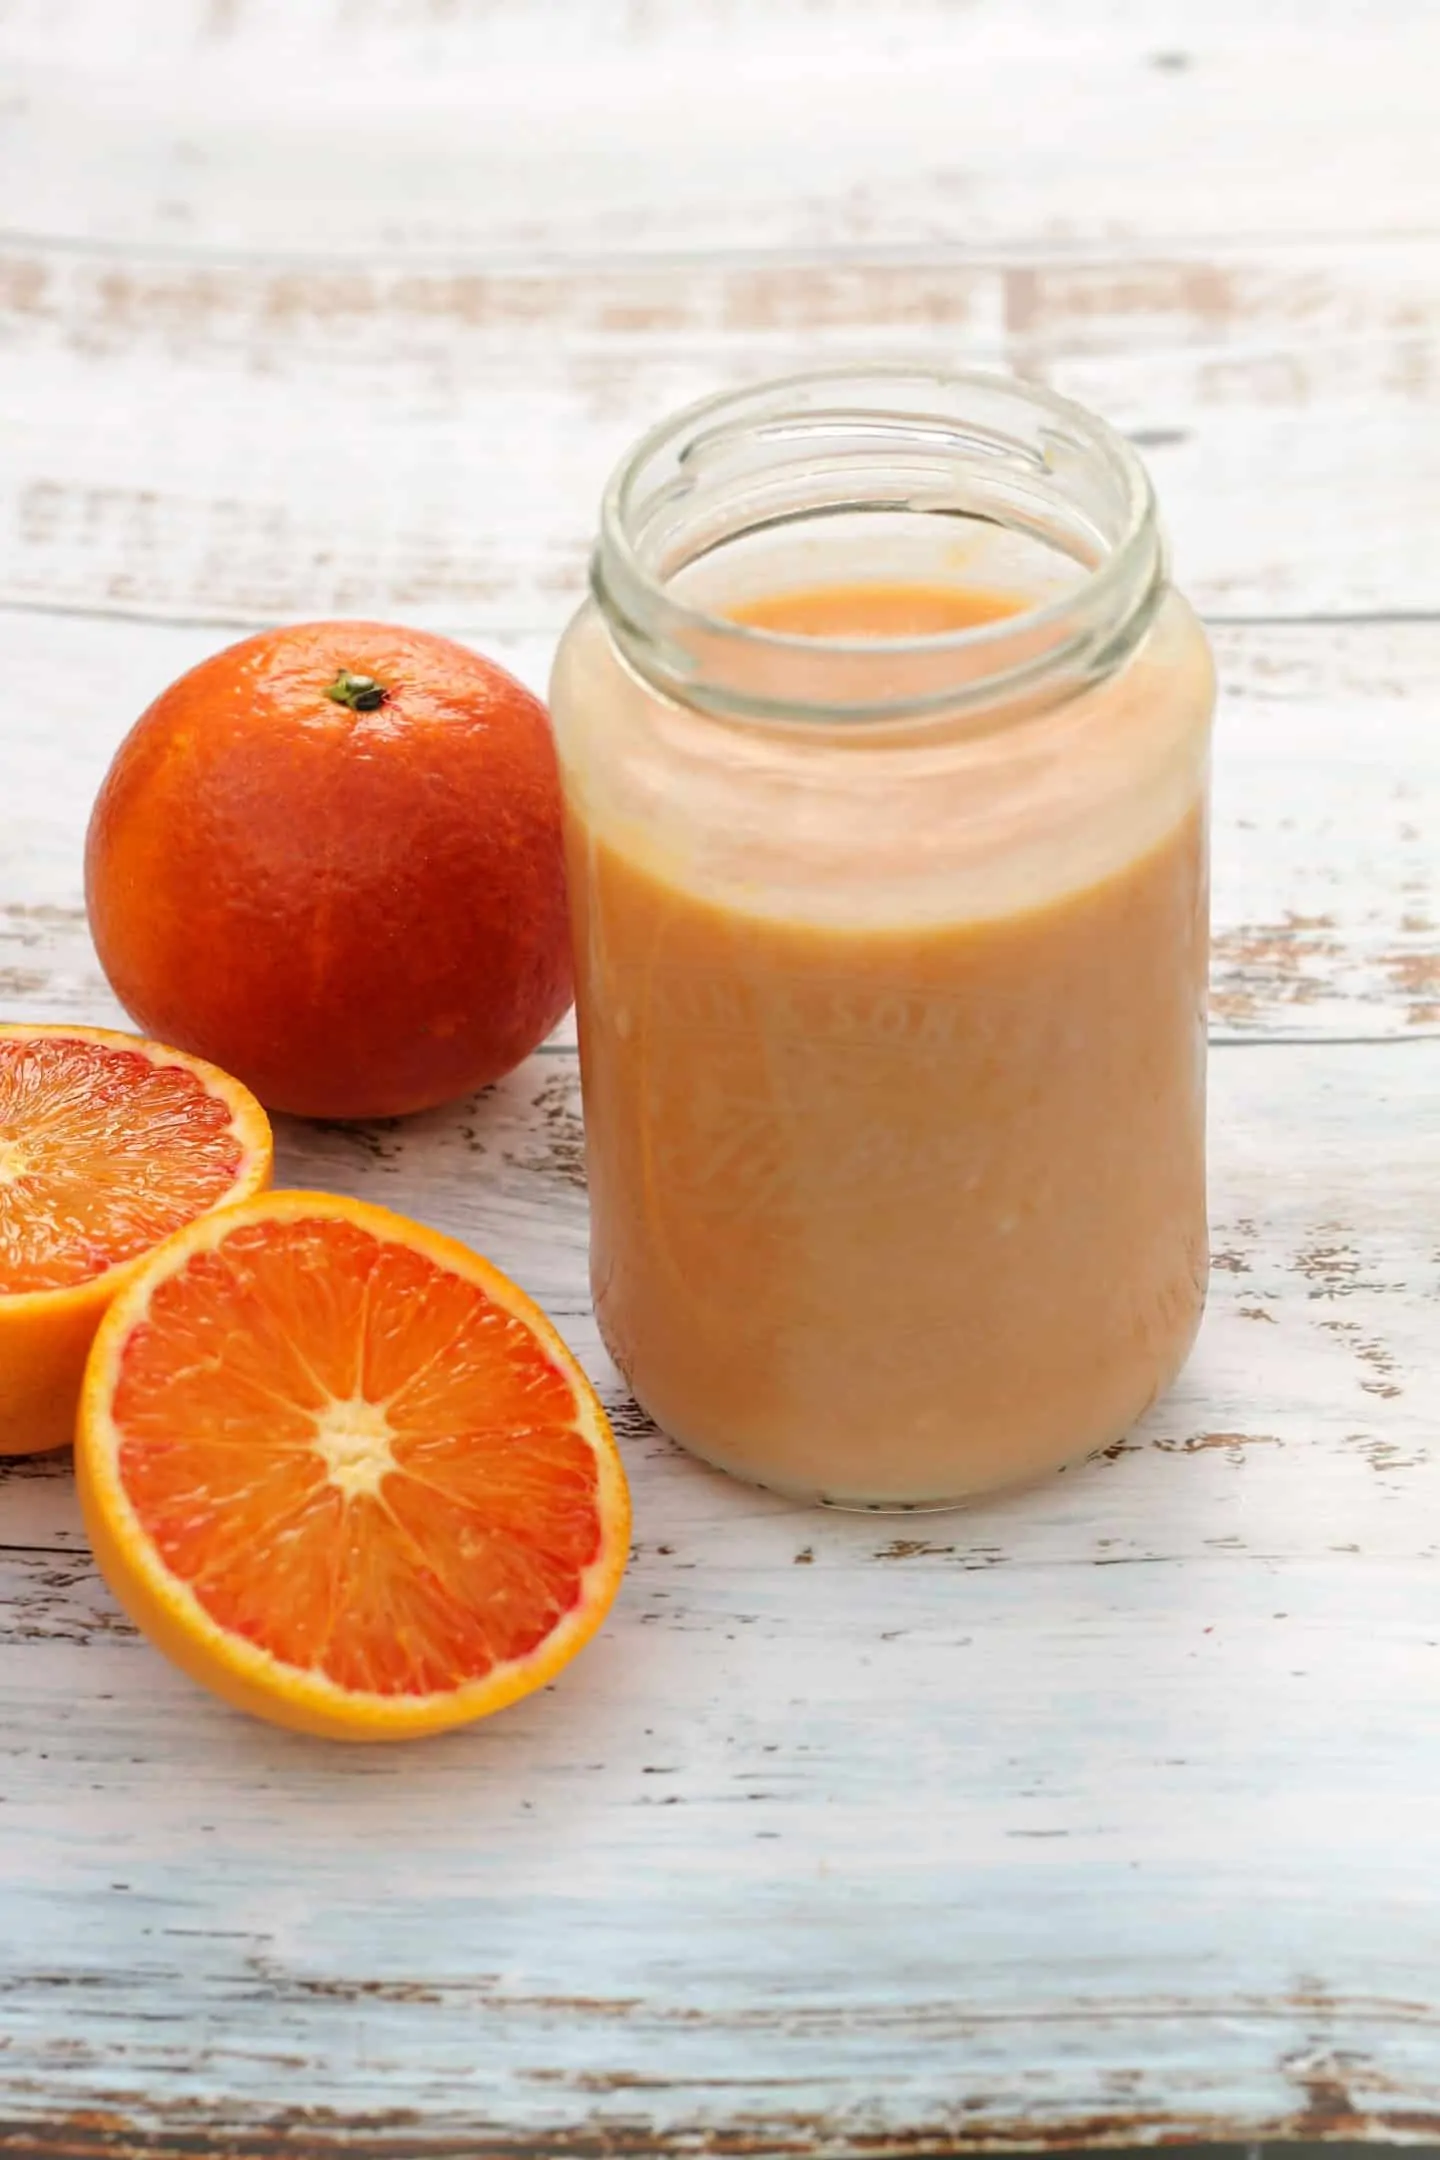
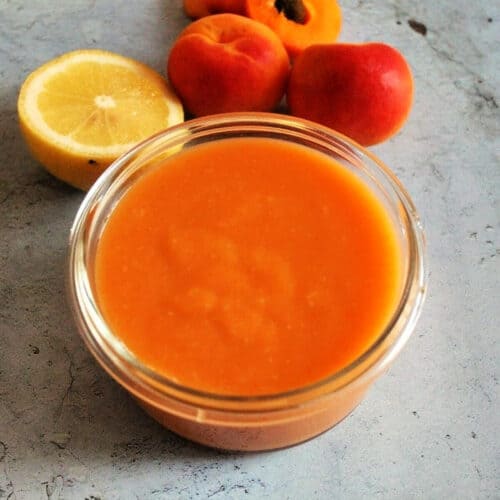
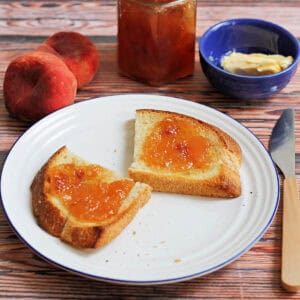
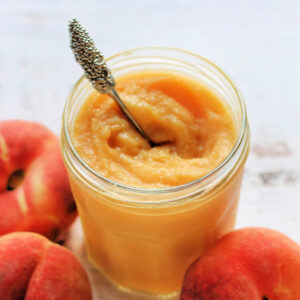
This orange curd has a mellow sweet flavour and creamy texture, and is delicious served on toast or used in all kinds of baking – use in cakes, to sandwich together shortbread biscuits, meringues or however you fancy!
Jump to:
Oranges
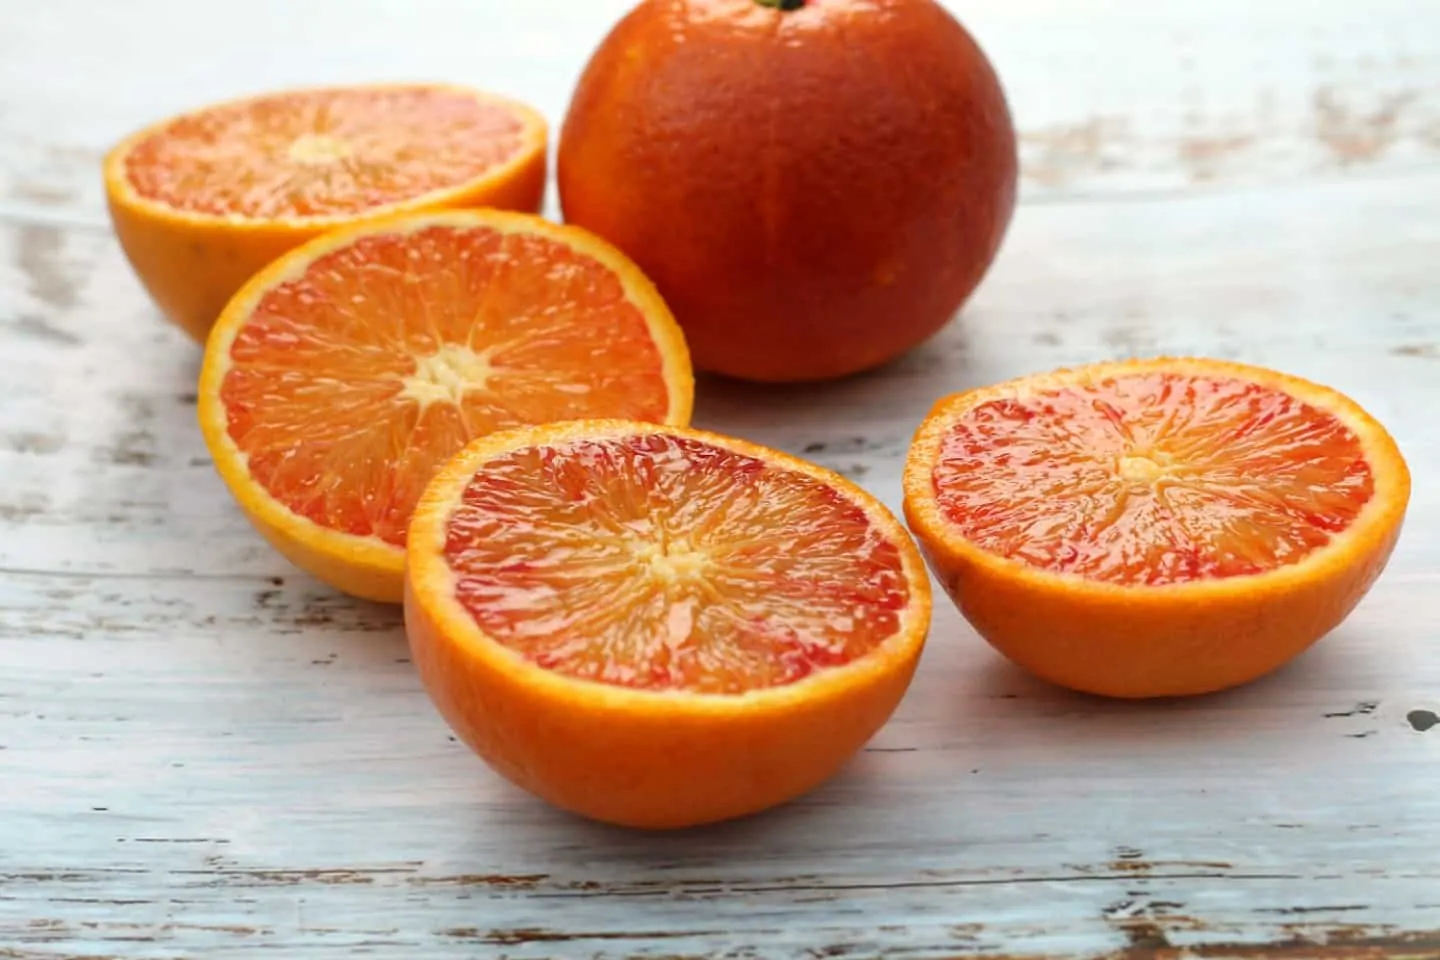
To make my orange curd I picked up some oranges called Sicilian Reds from the supermarket.
These are a type of blood orange, which are typically grown in the Mediterranean, in fact the cool autumn and winters of the Med are what allow the beautiful red colour to develop when the fruit ripens at low temperatures overnight.
This favours a pigment which gives the deep red colour.
In any case, while the oranges I picked up weren’t completely blood red, but with lovely red tinges, they gave a quite deep orange juice when squeezed!
Blood oranges are not usually as sweet as normal oranges, and can sometimes be quite tart.
It’s a good idea to taste your juice as if you have a very tart batch you might need to increase the sugar in the recipe to compensate.
You can use normal oranges in this recipe with no problems! I make this all year round using standard oranges when the red ones aren’t around.
Normal oranges will usually produce a more mellow flavour. It’s nice to add some tangy lemon juice to add more flavour in that case.
Look at the size of the oranges you buy as they can vary greatly in size and of course small ones will provide less juice than large oranges!
You’ll need two medium oranges or enough to produce 125 ml of juice.
Preserving fruit
Making your own jams and curds or other preserves at home is really fun. I find jam making a bit too time consuming as I don’t have much spare time and don’t always have the equipment needed on hand.
But making curd, especially when you use the microwave as I have done here, is so easy!
It only takes a few minutes and you’ll have a jar of delicious fruit curd you can keep in the fridge for a couple of weeks.
I like to use curds in cakes and baking as well as enjoying it on buttered bread and toast!
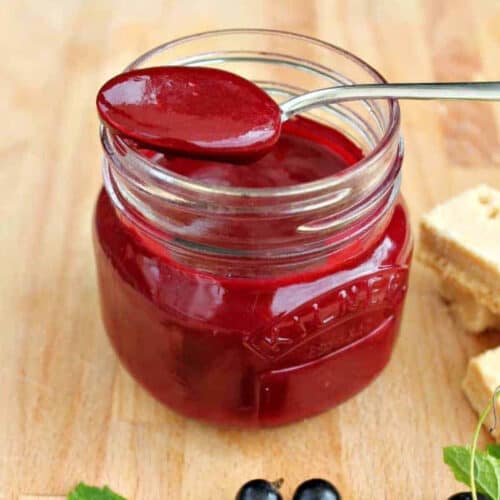
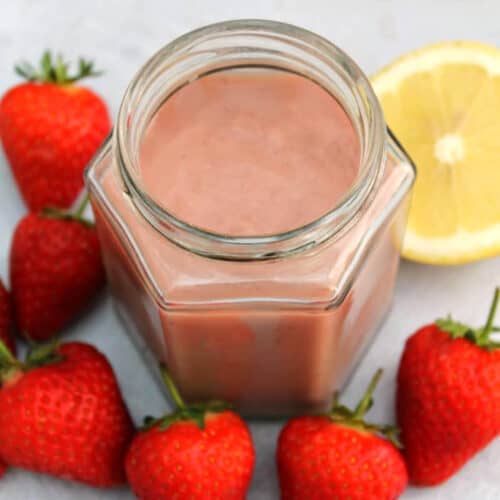
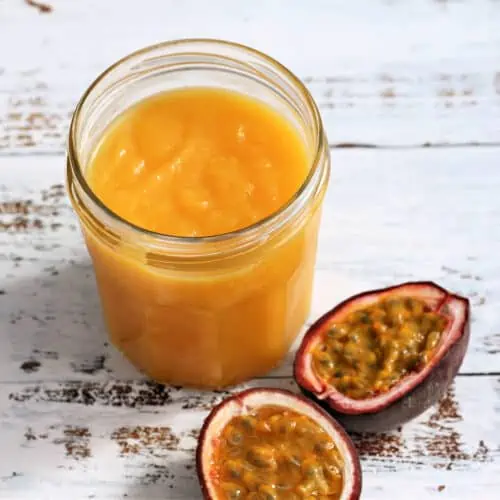
Lemon and orange curd are some of the commonly made ones, but I enjoy making curd from different fruits too.
You might also like to try my recipes for these other curds:
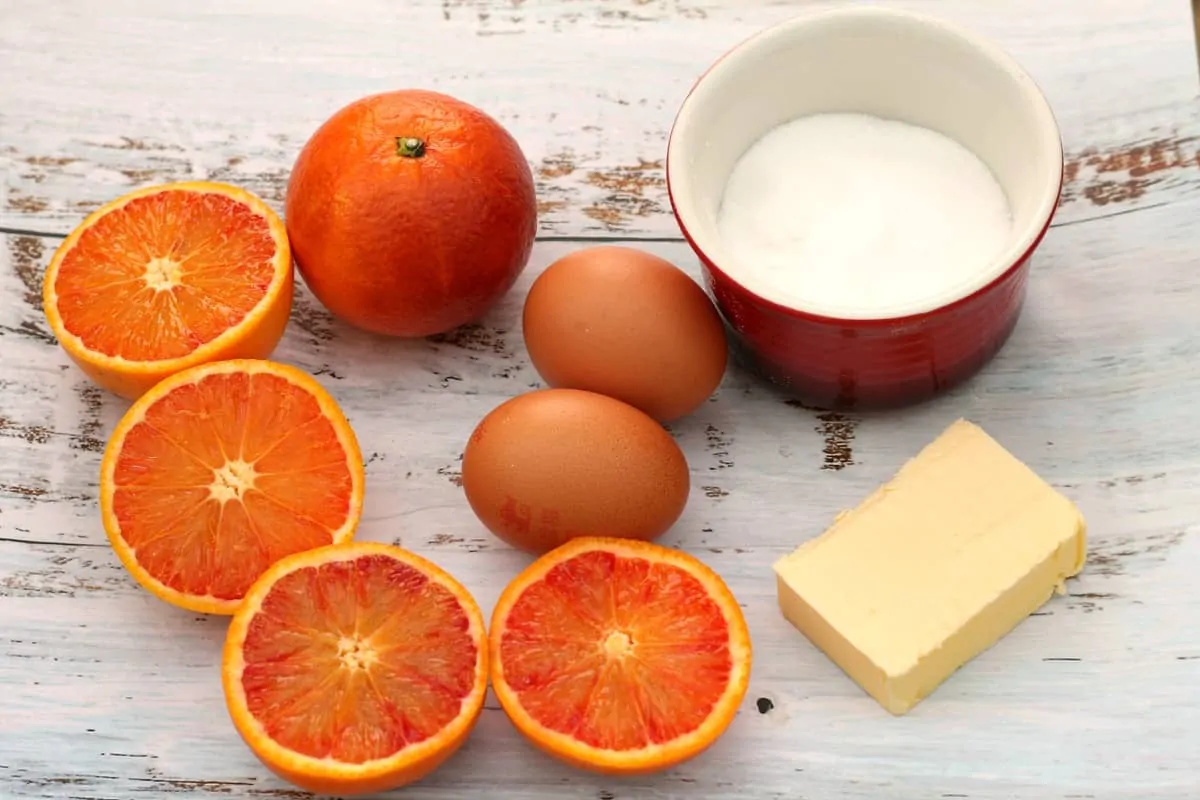
Ingredients
Here is the list of ingredients you will need, as a handy shopping list. For the quantities make sure you refer to the recipe card at the end of this post.
- two medium oranges – juice and zest – remember that if your oranges are really small or huge you might need to use more or fewer oranges, you need enough to produce 125 ml of juice.
- two large free-range eggs
- caster sugar
- butter – I use unsalted
- lemon juice – squeeze half a lemon for 25 ml of juice
Equipment
- lemon zester – this type of zester is great for getting all of the lemon zest without grating your fingers
- whisk
- sieve
- jars
Instructions
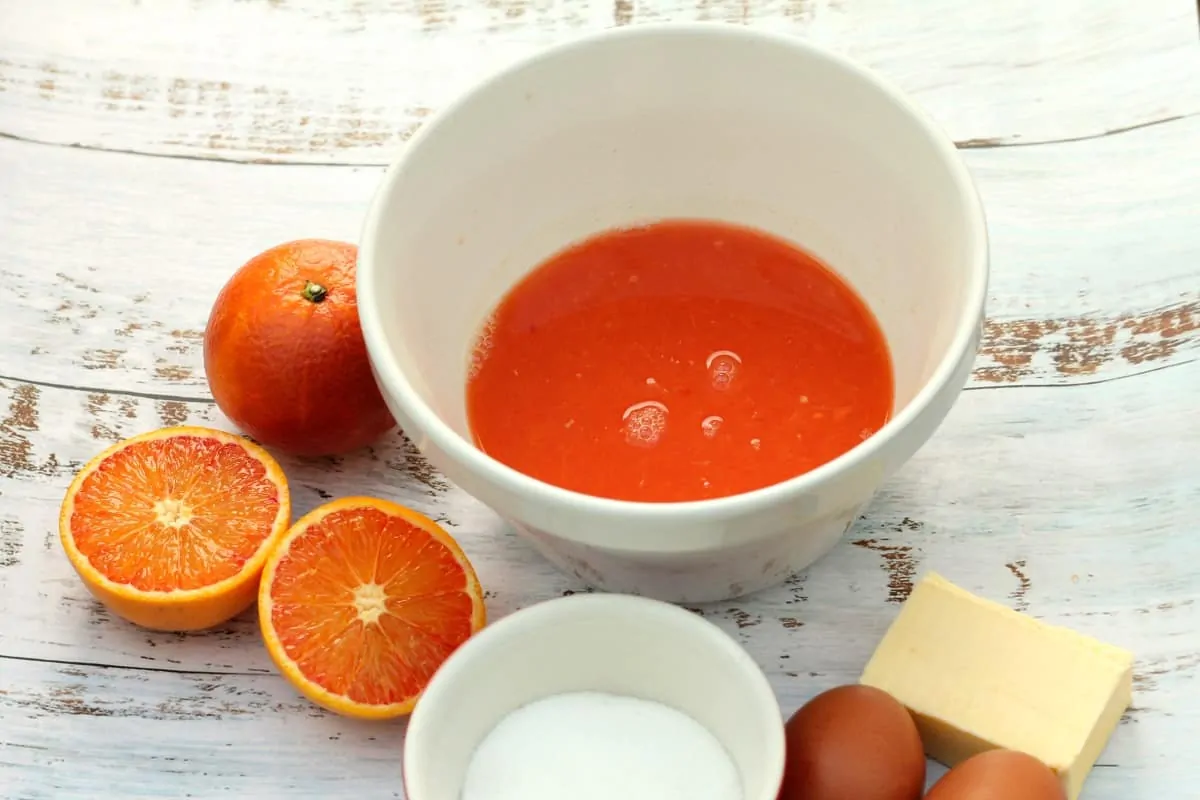
Step 1. Squeeze the juice from two medium oranges, zest the oranges and add it to the juice. You will need 125 ml of freshly squeezed orange juice. Prepare the rest of the ingredients – weigh out the sugar and butter and get the eggs ready. You’ll also need 25 ml of fresh lemon juice, add this to the orange juice so you have 150 ml juice in total.
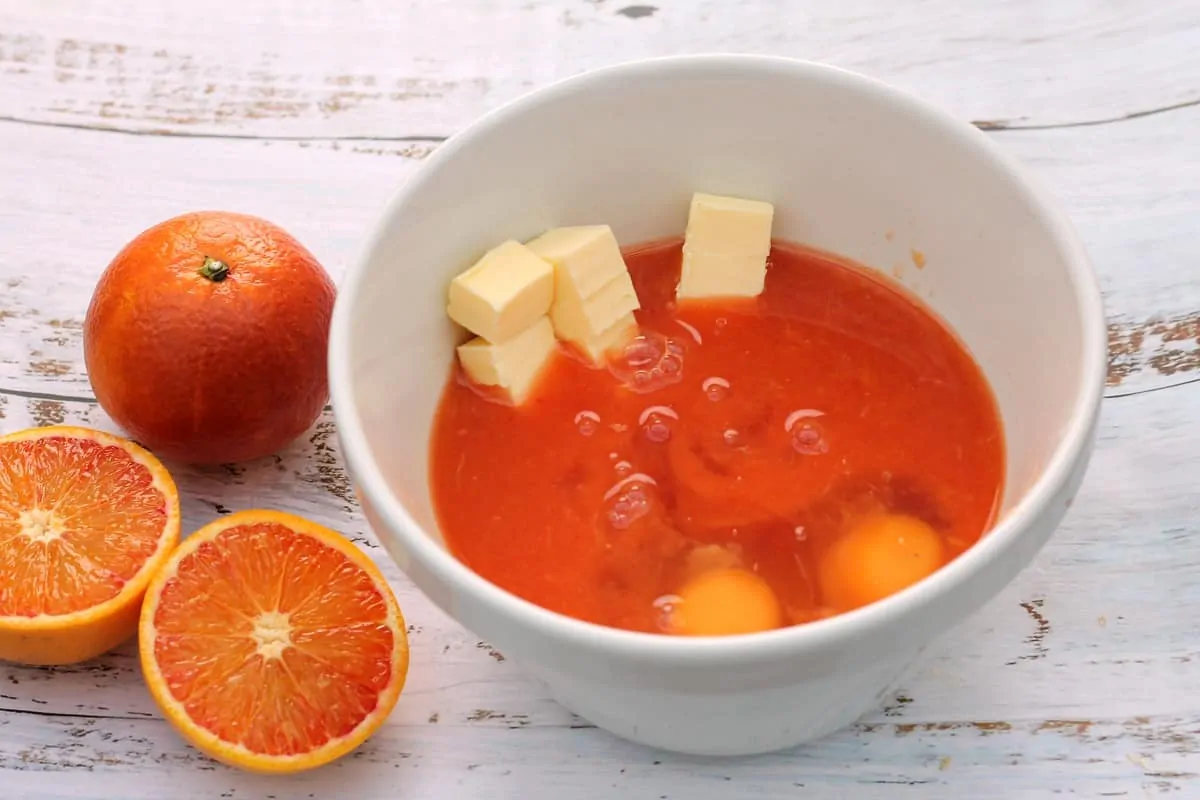
Step 2. Add the eggs, sugar, butter to the juice and zest in a large bowl.
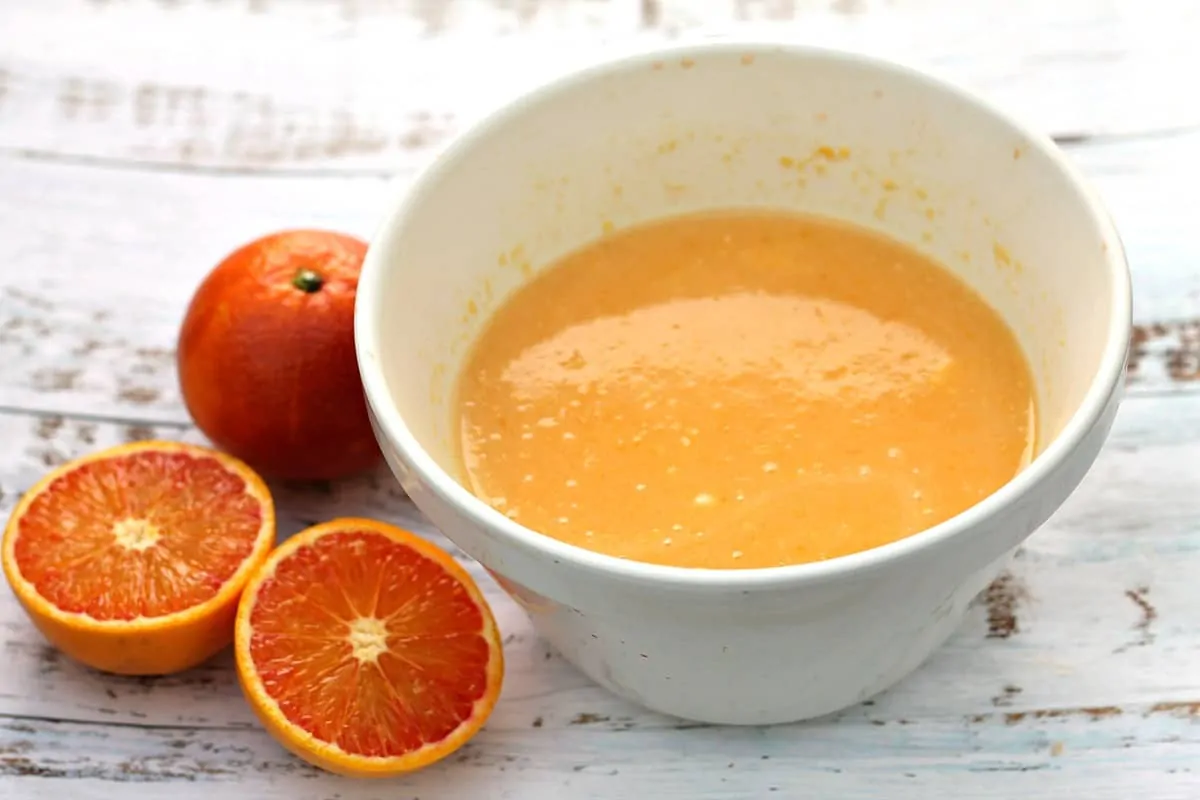
Step 3. Mix using a fork (make sure you beat well so that the eggs are fully combined). Microwave on high for two minutes, then stir again.
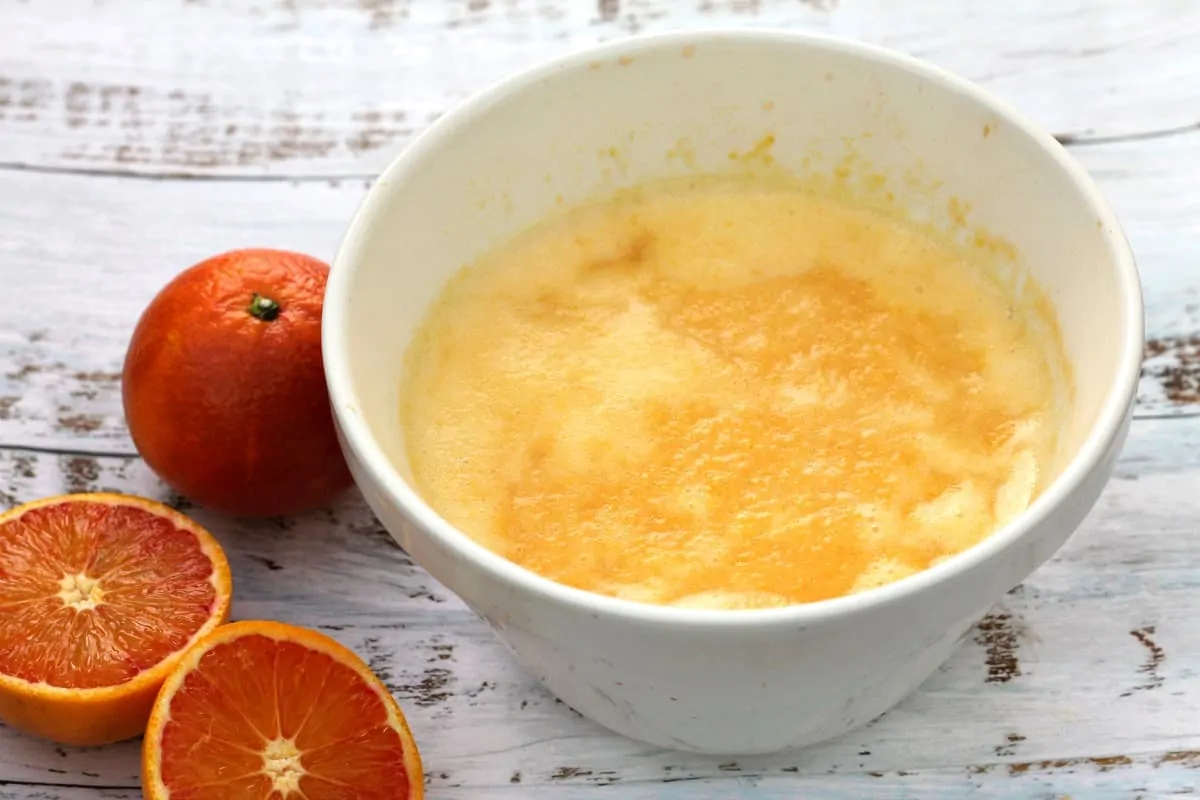
Step 4. Microwave on high for 2 minutes. Stir well after heating. You’ll see the curd start to thicken up.
Step 5. Microwave on high for another minute then stir well.
Check if the curd is coating the back of a spoon – dip a spoon into the curd and seeing if it slides off or remains on the back of the spoon. If it coats the spoon then the curd can now be put in the fridge to set.
Note – if it doesn’t coat the spoon yet, heat for another minute, stir then check again.

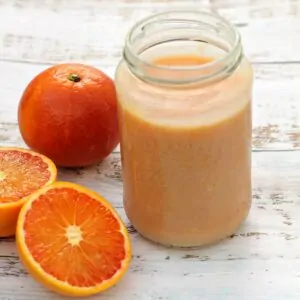
Step 6. Transfer the curd to a sterilised glass jar, put on the lid, and allow to cool fully. Then refrigerate. This recipe will yield one jar of orange curd (324 ml jar size).
Storage
Orange curd keeps for 1-2 weeks in the fridge.
Recipe tips
- Lumps – If you can see white specks or lumps in your curd this may be from uneven cooking and whisking, where the egg has formed into lumps. Sieve the curd before transferring it to jars.
- Removing the zest – I usually sieve my curd before jarring it up to remove the tiny pieces of zest.
- How to tell the curd is ready – If it coats the spoon and has a shiny appearance on the surface then this shows the curd is ready.
Ideas using orange curd
You can either use orange curd as an alternative to jam straight from the jar or you can use it in baking recipes.
- Spread on toast, bread, in scones.
- Use it to fill cakes, meringues, sandwich together shortbread biscuits, swirl into cake batter before cooking (along the same lines as my jam swirl cake), as a macaron filling.
- Use it in tarts or orange meringue pie.
More orange recipes
If you have a glut of oranges, here are a few more ideas to use them:
- orange scones with blood orange syrup
- redcurrant and orange loaf
- blood orange drizzle cake from Jo’s Kitchen Larder
Recipe
Orange Curd
Ingredients
- 2 medium oranges zest and juice (you will need 125 ml orange juice)
- 2 large free-range eggs
- 145 g (½ cup + 3 tbsp) caster sugar (superfine sugar)
- 50 g (3 tbsp + 2 tsp) butter
- 25 ml (5 tsp) lemon juice squeeze half a lemon for this
Instructions
- Squeeze the juice from two medium oranges, zest the oranges and add it to the juice. You will need 125 ml of freshly squeezed orange juice. Prepare the rest of the ingredients – weigh out the sugar and butter and get the eggs ready. You'll also need 25 ml of fresh lemon juice, add this to the orange juice so you have 150 ml juice in total.2 medium oranges, 25 ml / 5 tsp lemon juice
- Add the eggs, sugar, butter to the juice and zest in a large bowl.2 large free-range eggs, 145 g / ½ cup + 3 tbsp caster sugar (superfine sugar), 50 g / 3 tbsp + 2 tsp butter
- Mix using a fork (make sure you beat well so that the eggs are fully combined). Microwave on high for two minutes, then stir again.
- Microwave on high for 2 minutes. Stir well after heating. You'll see the curd start to thicken up.
- Microwave on high for another minute then stir well.Check if the curd is coating the back of a spoon – dip a spoon into the curd and seeing if it slides off or remains on the back of the spoon. If it coats the spoon then the curd can now be put in the fridge to set.Note – if it doesn't coat the spoon yet, heat for another minute, stir then check again.
- Transfer the curd to a sterilised glass jar, put on the lid, and allow to cool fully. Then refrigerate.


Lesley says
Tripled the quantity and started it off in the microwave but ended up needing to use the double boiler method you used for the lemon curd recipe I made it slightly thinner than I did for the lemon as I used it for a cheesecake for Christmas and it was lovely will definitely make this again
Lesley says
I tripled the recipe as I am using it for a Christmas cheesecake as my daughter’s favourite one is mandarin but such a boring one when you get shop bought. I finished it off on the double boiler like your lemon curd as it was a bit much for the microwave. Made it a bit thinner in consistency too as I think it will work better for the cheesecake but tasted so good on toast this morning.
bakingqueen74 says
Wonderful!
Vivian Grange says
I made an orange curd. I boiled and continued to stir for 5 minutes. I did add corn starch to thicken it. I strained it through a fine sieve. After it got cold it had tiny white luVivmps in it. What if anything can I do to fix it?
bakingqueen74 says
Hi Vivian, it doesn’t sound like you used my recipe since it doesn’t need boiling or corn starch. My guess is the white lumps are cornstarch.
Dee says
Made double the qty with only oranges.turned out great. Thankyou.Dee
bakingqueen74 says
fantastic!
Richard Bailey says
If there were imperial units of measure I might have used this recipe. The ten fingers system of measure has not caught on here in the US.
bakingqueen74 says
You must have missed the US measurements button which switches this over for you.
Brenda Clough says
Thankyou. I missed the us measurement button as well. That was pretty handy. Saved me from googling to convert. Can’t wait to get to the store to buy my fruit & try this recipe.
bakingqueen74 says
fabulous!