

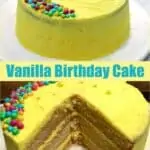
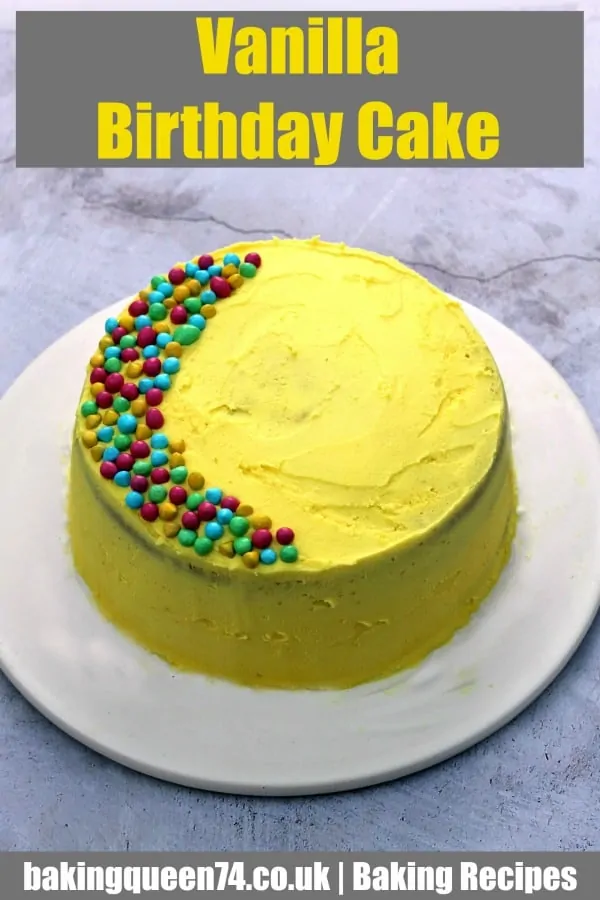
A tasty vanilla cake with buttercream frosting, perfect for birthday parties. Three layers of vanilla cake with chocolate bean sprinkles for decoration makes a great birthday cake!
Jump to:
Vanilla cake
For a good old cake for parties you can’t go far wrong with a vanilla cake.
Everybody loves a plain sponge cake and you can decorate this cake however you like to adapt it for your occasion.
I use vanilla bean paste when making a vanilla sponge cake, or you could also use vanilla extract.
The one to avoid though is vanilla essence as it is much lower quality and can have a synthetic flavour.
Birthday cake flavours
This is the basic recipe I use for a lot of the birthday cakes I make for my kids.
Sometimes I make it strawberry flavour as in my strawberry layer cake. That uses strawberry icing sugar to add flavour and is a lot sweeter than this vanilla birthday cake.
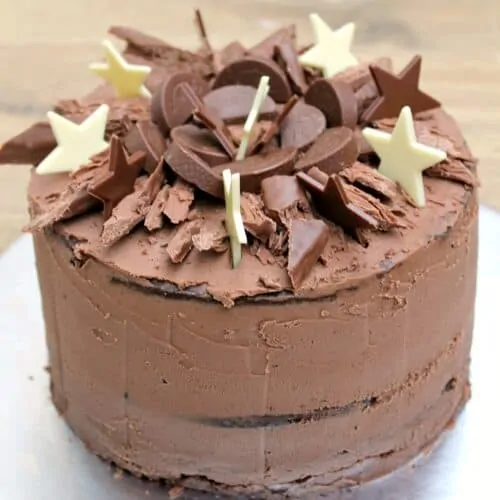
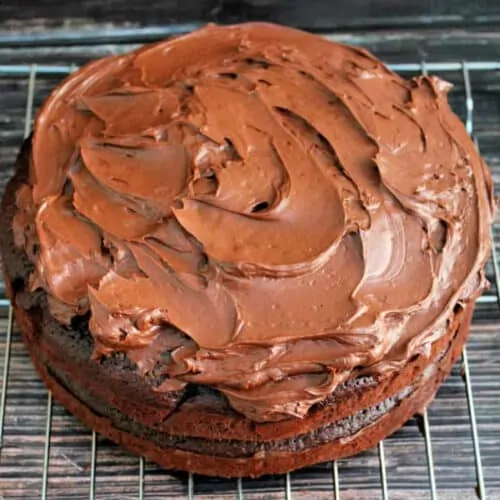
If they want chocolate I use my chocolate birthday cake recipe instead.
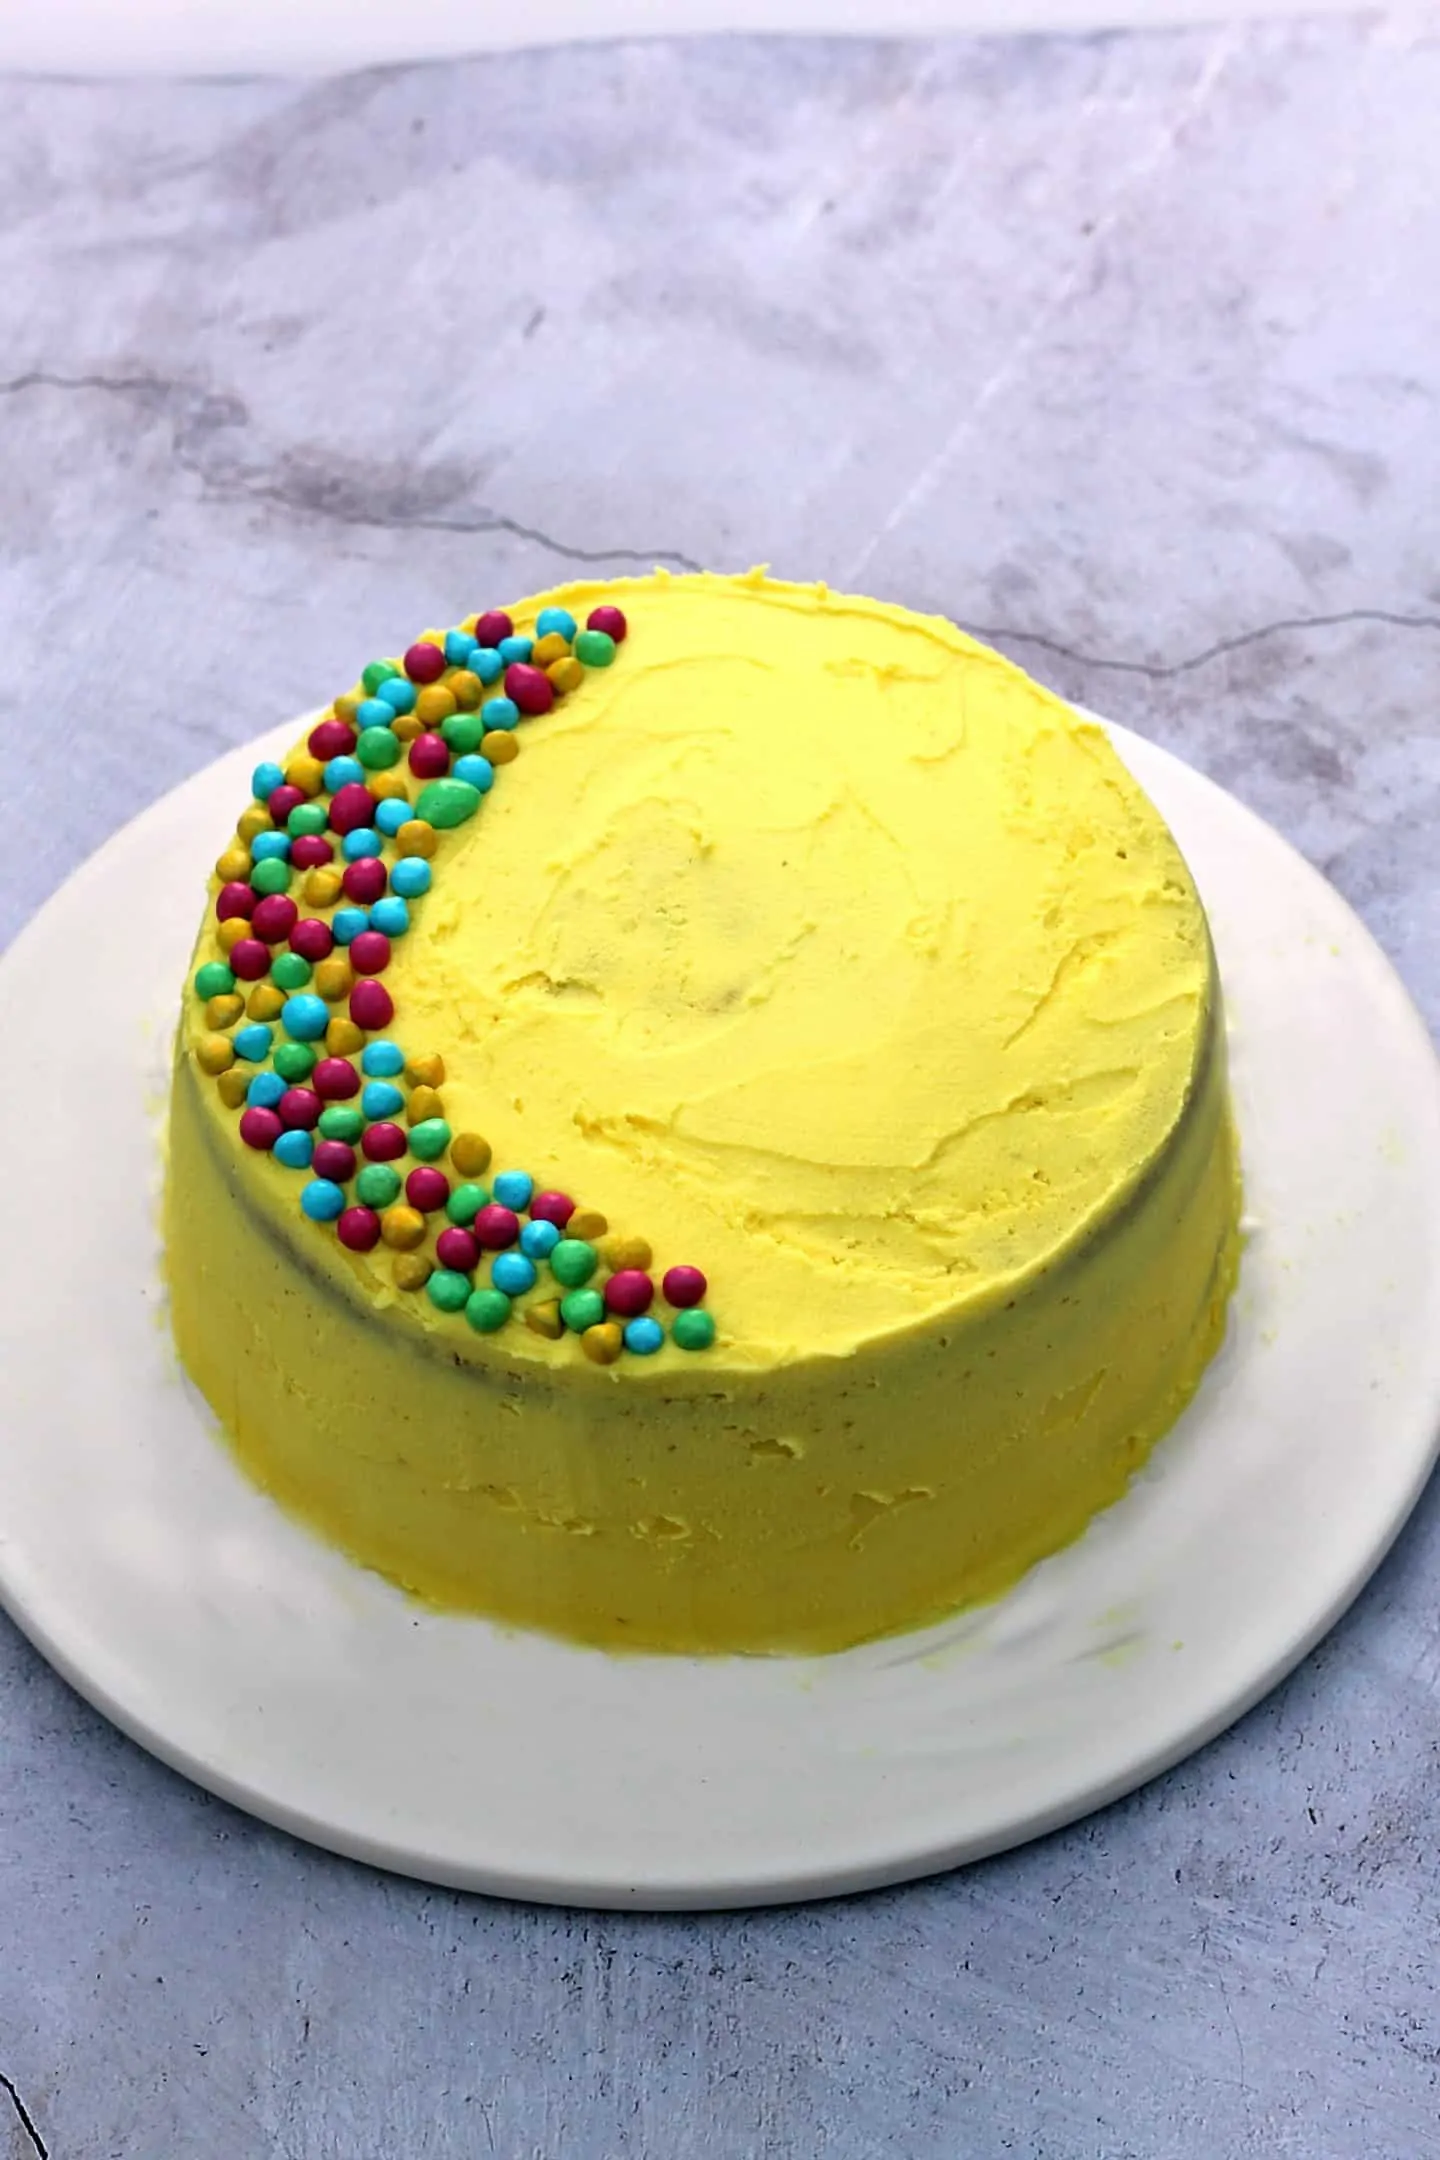
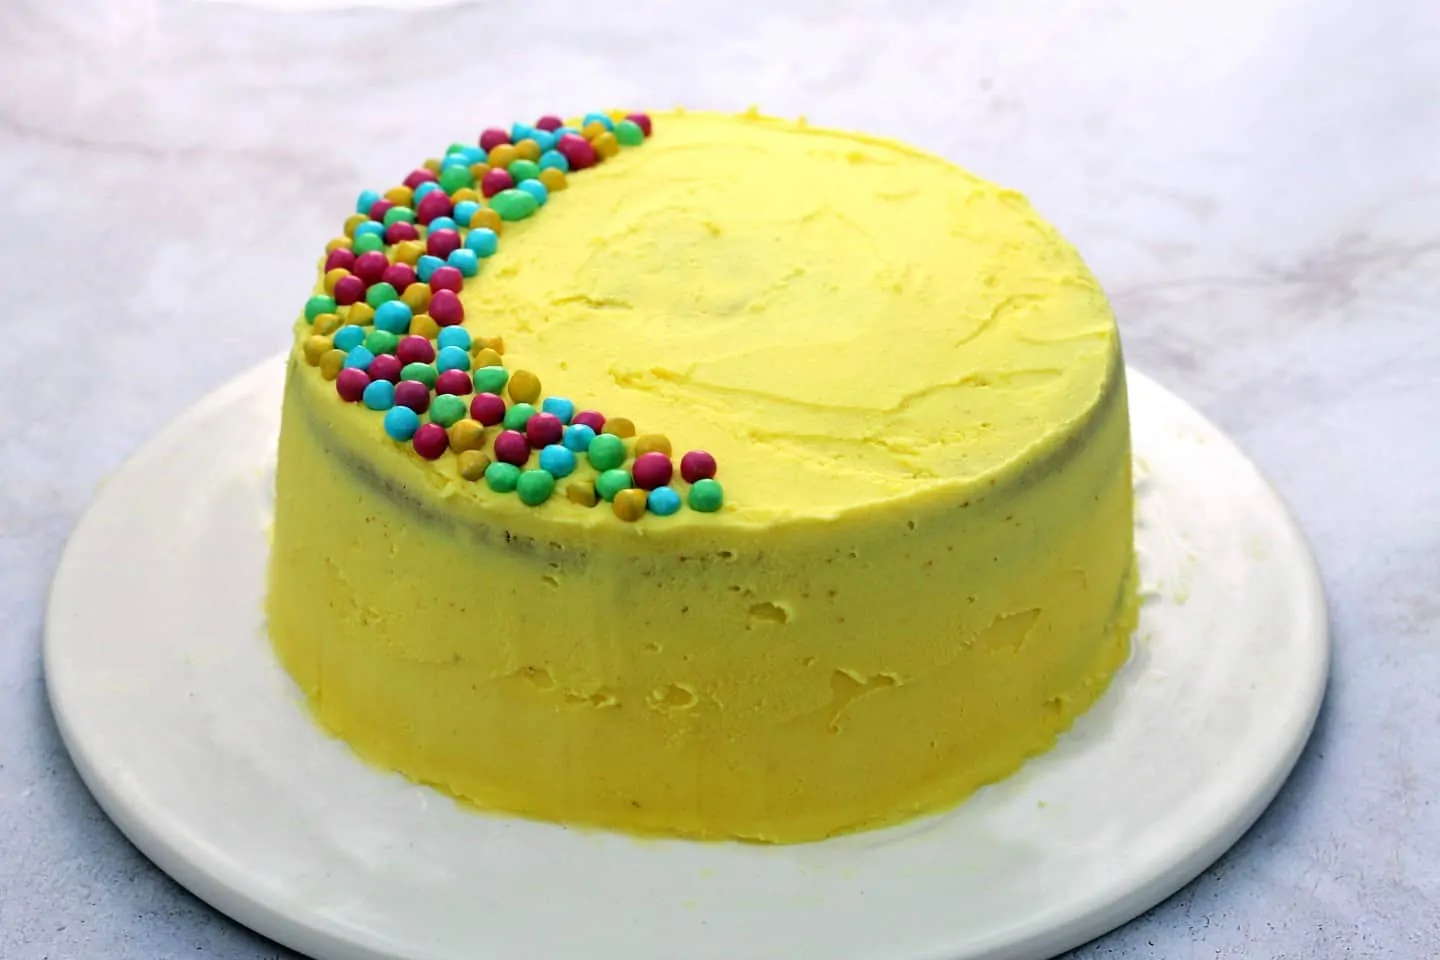
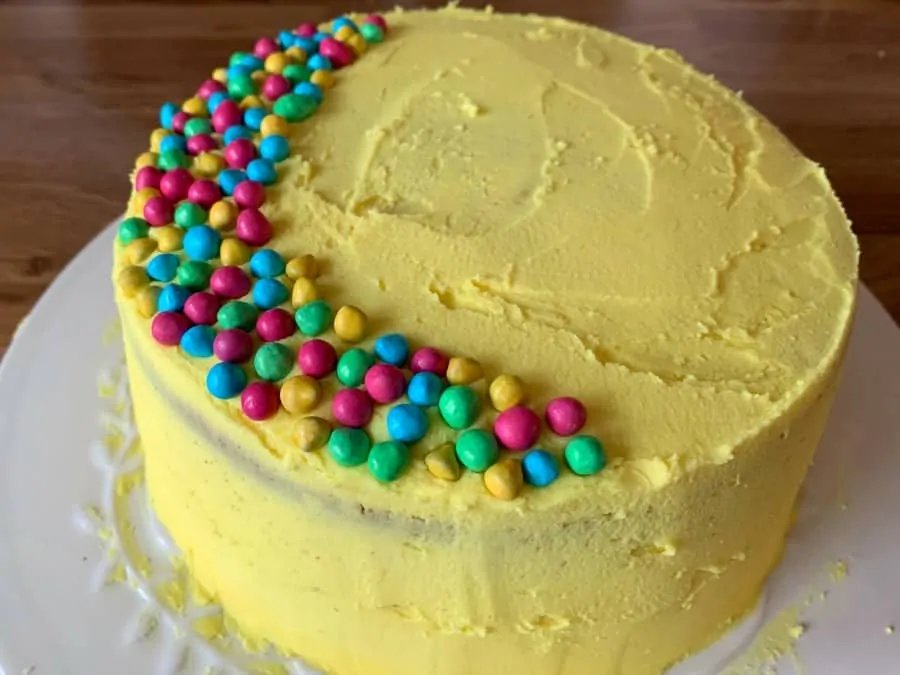
Here I’ve gone for simple decoration with yellow buttercream and chocolate bean sprinkles. It is so easy to change up the decoration if you want something different too.
You can also use jam between the layers if you prefer, instead of buttercream icing.
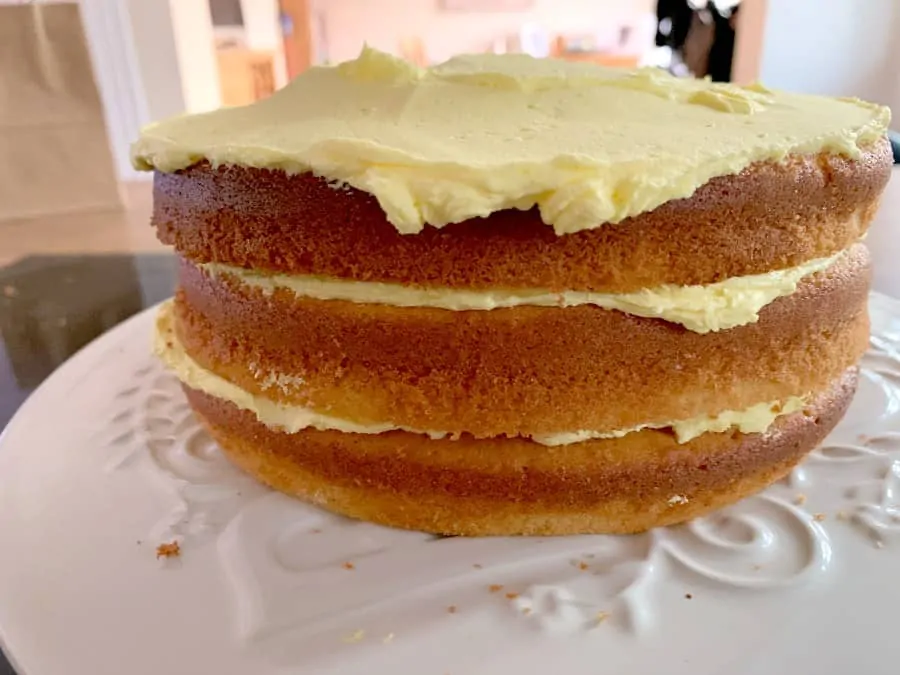
Inside the cake you can see the three layers of cake with icing between. The cake has a lovely crumb while still remaining light and airy.

Equipment
You’ll need the items listed below ideally (note these are affiliate links):
- Baking tins – three equally sized 8 inch (20 cm) tins ideally
- Spatula – to divide the cake mixture into your cake tins, or you could use a large spoon.
- Pallet knife – to apply the icing.
- Cake smoother – useful to help smooth the icing on the sides and achieve sharp edges.
- Rotating stand – optional but very useful when doing the icing to get it smooth and even, turn it around as you apply the frosting with the pallet knife or cake smoother.
- Stand mixer or hand mixer – needed to make the cake and buttercream as both are a big quantity, so it is easier to use a mixer rather than make them by hand
Number of servings
This serves approximately 16 based on small slices served to children (eight year olds!).
As the cake has three layers even a thin slice is quite substantial.
If serving bigger slices to adults or those with a bigger appetite I would say it would make around ten good slices.
Alternative decoration
Make your buttercream frosting a different colour to match your party’s theme or leave it plain!
Replace the sprinkles with your preferred cake topping or just a cake topper!
You could halve the amount of buttercream and use it only in-between the layers and on top.
Or use less frosting around the sides for a semi-naked style cake.
Ingredients needed
For the quantities please see the recipe card at the end of the post.
- margarine – for the cake. I use Stork.
- caster sugar – I use golden caster sugar.
- self-raising flour
- eggs – I use medium free-range eggs.
- icing sugar
- butter – for the buttercream frosting. Ensure it is softened before you start to make the icing. To do this, remove the butter from the fridge and leave it out for a couple of hours beforehand to come to room temperature. If needed, heat it on low in the microwave for a few seconds too, until it is very soft but not melting.
- milk – I use semi-skimmed as that is what we keep in the fridge.
- vanilla bean paste – I find this works really well in cakes. You could use vanilla extract instead. Avoid vanilla essence.
- food colour – to colour the buttercream frosting. A good quality gel colour or paste is best to use, for best results. Either Colourflair or Dr Oetker colours work well. Avoid the basic supermarket food colours in the little bottles.
- sprinkles – if desired, whichever kind you prefer
Step by step instructions
Step 1. Make the cake batter first. Preheat your oven to 180 degrees C (fan). Grease and line three 8 inch / 20 cm cake tins.
Cream the butter with the caster sugar until it is soft and no longer grainy.
Add the eggs one by one, and again mix well.
Add the vanilla bean paste to the milk, stir, and then add some of the milk, followed by some of the flour, to the mixture, and combine as you go.
Step 2. Divide the cake mixture equally into three 8 inch / 20 cm tins.
If you only have two tins in the same size, you can bake two layers first then the third after the first two are baked. It is best to line the tin in this case so it is easy to take the first layer out and refill the tin.
Step 3. Bake for approx. 20 mins, or until the cakes shrink away from the edge of the tins. Check using a cake tester to ensure the layers are cooked through. Allow to cool for a few minutes, then remove from the tins and leave the layers to cool completely.
Step 4. While the cakes are baking make the buttercream icing.
Put the softened butter in a stand mixer and beat for around five minutes until it lightens in colour and is soft and fluffy.
Add the icing sugar in batches of about a teacup full at a time, mixing well each time you add more.
A top tip for making buttercream is to turn the mixer speed down when you add the icing sugar, to lessen the clouds of icing sugar. If you have a mixer with a cover this is a good time to use it.
Once each cupful of icing sugar is completely incorporated and the mixture looks light and fluffy again, you can add the next cupful.
Finally, once all the icing sugar is added, continue to mix and add a teaspoon of milk and beat again.
Add your gel colour, if using, and mix until the icing reaches your desired colour. You may need to add more to achieve a deeper colour.
Step 5. One the cakes are completely cool, take the first cake and top it with buttercream, add the next layer and top with buttercream, then add the final layer and top with buttercream.
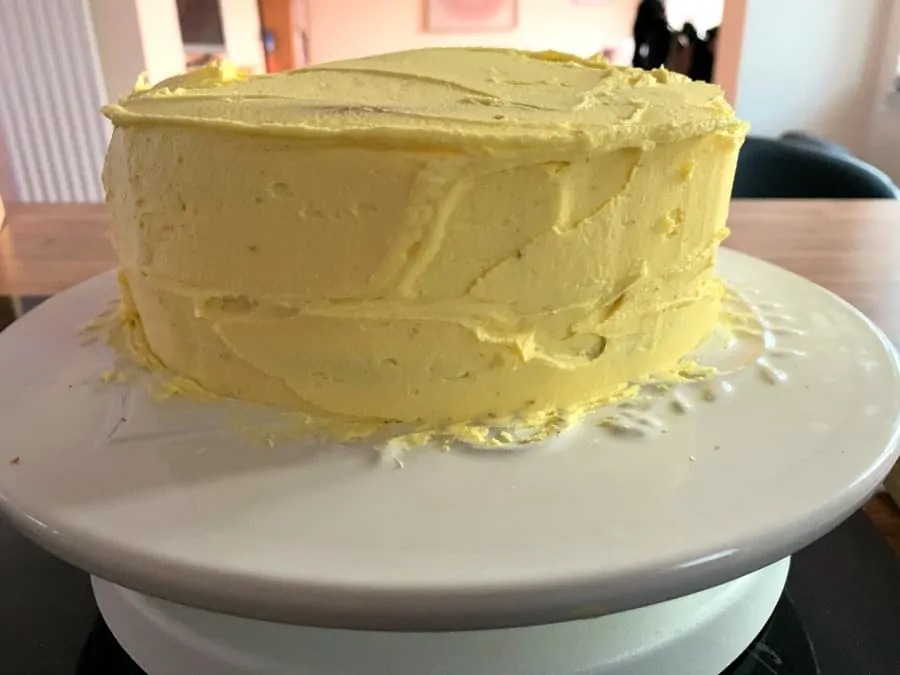
Step 6. Add buttercream around the edges of the cake using a palette knife and smooth round roughly. Put the cake aside for a couple of hours for this crumb coat to set.
Step 7. Once the crumb coat is set, you can do the final decoration on your vanilla birthday cake.
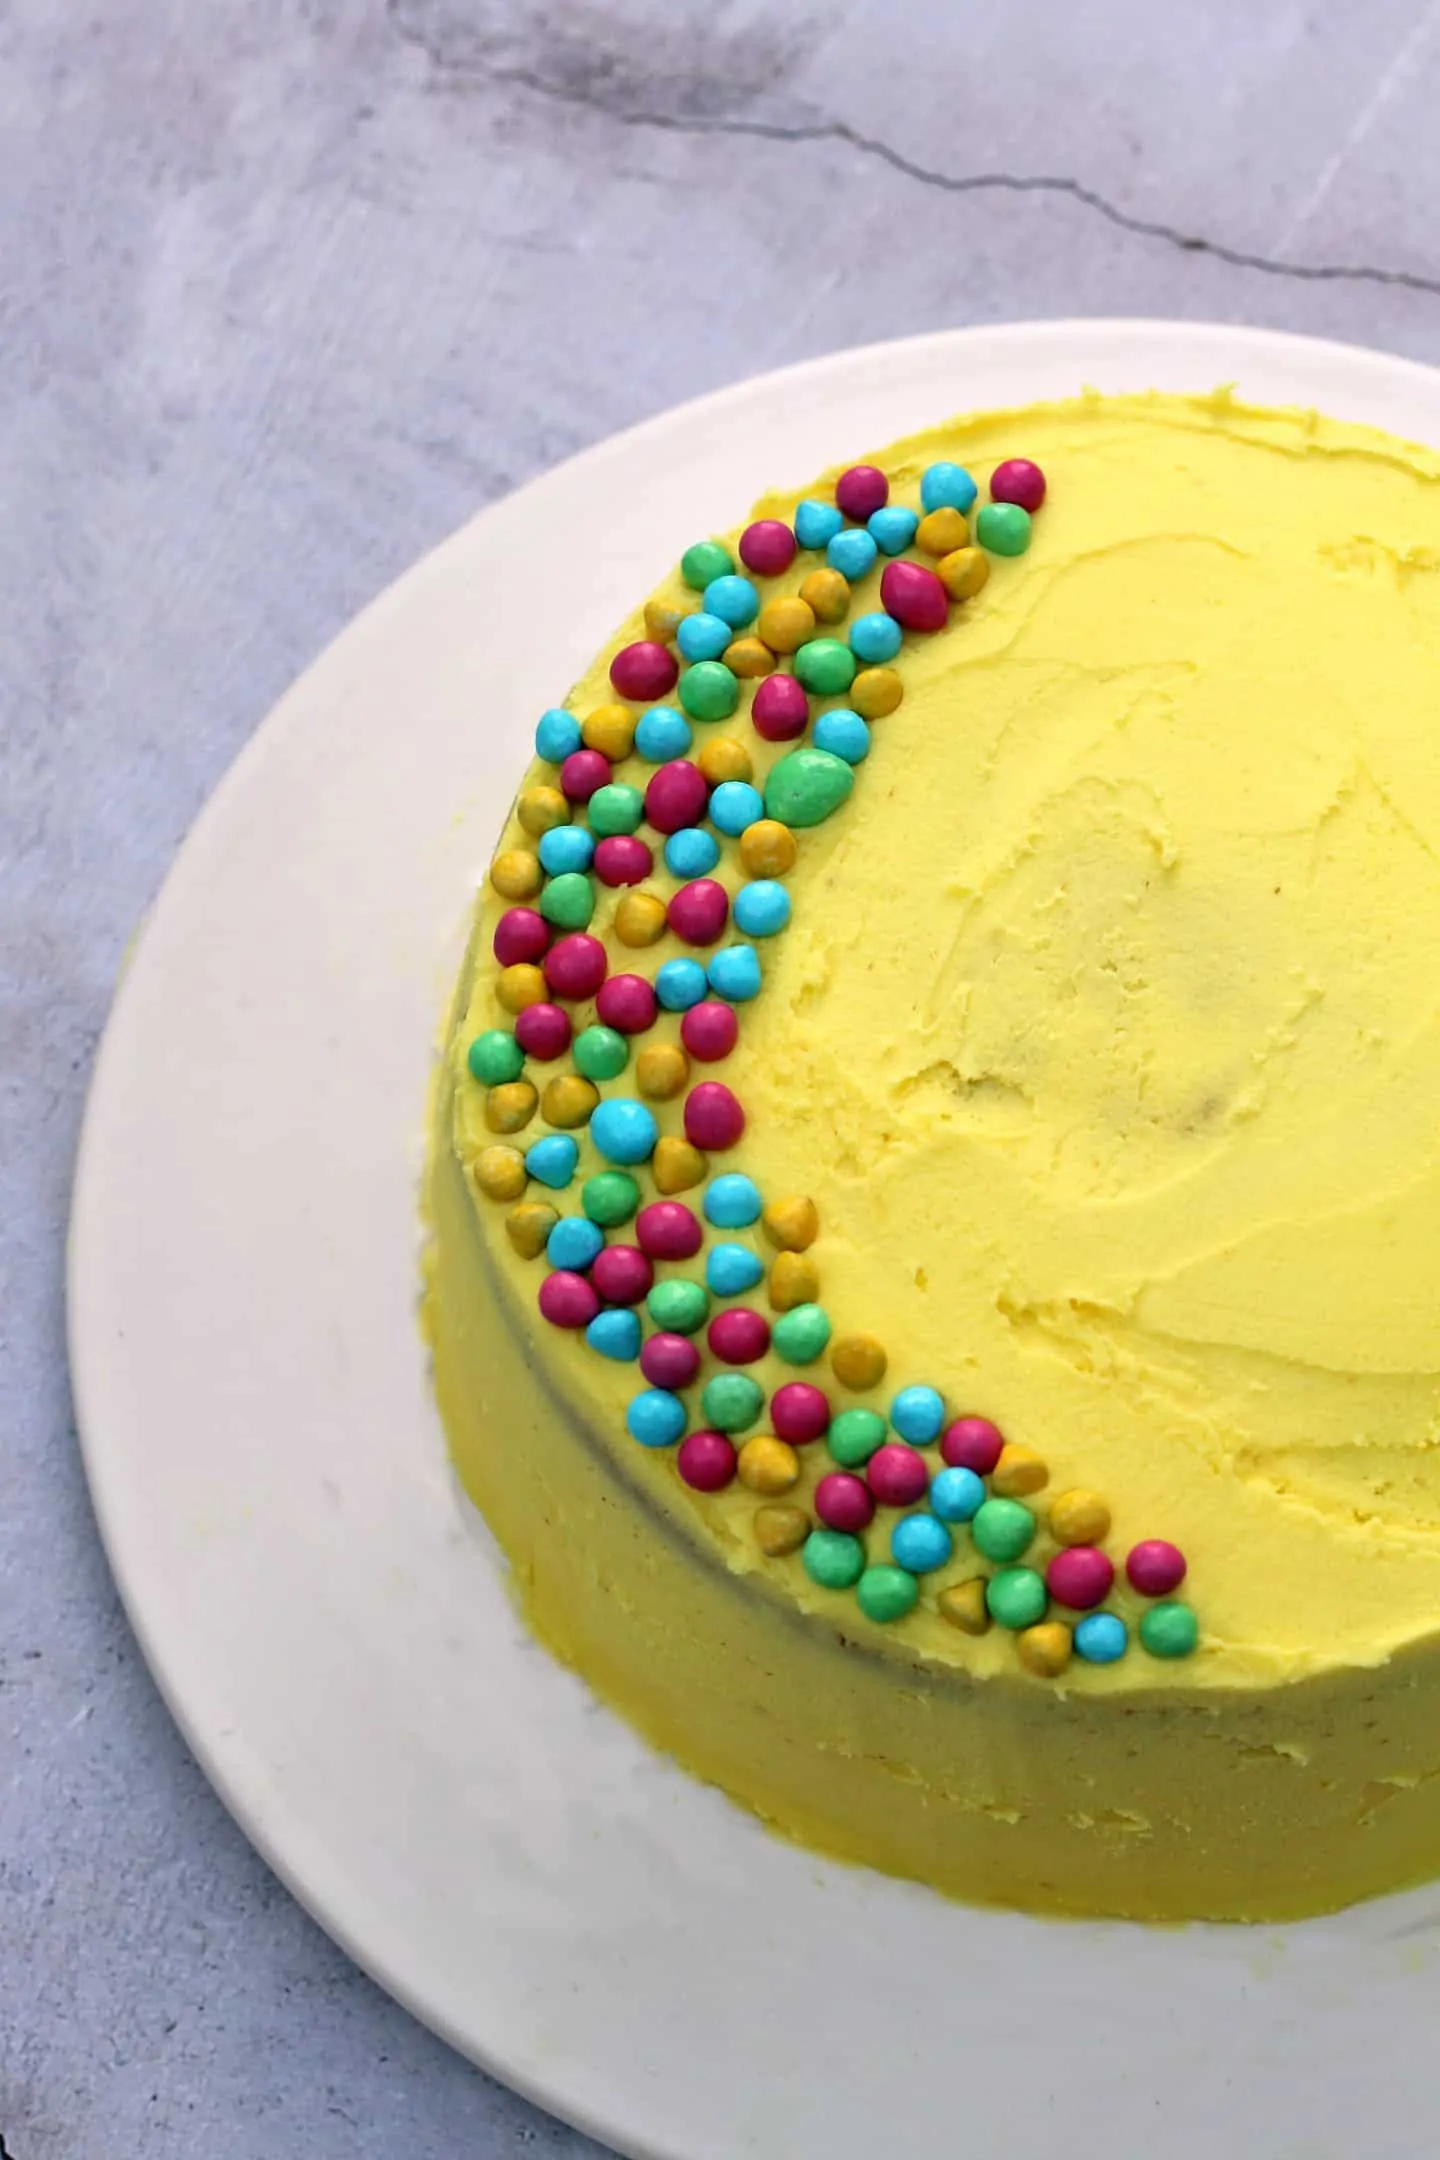
Add another layer of buttercream on top of the crumb coat, around the sides and on top. Use a cake smoother to make the edges straight and smooth off the sides. Decorate the top with sprinkles, or chocolate beans as I used, as you wish.
More to try
More cakes you might want to try:
Pin for later
Recipe

Vanilla Birthday Cake
Ingredients
- 230 g (1 cups) margarine I use Stork
- 230 g (1 cups) golden caster sugar
- 4 eggs medium, free-range
- 250 ml (1 cups) milk I use semi-skimmed
- 2 tsp vanilla bean paste or vanilla extract
- 300 g (2.5 cups) self-raising flour
For the frosting:
- 250 g (1 cups) butter unsalted
- 500 g (4 cups) icing sugar
- 1 tsp milk I use semi-skimmed
- 1 tsp food colour gel if needed
- sprinkles if desired
Instructions
- Make the cake batter first. Preheat your oven to 180 degrees℃ (fan) / 350℉. Grease and line three 8 inch / 20 cm cake tins.
- Cream the butter with the caster sugar until it is soft and no longer grainy.230 g / 1 cups margarine, 230 g / 1 cups golden caster sugar
- Add the eggs one by one, and again mix well.4 eggs
- Add the vanilla bean paste to the milk, stir, and then add some of the milk, followed by some of the flour, to the mixture, and combine as you go.250 ml / 1 cups milk, 2 tsp vanilla bean paste, 300 g / 2.5 cups self-raising flour
- Divide the cake mixture equally into three 8 inch / 20 cm tins.If you only have two tins in the same size, you can bake two layers first then the third after the first two are baked. It is best to line the tin in this case so it is easy to take the first layer out and refill the tin.
- Bake for approx. 20 mins, or until the cakes shrink away from the edge of the tins. Check using a cake tester to ensure the layers are cooked through. Allow to cool for a few minutes, then remove from the tins and leave the layers to cool completely.
- While the cakes are baking make the buttercream icing.Put the softened butter in a stand mixer and beat for around five minutes until it lightens in colour and is soft and fluffy.250 g / 1 cups butter, 500 g / 4 cups icing sugar
- Add the icing sugar in batches of about a teacup full at a time, mixing well each time you add more.A top tip for making buttercream is to turn the mixer speed down when you add the icing sugar, to lessen the clouds of icing sugar. If you have a mixer with a cover this is a good time to use it.Once each cupful of icing sugar is completely incorporated and the mixture looks light and fluffy again, you can add the next cupful.
- Finally, once all the icing sugar is added, continue to mix and add a teaspoon of milk and beat again.Add your gel colour, if using, and mix until the icing reaches your desired colour. You may need to add more to achieve a deeper colour.1 tsp milk, 1 tsp food colour gel
- One the cakes are completely cool, take the first cake and top it with buttercream, add the next layer and top with buttercream, then add the final layer and top with buttercream.
- Add buttercream around the edges of the cake using a palette knife and smooth round roughly. Put the cake aside for a couple of hours for this crumb coat to set.
- Once the crumb coat is set, you can do the final decoration on your birthday cake.Add another layer of buttercream on top of the crumb coat, around the sides and on top.
- Use a cake smoother to make the edges straight and smooth off the sides. Decorate the top with sprinkles, or chocolate beans as I used, as you wish.sprinkles

mohan kumar says
Your recipe sounds good.Thank you for sharing.